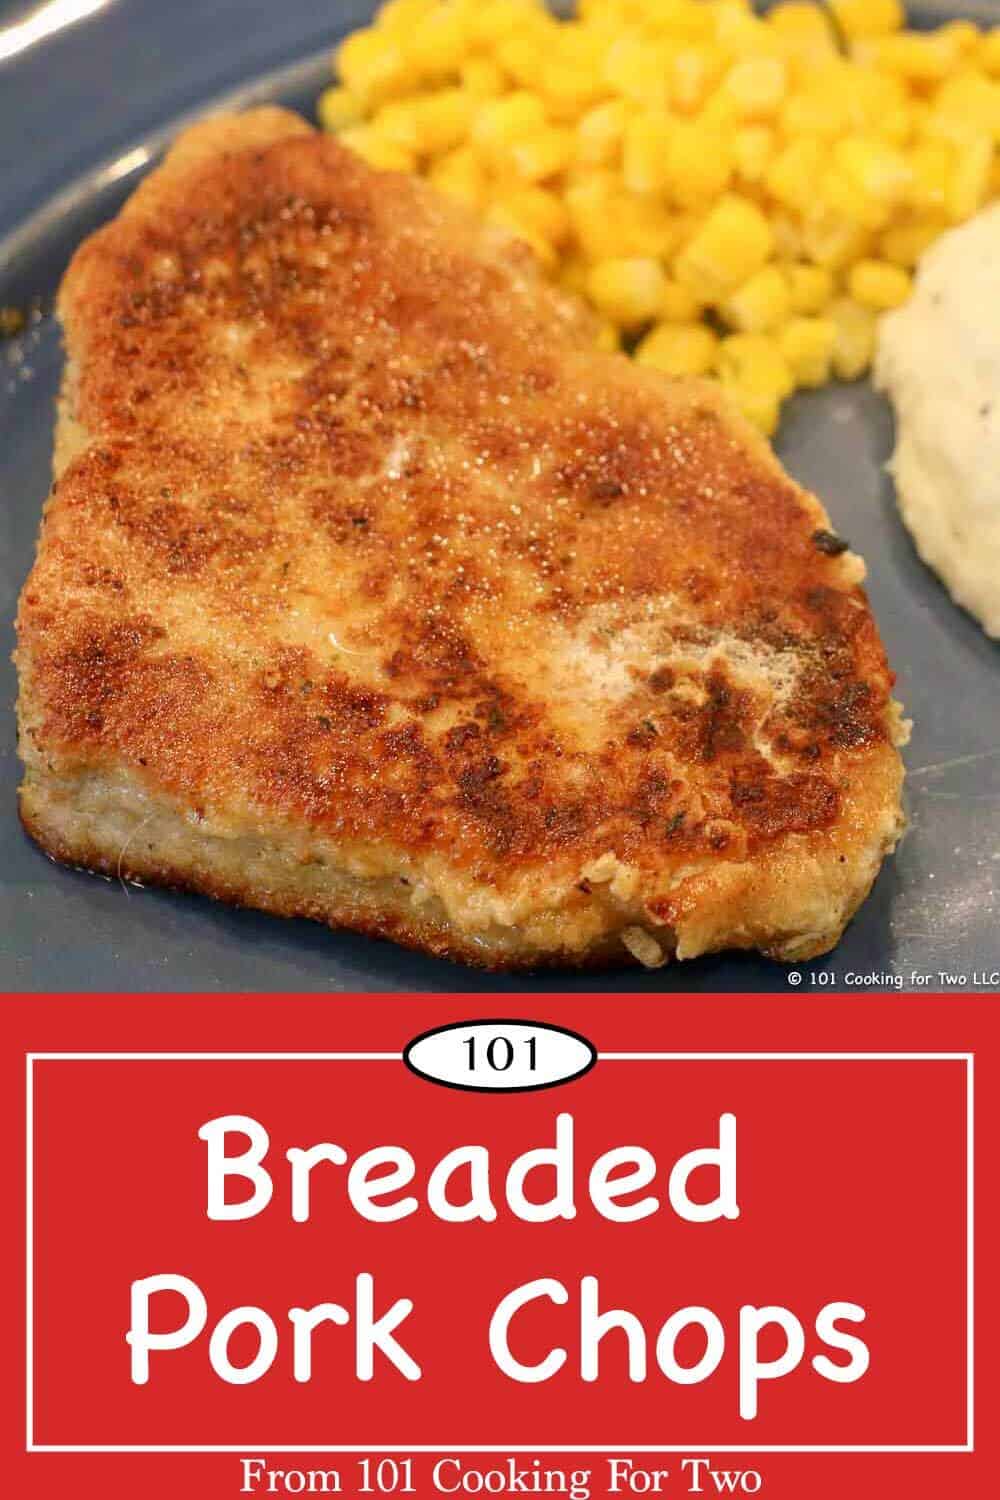
Time for a fork-tender crispy breaded pork chop you will love. Done in less 30-minutes with these easy to follow step by step photo instructions.
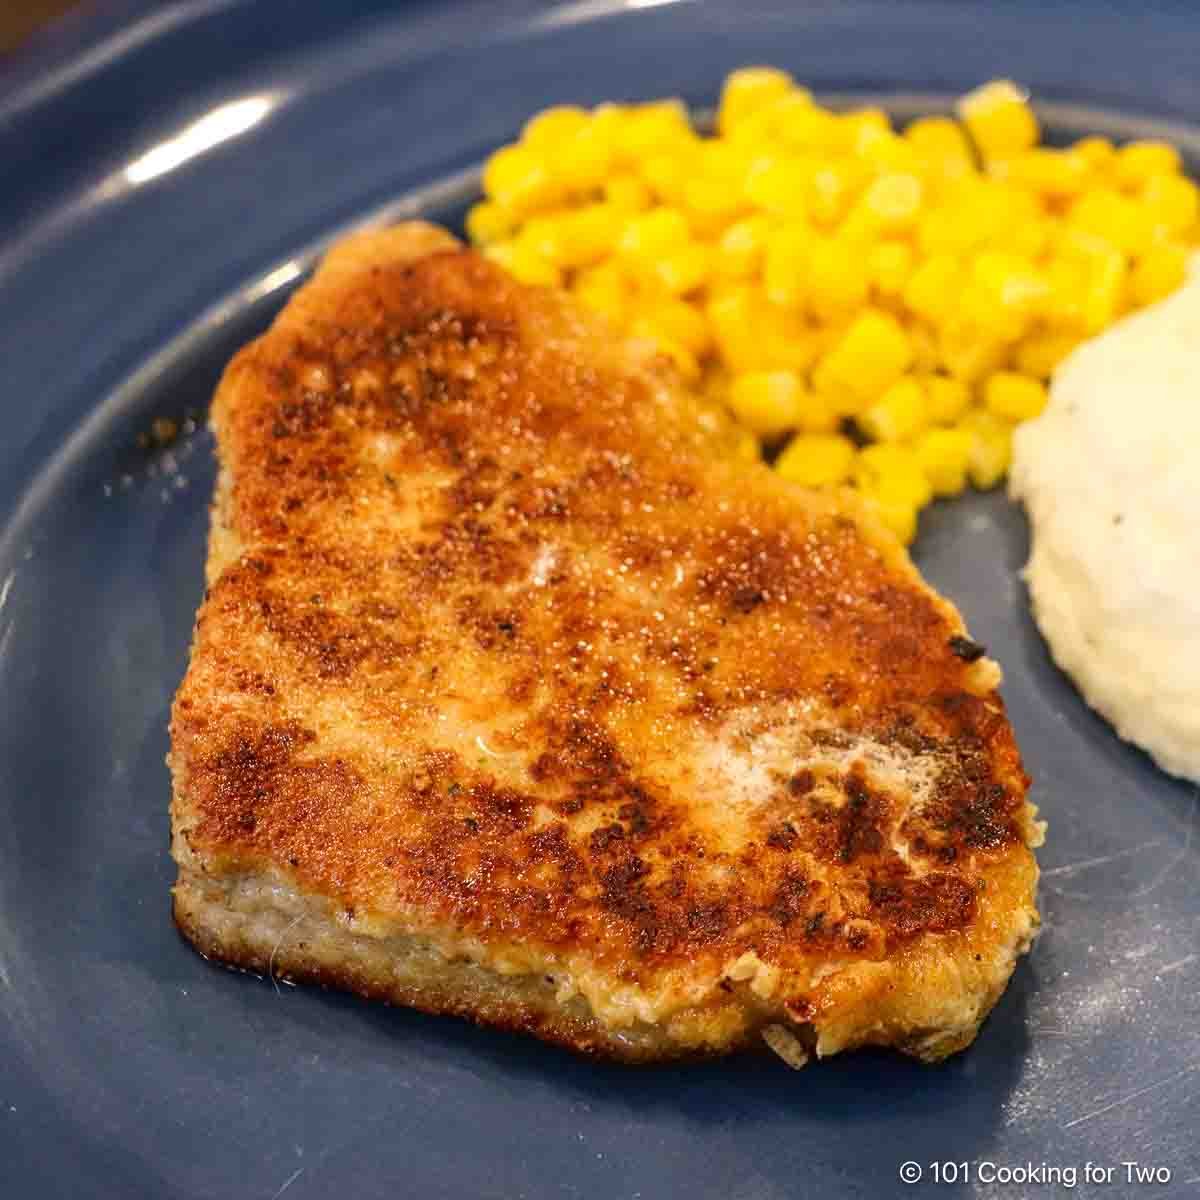
Nothing beats a well-done pork chop. And a breaded pork chop is classic. Everybody loves a well done breaded pork chop.
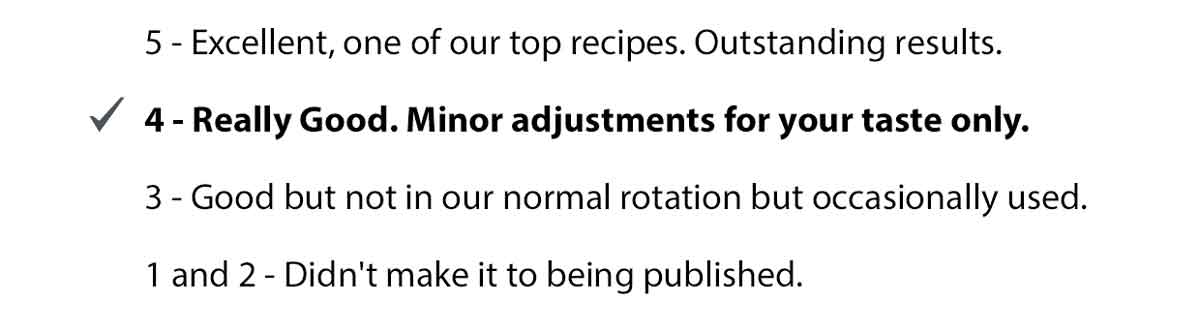
My Rating
We both loved them. My wife made me promise to do these frequently.
Pro Tips: Recipe Notes for Breaded Pork Chops
This recipe is a combination of 4-5 recipes and my take on what was really needed for flavor and ease of cooking.
What Pork Chops to Use
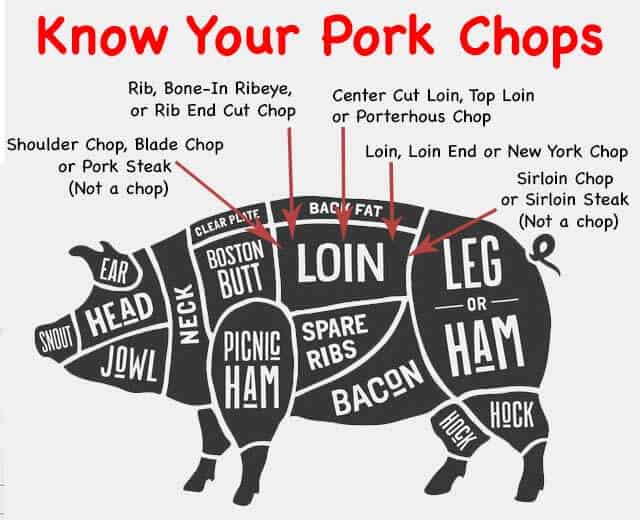
I suggest a 3/4 to 1-inch boneless center cut chop. But any real pork chop will do.
With a breaded chop, you don’t want to hide a chunk of fat under the breading somebody might try to eat, so trim off that fat rim.
The bone can lead to the breading falling off some since the meat contracts during cooking. Then the coating is more likely to comes off a bit.
Thin pork chops will cook rapidly and may not even need the oven part of this recipe. Thick pork chops will be the same amount of time on the stovetop but may take up to 20-25 minutes.
The Coating
The coating is relatively simple. Some other recipes will add multiple spices or a bit of parmesan cheese. You can if you want, but it is not needed.
How to Get the Breading or Coating to Stick?
The most important part of a bread coating is to have it stick well to the pork chop. So here are the big secrets to how to get a coating to stick to pork chops.
- Pat dry well with a paper towel. Things do not stick well to wet things.
- An underlying coating of something with egg.
- Coat with something with some flour. When combined with the egg, it sticks well.
- No bone if possible. When the meat contracts with cooking, the bone will tend to break the coating.
- Cook in a well oiled non-stick pan.
- BIG SECRET #1: After coating with the flour mixture set it on a flat surface like a cutting board or plate for about 5 minutes to allow the various layers to combine and adhere better.
- BIG SECRET #2: Flip and move the least possible and when you do use a fork. Things like tongs will rip the breading. So use a fork and stab the edges.
Should I Brine the Pork Chops?
I don’t feel the need for a brine. It will slow you down a few hours.
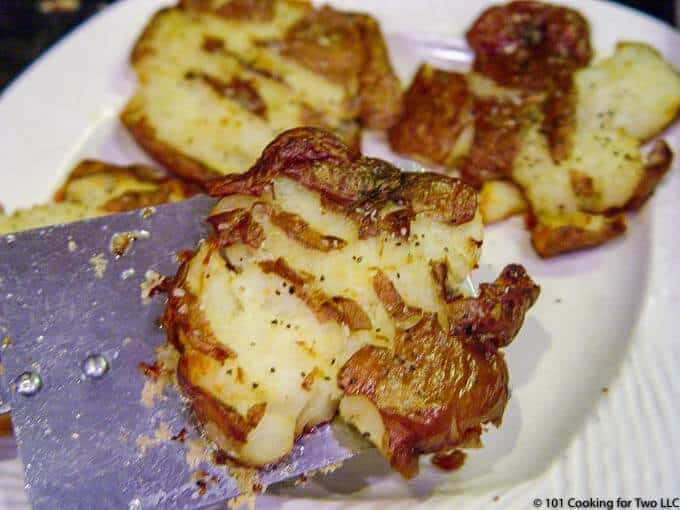
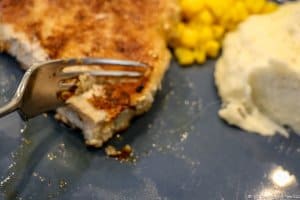
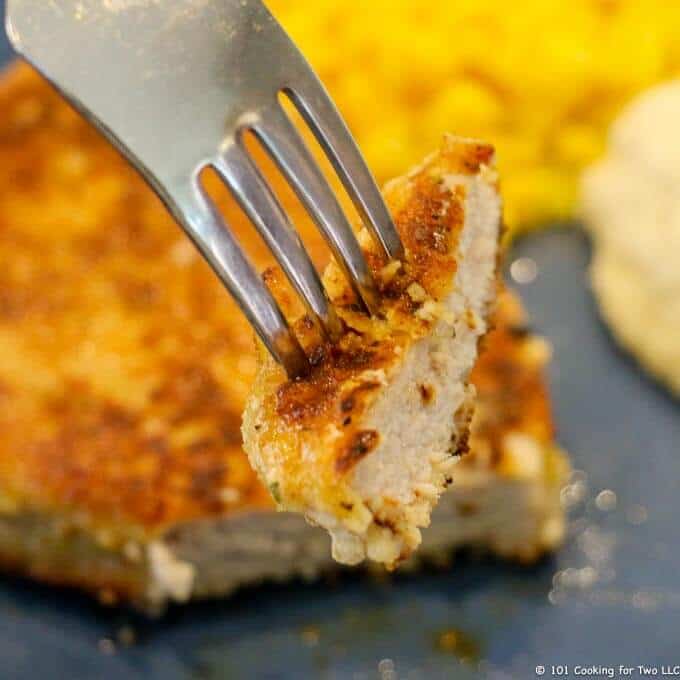
But mostly this is super moist and tender. Here is a picture of me cutting with a fork with no effort.
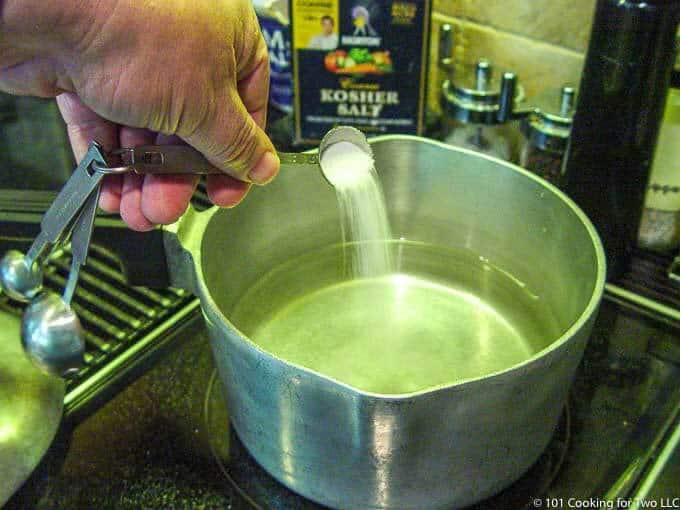
But if you want to brine, I suggest a brine of 2 cups cold water and 2 tablespoons table salt. Mix well and submerge the pork. Refrigerate for 1-2 hours. Rinse off the salt when done.
You should not use the seasoning salt in the recipe if you brine since the pork is already salted. Use 1/2 teaspoon of paprika to replace the seasoning salt in the recipe.
When is a Pork Chop Done?
The final temperature for pork chops: When I was young, the recommendations for cooking pork was 170 to kill Trichinosis. This has not been a problem in the US for decades, but old ideas die hard.
Yes, I cook my pork butt to 200 degrees plus but that is a taste thing not for safety. But not pork chops.
I like to cook pork chops to 145-150. My wife does not like any pink in pork, so I tend to go even a little higher to 155. The FDA recommends 145 minimum with a 3-minute rest.
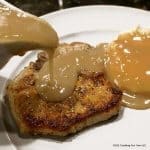
Do You Want Gravy?
Everybody loves gravy. It will add a few minutes but is worth the little work if it fits your plans. I didn’t build it into this recipe, but you can easily add it.
Here are two references. The first is my stovetop pork chop recipe with instructions specifically for pork gravy. The second is a more general reference for making gravy.
Old fashion stove top fried pork chops with gravy like grandma made in less than 30 minutes. Just follow the easy step by step photo instructions. Sometimes the old way is the best way.
Check out this recipe

It’s time to learn the secrets to making gravy at home with these easy to follow photo instructions to both the slurry and the roux methods. You won’t believe how easy this can be. Get it right first time and every time.
Check out this recipe
Preheat oven to 350 degrees.
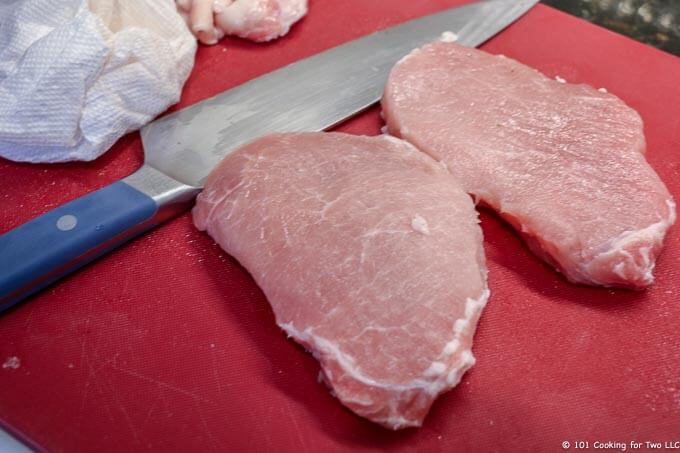
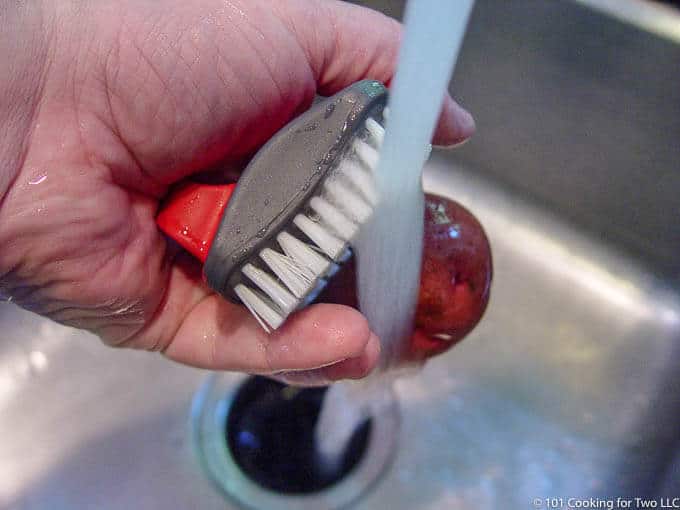
Trim pork chop of the fat rim. Pat dry with a paper towel.
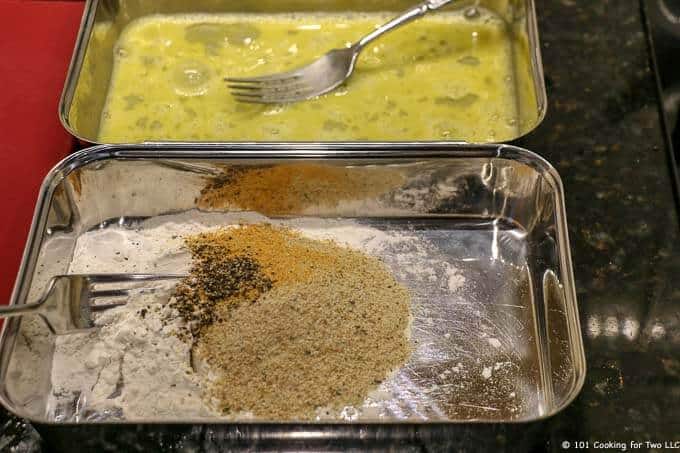
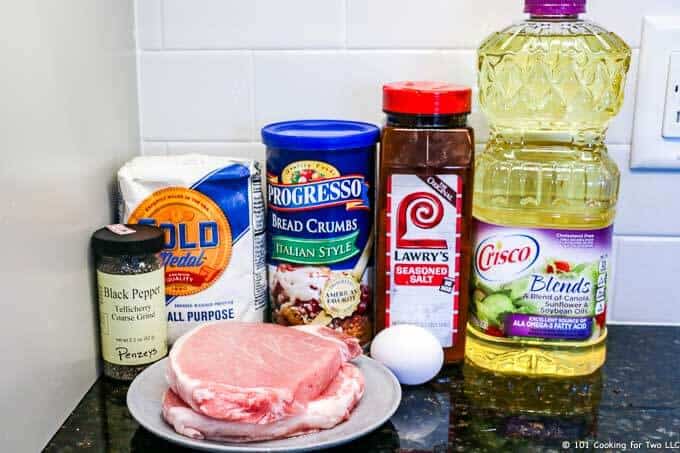
Prepare two trays. First with one egg whipped with a teaspoon of water. Second with 1/4 cup of Panko Bread Crumbs, 1/4 cup flour, 1 1/2 teaspoon seasoning salt (Lawry’s is my choice) and 1/4 teaspoon black pepper.
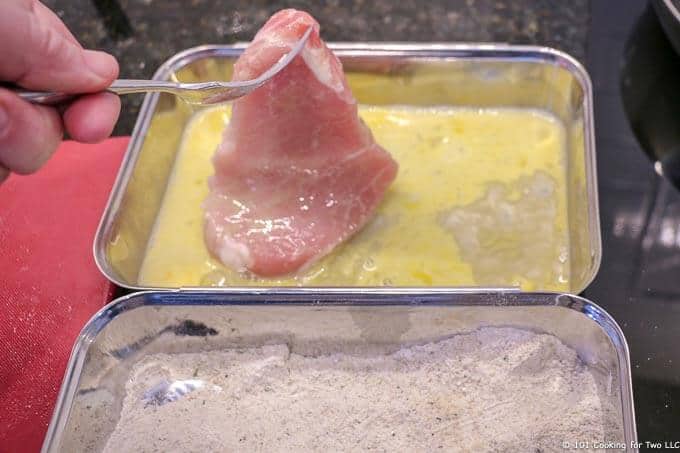
Dip a pork chop in the egg mixture. Be sure to cover all surfaces. Remove with a fork and allow to drain for a moment.

Dip the egg coated pork chop in the flour mixture. Coat all sides, remove with a fork and shake to remove extra flour.
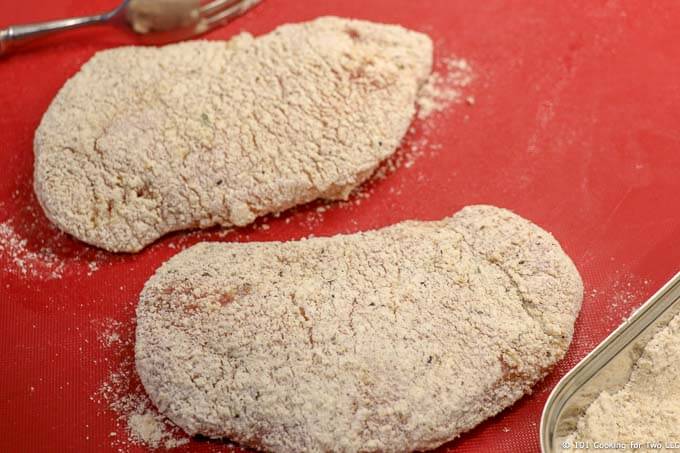
Set the chop on a plate or chopping board. Repeat for next chop. We want to coat to set up for a few minutes.
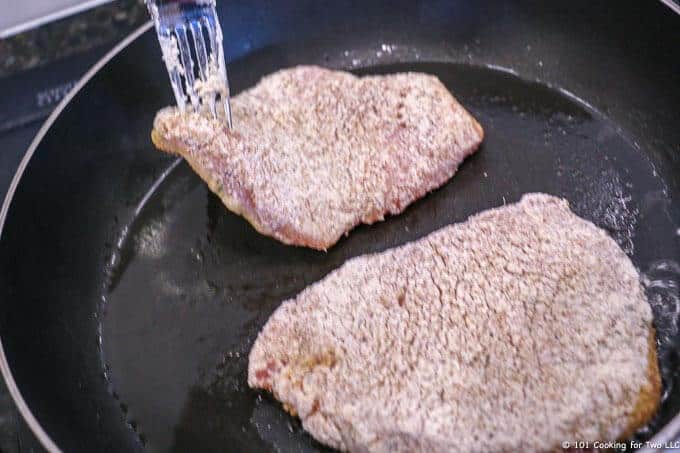
Over medium-high heat, add 2 tablespoons oil to an oven safe, non-stick pan. When hot and the oil is shimmering, with a fork, move the pork chops to the pan.
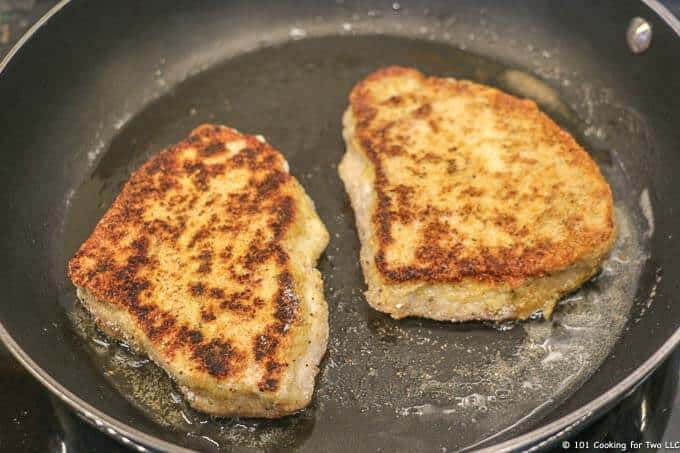
Brown each side of the pork chop for 2-3 minutes until almost the final color you want. Use a fork to flip by poking the meat and not anything to grab the meat and pull off the coating.
Do one last flip on the pork and place in the preheated oven until the internal temperature you want. For us, that is about 5 minutes for 155. This will vary a lot in time so you must use a meat thermometer and get the final temperature you want. Allow to rest on a plate for 5 minutes before cutting.
![]()
![]()
Do you want more recipes from 101 Cooking for Two? Sign up for the newsletter and get all posts delivered straight to your inbox!
![]()
If you enjoyed this recipe, the pleasure of a rating on the recipe card below is requested.
Breaded Pork Chops
Time for a fork-tender crispy breaded pork chop you will love. Done in less 30-minutes with these easy to follow step by step photo instructions.
Prep Time10 mins
Cook Time12 mins
Total Time22 mins
Servings/Adjustment: 2
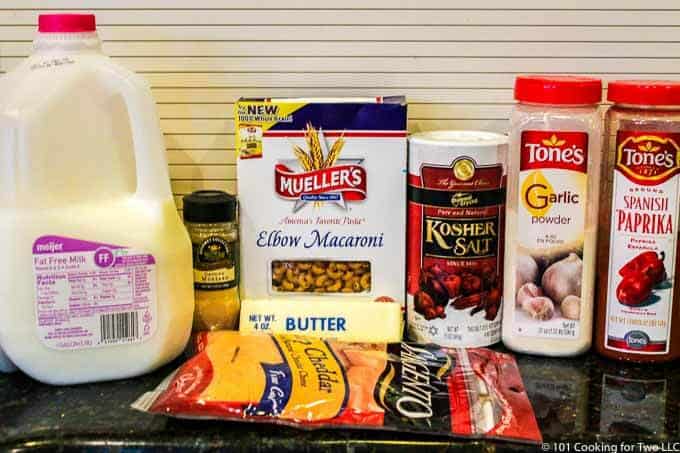
Ingredients
- 2 boneless pork chops
- 1 egg
- 1/4 cup flour
- 1/4 cup Panko Bread Crumbs – Italian or Plain
- 1 1/2 teaspoon Lowry’s Seasoning Salt – different seasoning salt may be used
- 1/4 teaspoon pepper
- 2 tablespoons oil
Instructions
-
Preheat oven to 350 degrees.
-
Trim pork chop of the fat rim. Pat dry with a paper towel.
-
Prepare two trays. First with one egg whipped with a teaspoon of water. Second with 1/4 cup of Panko Bread Crumbs, 1/4 cup flour, 1 1/2 teaspoon seasoning salt (Lawry’s is my choice) and 1/4 teaspoon black pepper.≈
-
Dip a pork chop in the egg mixture. Be sure to cover all surfaces. Remove with a fork and allow to drain for a moment.
-
Dip the egg coated pork chop in the flour mixture. Coat all sides, remove with a fork and shake to remove extra flour.
-
Set the chop on a plate or chopping board. Repeat for next chop. We want to coat to set up for a few minutes.
-
Over medium-high heat, add 2 tablespoons oil to an oven safe, non-stick pan. When hot and the oil is shimmering, with a fork, move the pork chops to the pan.
-
Brown each side of the pork chop for 2-3 minutes until almost the final color you want. Use a fork to flip by poking the meat and not anything to grab the meat and pull off the coating.
-
Do one last flip on the pork and place in the preheated oven until the internal temperature you want. For us, that is about 5 minutes for 155. This will vary a lot in time so you must use a meat thermometer and get the final temperature you want.
-
Allow to rest on a plate for 5 minutes before cutting.
Recipe Notes
Pro Tips:
- I believe a well-trimmed boneless pork chop is the best here. A bone-in pork chop will tend to make it harder for the breading to stick.
- Dry the pork chops well before proceeding with the coating.
- After the pork chop is breaded, let it sit for about 5 minutes for the coating to combine and attach firmly to the pork.
- The pan needs to be non-stick and oven safe.
- Be sure the oil is hot before adding the chops.
- Only touch the pork chops with a fork during the breading and cooking to prevent disturbing the coating.
- Thicker chops will take longer. A thinner chop may be to your desired temperature even before the oven so you MUST use an instant-read thermometer.
- If you are interested in brining or gravy, see the discussion in the post above.
Nutrition Facts
Breaded Pork Chops
Amount Per Serving (1 pork chop)
Calories 344 Calories from Fat 162
% Daily Value*
Total Fat 18g 28%
Saturated Fat 4g 20%
Cholesterol 171mg 57%
Sodium 673mg 28%
Potassium 530mg 15%
Total Carbohydrates 8g 3%
Protein 32g 64%
Vitamin A 2.4%
Calcium 2.9%
Iron 8.9%
* Percent Daily Values are based on a 2000 calorie diet.
Have a question or something not clear? Ask in the comments.
Nutrition is for one serving. Number of servings is stated above and is my estimate of normal serving size for this recipe.
All nutritional information are estimates and may vary from your actual results. This is home cooking, and there are many variables. To taste ingredients such as salt will be my estimate of the average used.
![]()
If you like this recipe or find it useful, the pleasure of a nice 4 or 5 rating would be greatly appreciated.
Originally Published March 20, 2019