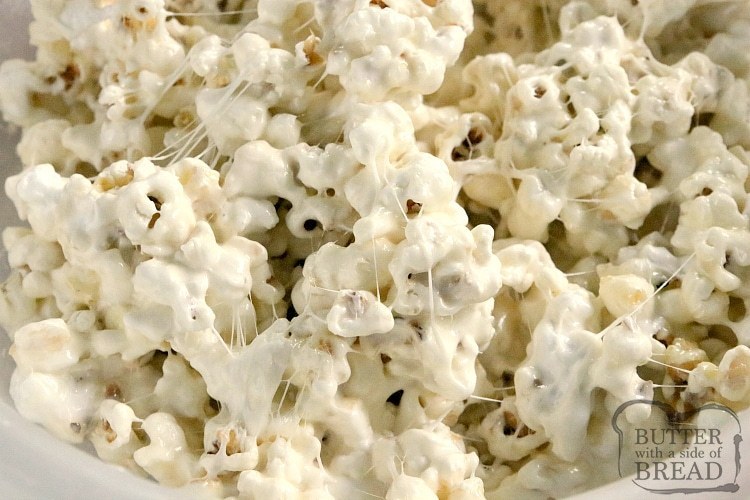
Marshmallow Caramel Popcorn is soft, sweet and deliciously gooey! Only 3 simple ingredients to make the caramel sauce to pour over popcorn and marshmallows!
We love popcorn. We have regular popcorn quite regularly at our house and I love that it’s actually a pretty healthy snack that all of my kids enjoy. Every once in a while, we add a little bit of sweetness to the popcorn as a special treat. For years, our go-to popcorn recipe has been my Better than Caramel Popcorn, but I recently discovered this marshmallow caramel popcorn recipe and I think it’s our new favorite.
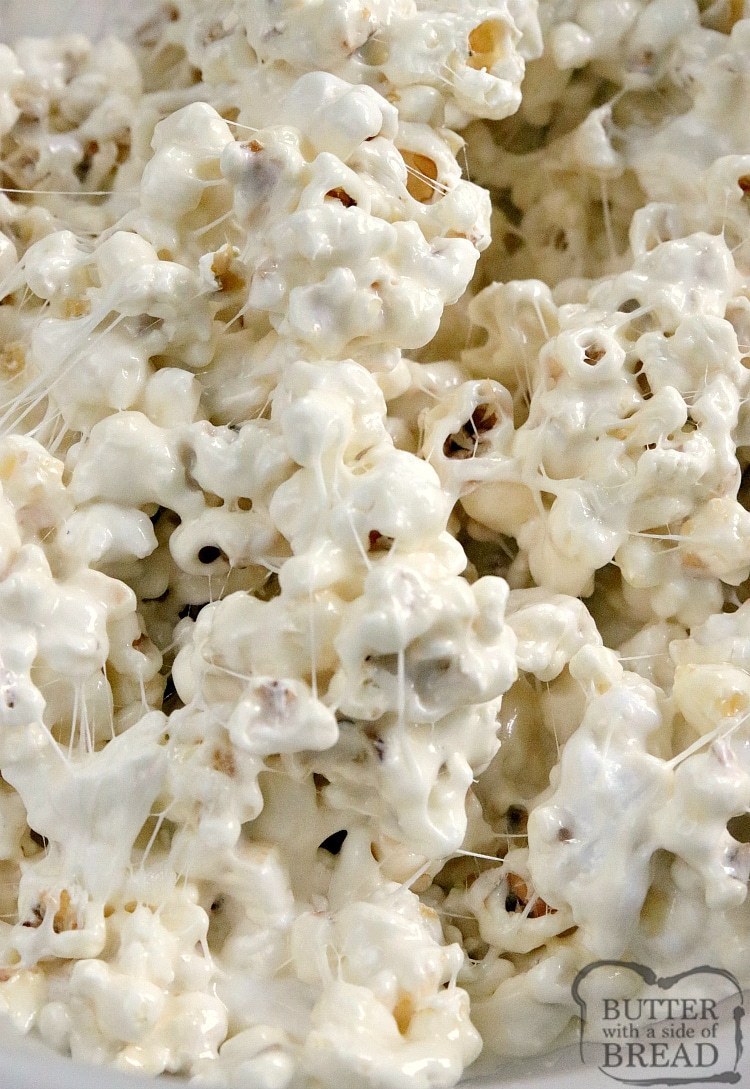
Months ago, I tried a marshmallow caramel popcorn recipe where you melted the marshmallows in with the caramel and it didn’t turn out very well. This recipe is a little bit different because you just throw the mini marshmallows in with the popcorn before you pour the caramel sauce all over the top. The hot caramel melts the marshmallows perfectly and it becomes so creamy and gooey – it’s amazing!
What kind of popcorn do you use to make caramel popcorn?
You can use microwave popcorn, air-popped popcorn, or you can use my favorite stove-popped popcorn that is made with coconut oil. I haven’t used microwave popcorn in quite a while. At first it was because of the fact that I kept reading things about how it was so bad for you, but then once I started making my own popcorn on the stove, I realized how much better fresh popcorn tastes! If you haven’t tried it yet, it’s so easy and it’s so much yummier too.
How do you make popcorn on the stove?
I used to just use a large stockpot to make popcorn on the stove (which works great!), but I recently got this popcorn maker and it makes the whole process even easier. The popcorn cooks perfectly every time. To make popcorn on the stove:
- Put 1-2 Tbsp of coconut oil in the stovetop popcorn maker or in your stockpot. If you are using a stockpot, make sure you have a lid!
- Turn the heat on medium high and add about 6-7 “test” kernels to the pot. Put the lid on and wait for the kernels to start popping.
- As soon as the test kernels start popping, you can add the rest of the popcorn kernels. 1/8 cup of popcorn kernels will yield about 4 cups of popped popcorn, so you will want about 1/4 cup of kernels to make 8 cups of popped popcorn. I usually do a little bit extra though, it doesn’t have to be exact!
- Replace the lid and either continuously stir the handle on the stovetop popcorn maker or periodically shake your stockpot to prevent the kernels from settling in one spot and burning. As soon as the popping starts to slow down significantly, remove the pan from heat. That’s it!

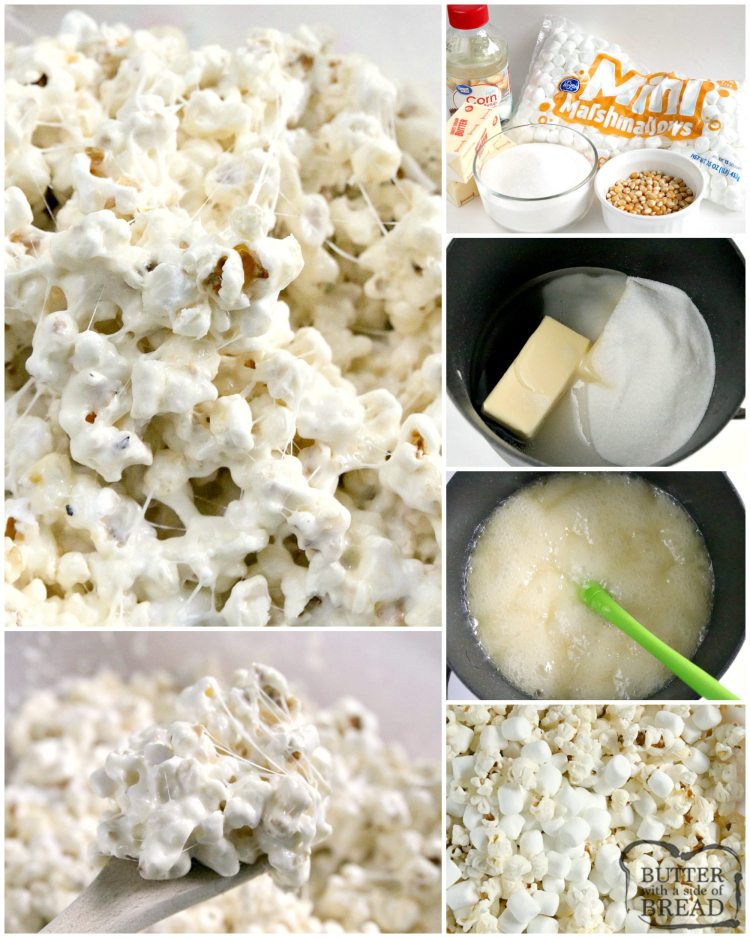
Ingredients in Marshmallow Caramel Popcorn
-16 cups popped popcorn (about 1/2 cup kernels)
-2 sticks butter (1 cup)
-1 1/2 cups sugar
-1/2 cup light corn syrup
-10 oz. bag mini marshmallows (5 1/2 cups)
How to make Marshmallow Caramel Popcorn
Pop the popcorn and set aside.
In a saucepan, mix the butter, sugar and corn syrup and heat over medium heat, stirring until melted and combined well. Bring the mixture to a boil and boil for about 2 minutes*.
Remove the mixture from heat.
Add the marshmallows to the popcorn and give a couple quick stirs to mix them in.
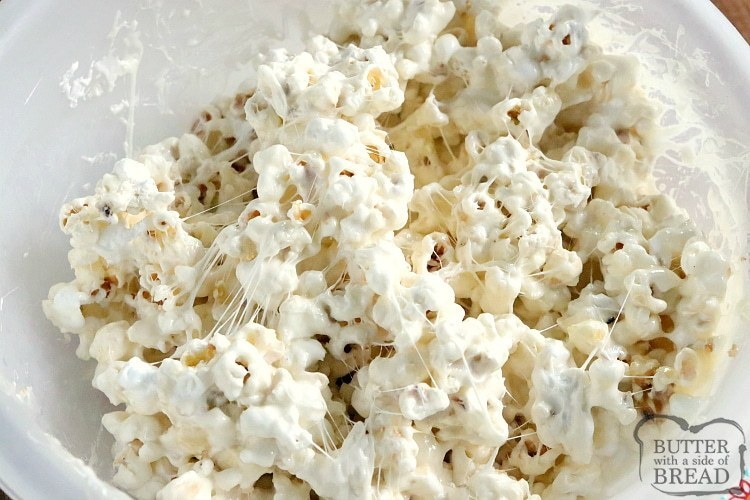
Immediately pour the hot caramel over the popcorn and marshmallows and then mix it all together. The marshmallows will melt very quickly and this will result in a very creamy caramel coating for your popcorn. As with all caramel popcorn, it tastes so much better when it is warm and gooey so I like to serve it right away.
*With some caramel recipes, you have to be very exact with the temperature of the caramel but I think this recipe is more forgiving because the caramel will be combining with the marshmallows and that gives it the perfect consistency! I don’t usually check the temperature of the caramel mixture in this recipe, I just watch the clock and let it boil for about 2-2 1/2 minutes. I did check the temperature at this point and it was at 246°F, so if you aren’t sure if the mixture is “done”, you can use a thermometer to make sure the temp is around 245°.

Marshmallow Caramel Popcorn
Marshmallow Caramel Popcorn is soft, sweet and deliciously gooey! Only 3 simple ingredients to make the caramel sauce to pour over popcorn and marshmallows!
Print Pin Rate
Servings: 16
Ingredients
- 16 cups popped popcorn about 1/2 cup kernels
- 2 sticks butter 1 cup
- 1 1/2 cups sugar
- 1/2 cup light corn syrup
- 10 oz. bag mini marshmallows 5 1/2 cups
Instructions
-
Pop the popcorn and set aside.
-
In a saucepan, mix the butter, sugar and corn syrup and heat over medium heat, stirring until melted and combined well. Bring the mixture to a boil and boil for about 2 minutes*.
-
Remove the mixture from heat.
-
Add the marshmallows to the popcorn and give a couple quick stirs to mix them in.
-
Immediately pour the hot caramel over the popcorn and marshmallows and then mix it all together. The marshmallows will melt very quickly and this will result in a very creamy caramel coating for your popcorn. As with all caramel popcorn, it tastes so much better when it is warm and gooey so I like to serve it right away.
Notes
*With some caramel recipes, you have to be very exact with the temperature of the caramel but I think this recipe is more forgiving because the caramel will be combining with the marshmallows and that gives it the perfect consistency! I don’t usually check the temperature of the caramel mixture in this recipe, I just watch the clock and let it boil for about 2-2 1/2 minutes. I did check the temperature at this point and it was at 246°F, so if you aren’t sure if the mixture is “done”, you can use a thermometer to make sure the temp is around 245°.
Can you use margarine instead of butter in this caramel popcorn recipe?
Butter is definitely a better choice in this recipe because it is made with heavy cream. To be honest, I always use real butter in recipes because the taste and consistency just seems to be so much better. I know there is a lot of controversy about the “healthiness” of butter vs. margarine and I’m not going to claim to be an expert on that, but I feel like the taste difference between butter that is made with cream and margarine that is made with vegetable oils is very noticeable!
How do you store caramel popcorn?
Caramel popcorn can be stored in an airtight container for several days. This particular caramel popcorn recipe actually stays pretty soft and does not get hard like some caramel popcorn does. That being said, I do think that caramel popcorn tastes a million times better when the sauce is hot and fresh so I would plan on eating it immediately after making it. Having 5 kids, it never really lasts long enough to require storing it for later anyways!
Is caramel popcorn gluten free?
Yes, caramel popcorn is gluten free which makes this a great snack for those who can’t eat gluten. Most popcorn recipes are perfect for those with gluten sensitivities because there is no gluten in popcorn! There are only 3 ingredients in the sauce so it is very easy to identify other potential allergies as well – all gluten free as well!
Love popcorn? So do we! Here are some other popcorn recipes to try!
Marshmallow Caramel Popcorn is made by pouring a simple caramel sauce over popcorn and marshmallows. This deliciously gooey treat is made in less than minutes with a few simple ingredients.


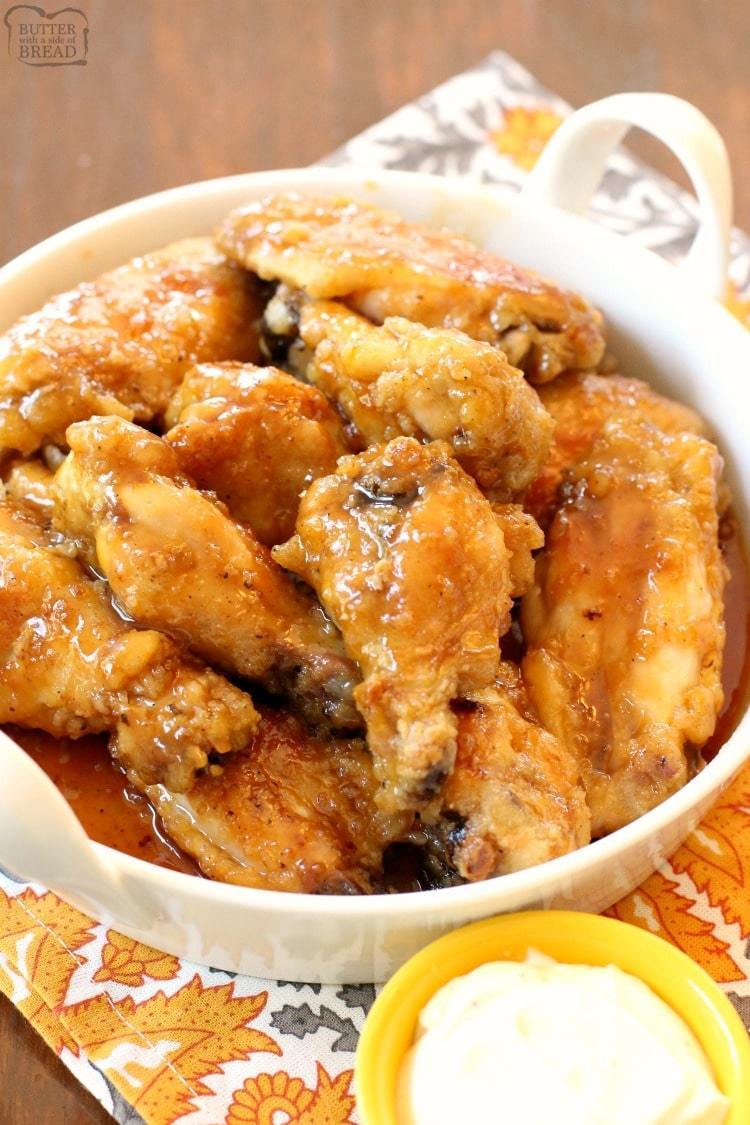

 Can baked chicken wings be pink?