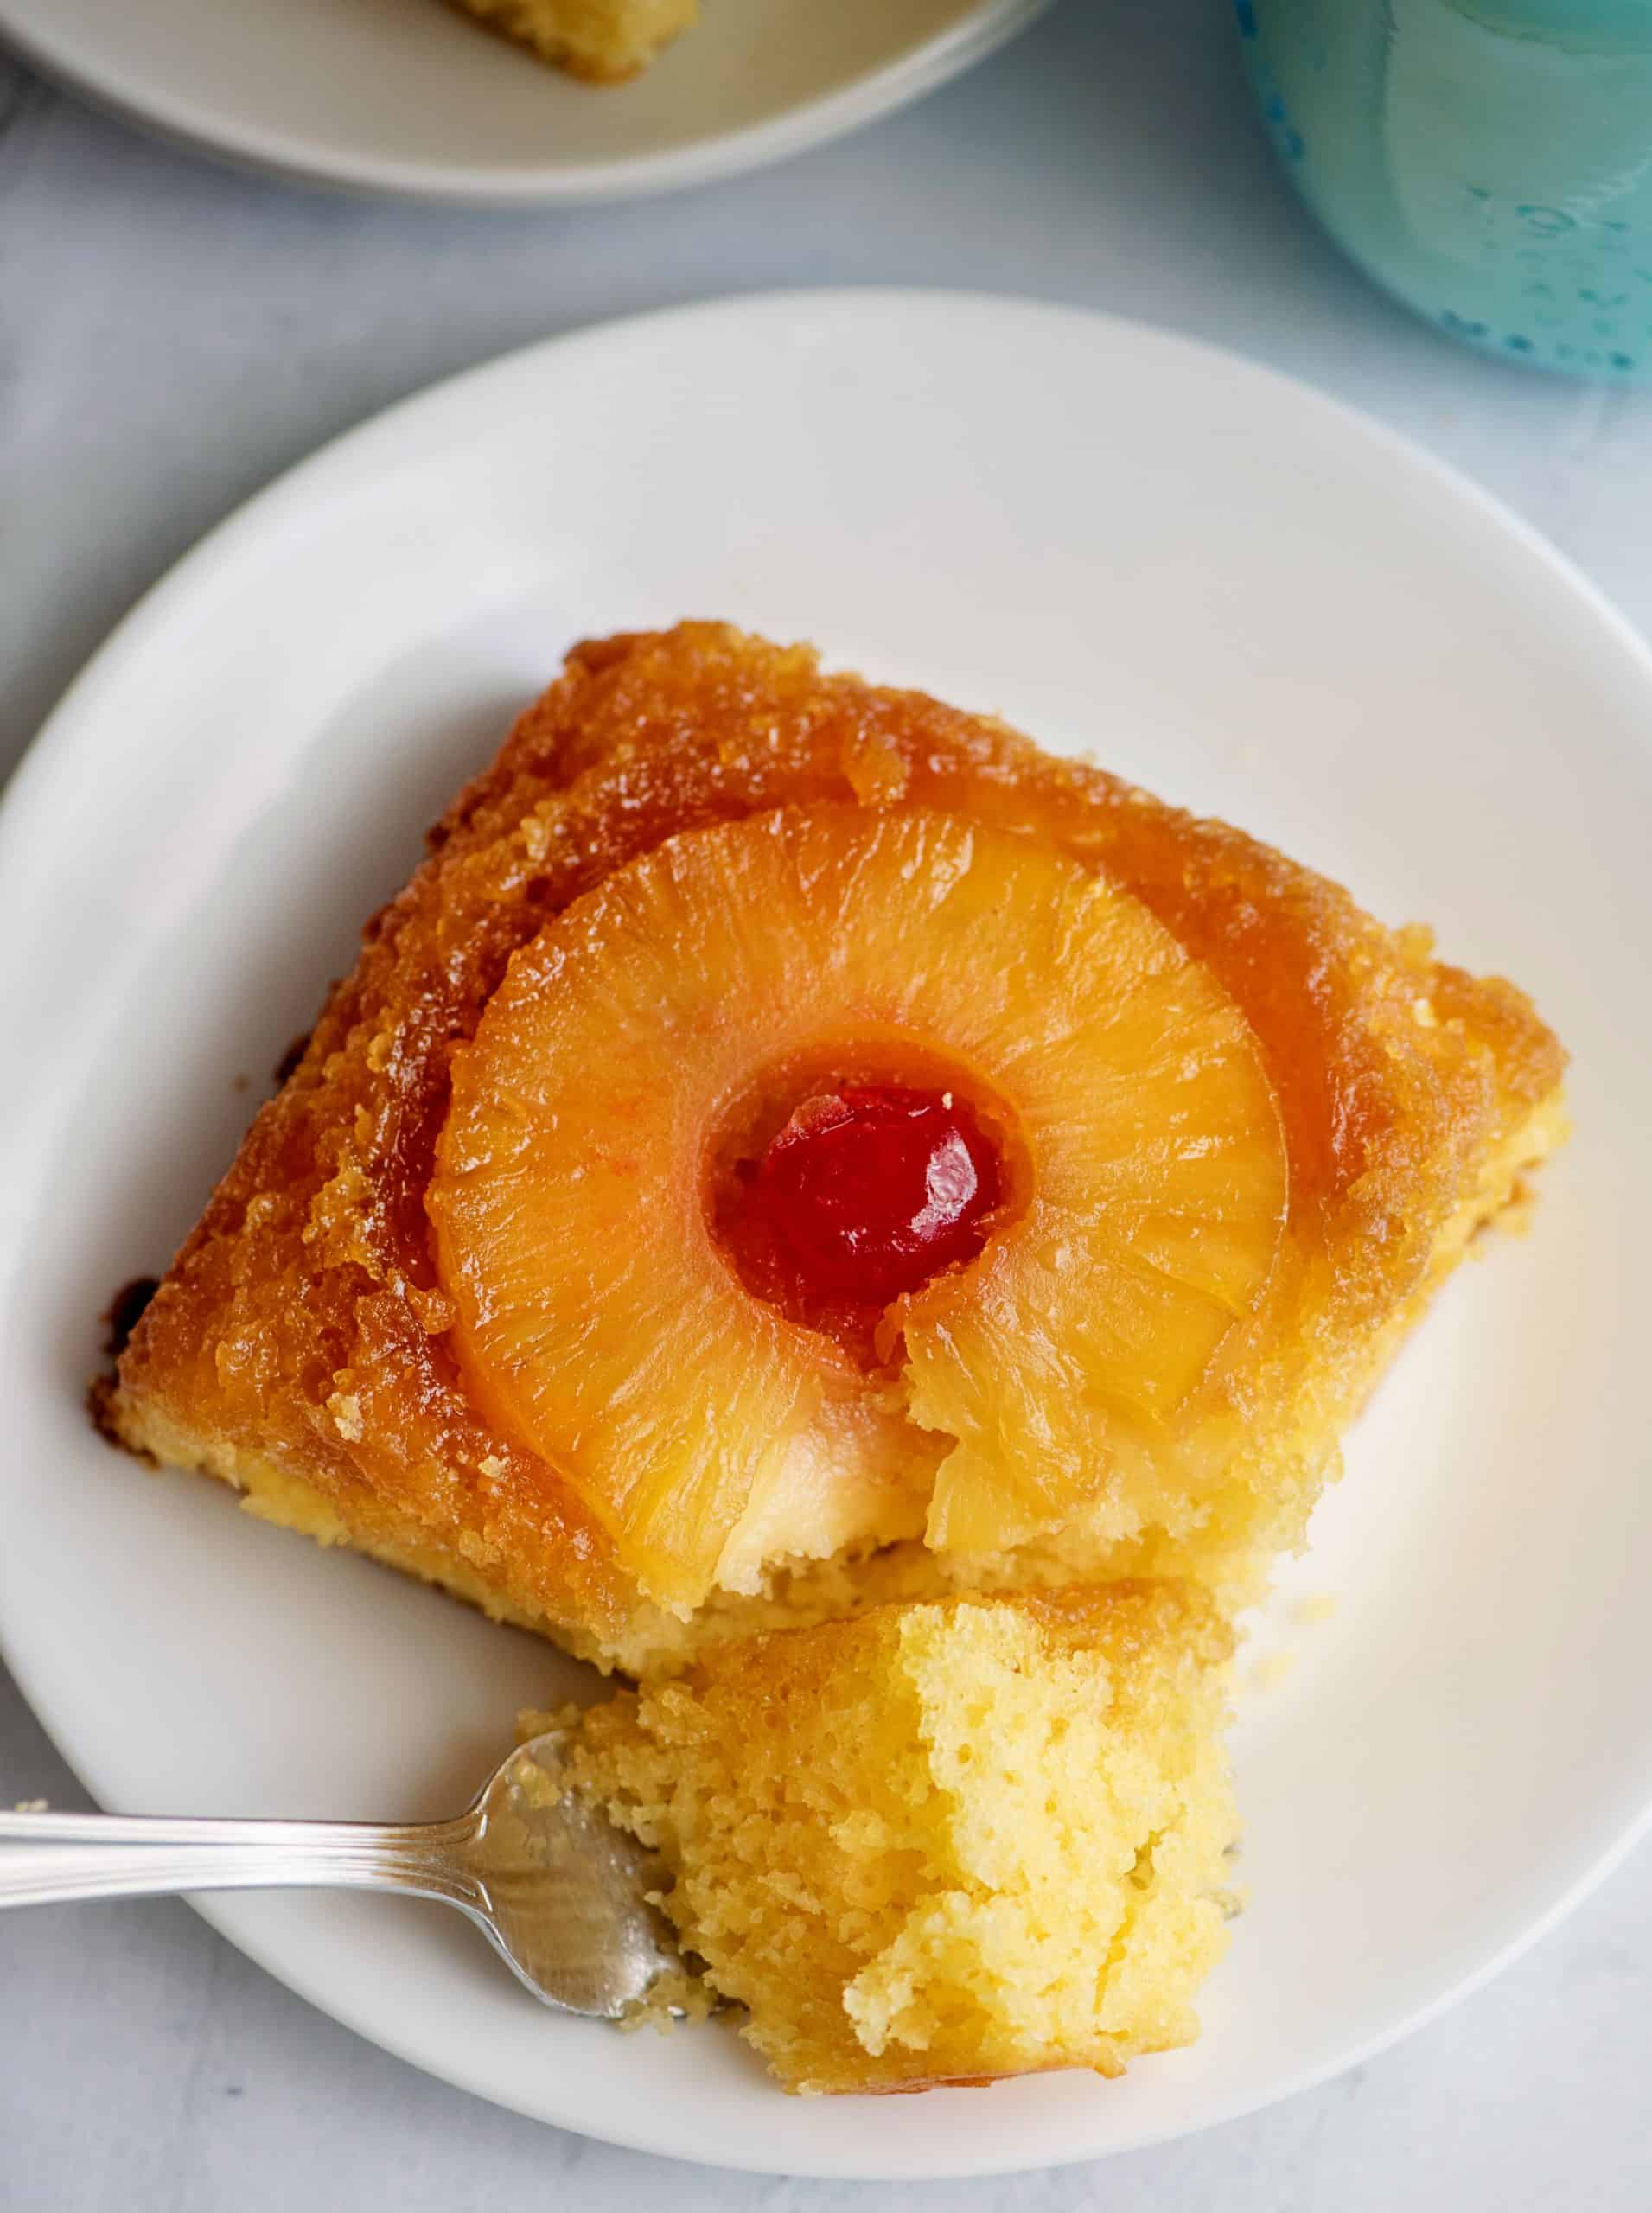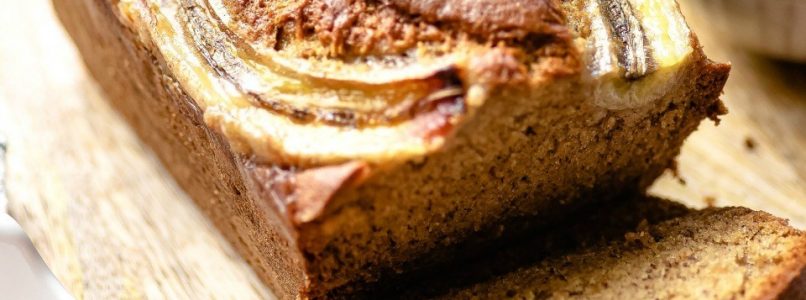
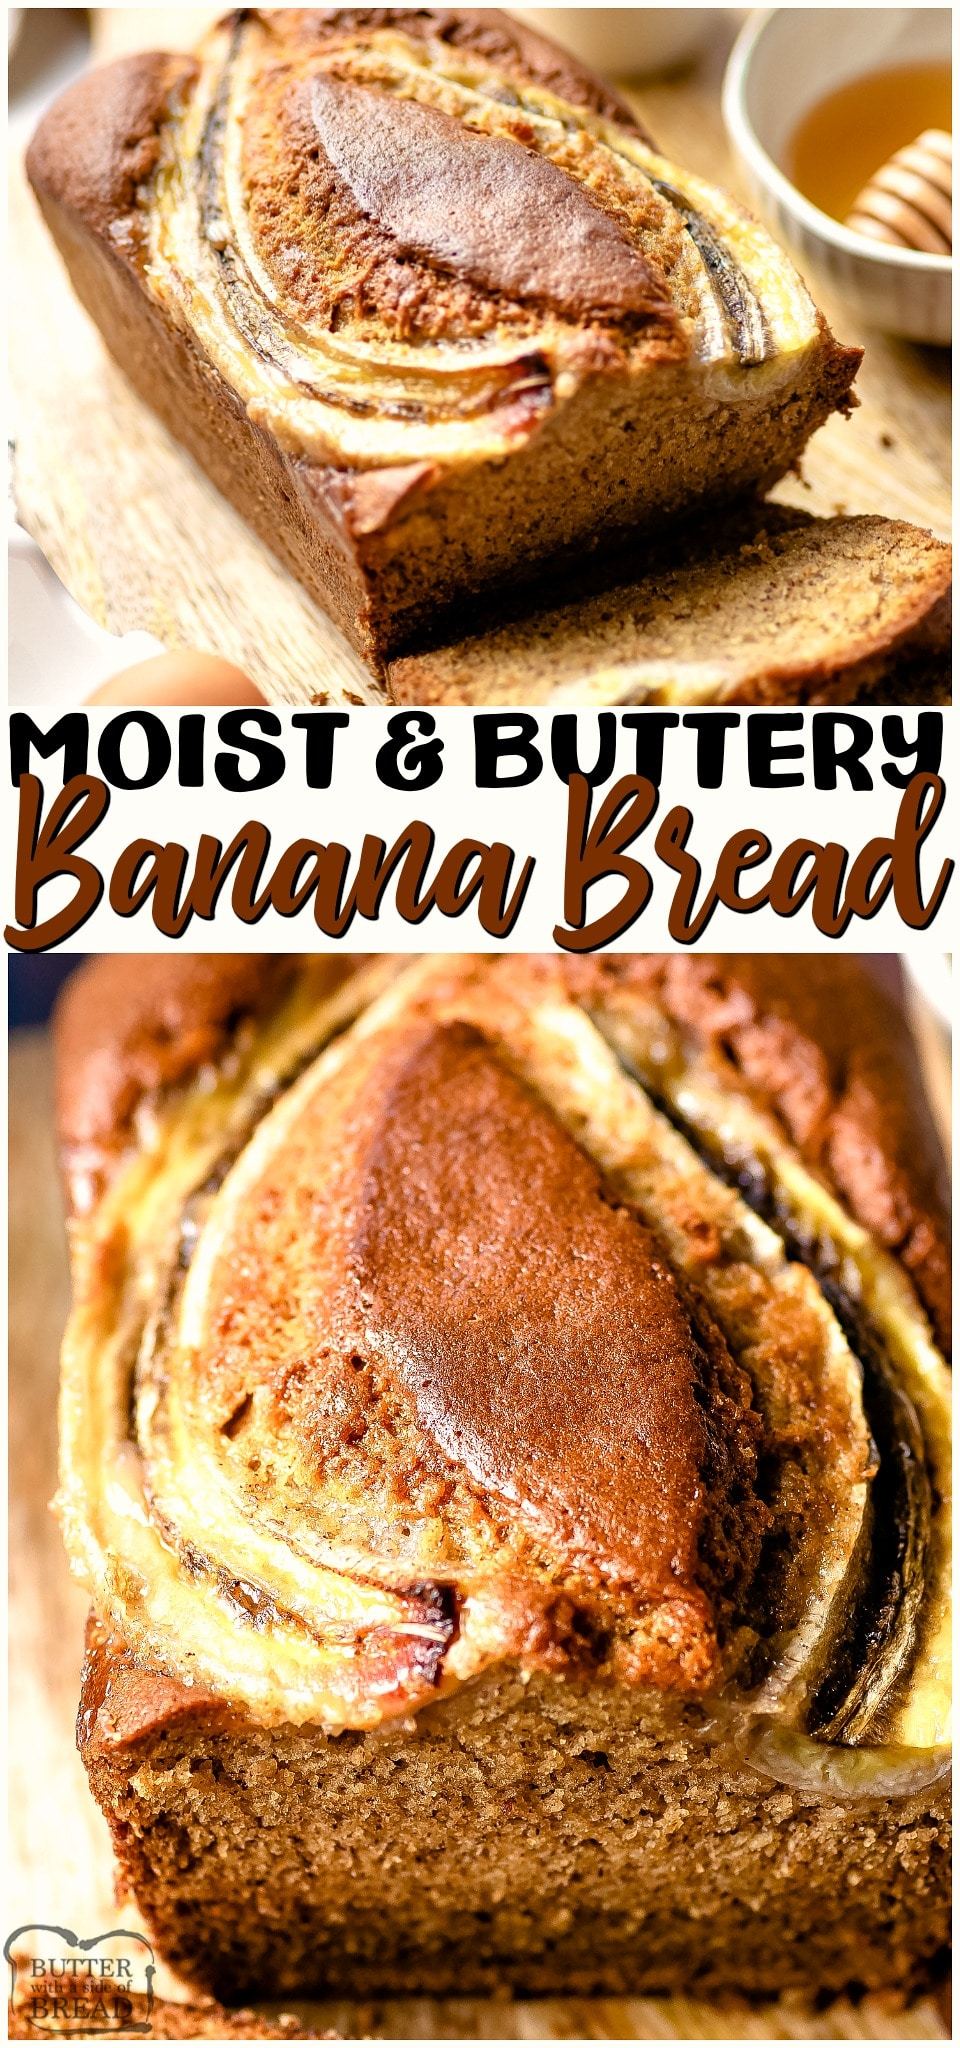
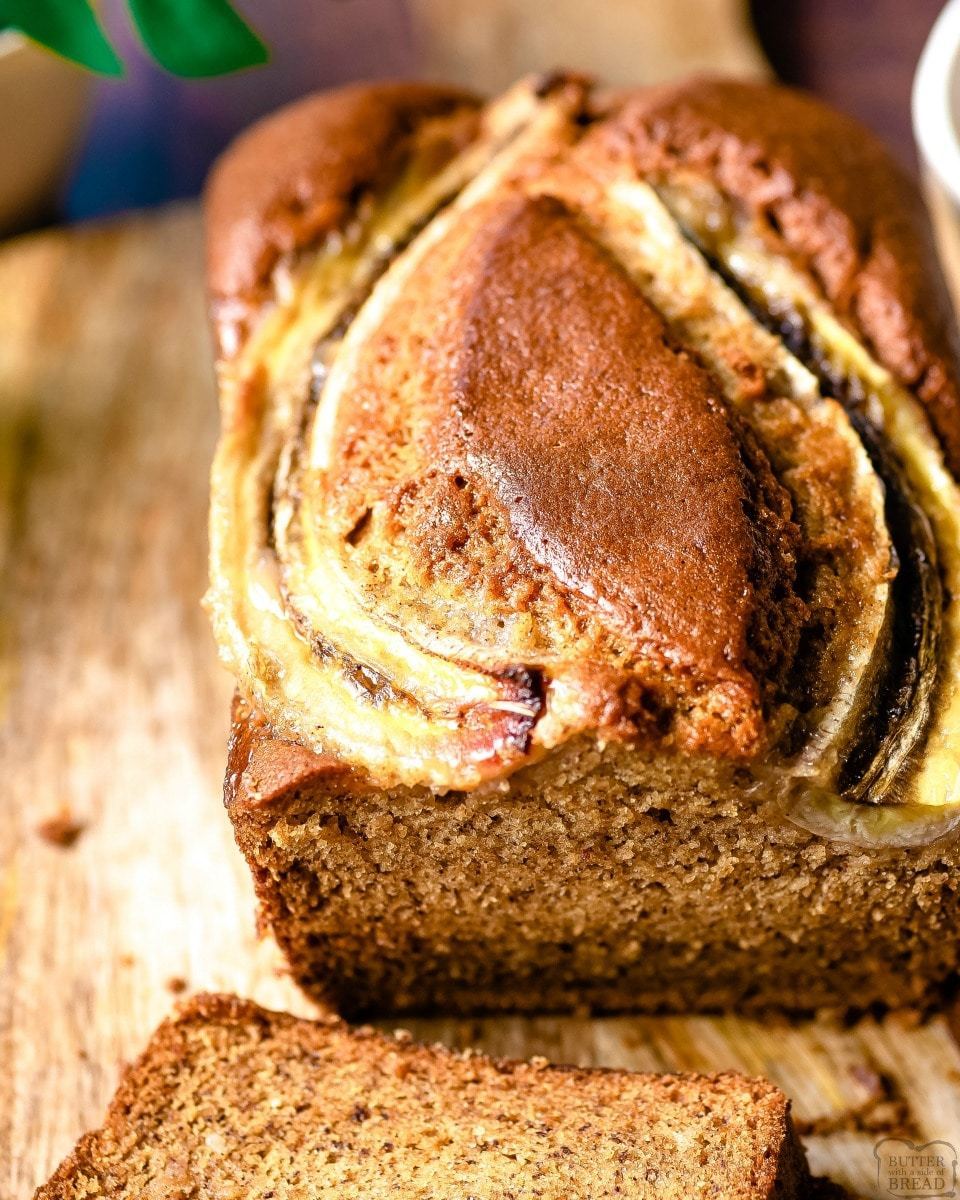
This delicious moist banana bread recipe is made with ALL butter! This makes it rich, flavorful, and mouth wateringly good. You’re going to love this simple banana bread recipe!
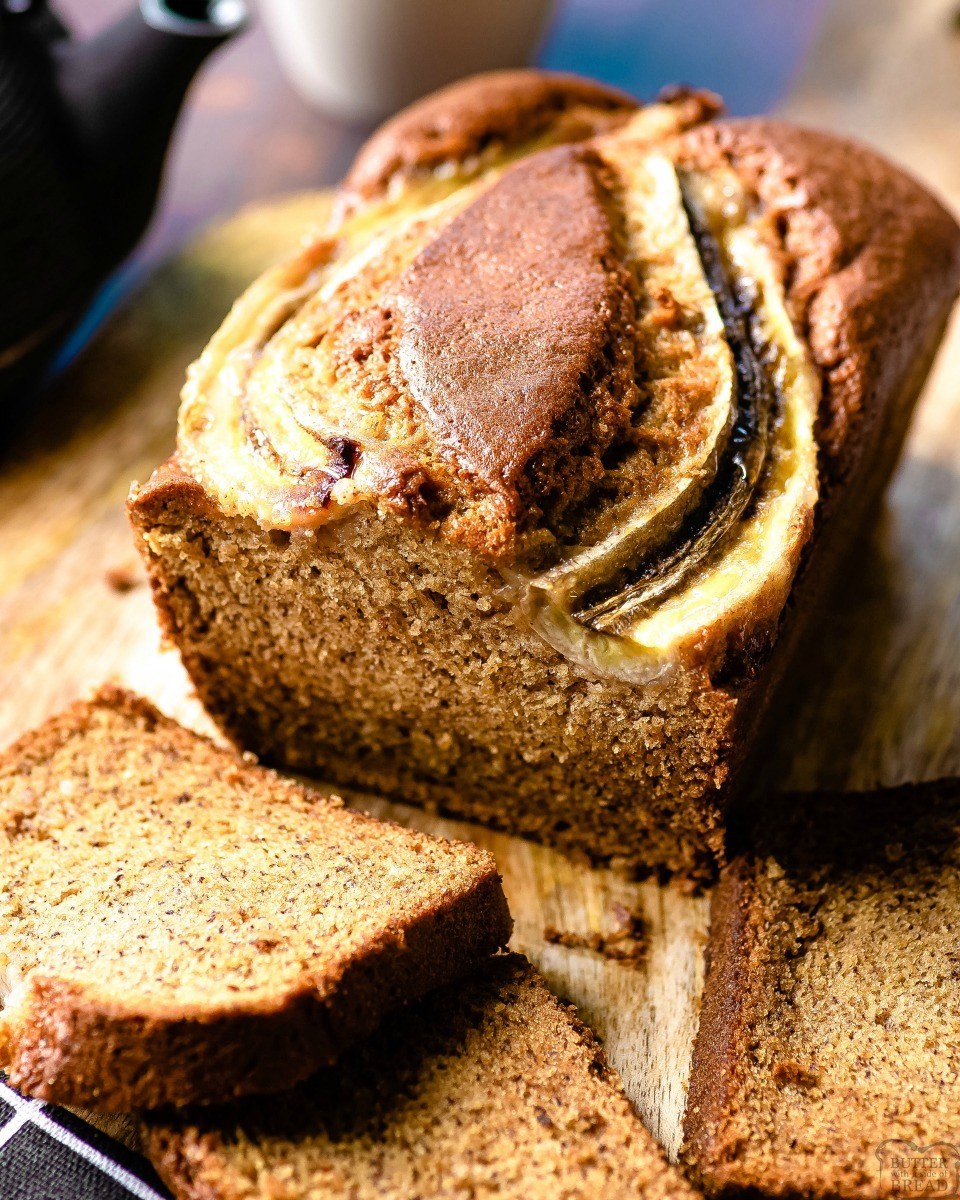
 With an ultimate moist banana bread recipe in your arsenal, you’ll never have to worry about dry or sunken banana bread again. Every bite is soft and packed with a rich flavor and blended banana.
What is moist banana bread?
This recipe is an easy to make banana bread using ripe bananas. We love banana bread around here and have countless recipes using those ripe yellow fruits. This one is a tried and true favorite. Thanks to the butter in the recipe, every bite is flavorfully rich and moist. We even blended the bananas a bit so that the crumb of the bread is soft and fabulous!
 Banana Bread Ingredients
 Banana Bread Ingredients
-Bananas: We need 3 large and ripe bananas to get a great banana flavor throughout the entire loaf.
-Sugar: With 3/4 cups of brown sugar we can add sweetness and a depth of flavor thanks to the molasses!
-Butter: We need 1/2 cup (one stick) of melted butter to add fats, richness, and flavor to this bread.
-Egg: One large egg will help to make the binder for the bread. It will also help a little with the leavening and crumb of the bread too!
-Vanilla: We need 1 teaspoon of vanilla extract to help get a good flavor base for the banana bread.
-Leavening Agents: With a teaspoon each of baking soda and baking powder we can get a good leavening for the bread so that it’s fluffy and soft.
-Salt: Adding 1/8 teaspoon of salt will help to enhance the flavor of this banana bread recipe.
-Cinnamon: 1/4 teaspoon of cinnamon will make the banana bread taste even better!
-Flour: We need 1 1/2 cups of flour to get a good gluten filled base for this recipe.
 How to Make Banana Bread with all Butter
 How to Make Banana Bread with all Butter
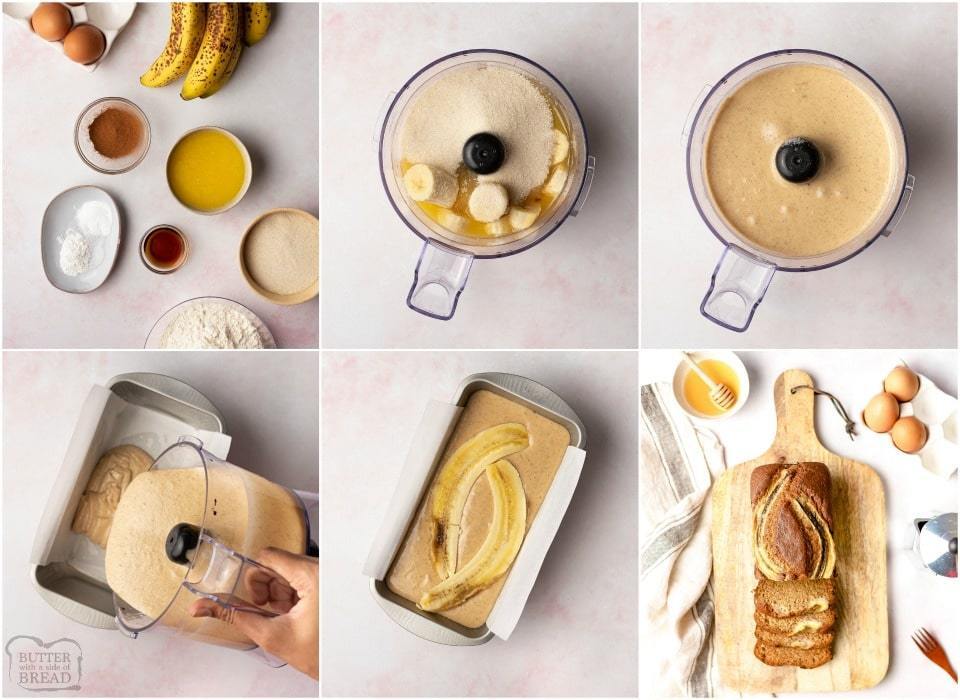
Preheat your oven to 350 degrees F and line a loaf pan with parchment paper. This will make it much easier to perfectly remove your loaf later!
In a food processor, add your bananas, sugar, melted butter, egg, and vanilla extract.
Blend at low speed until they’ve been well combined.
Next, add in the flour, baking powder, and baking soda as well as the ground cinnamon and salt.
Blend together until there are no streaks of flour remaining in the batter.
Pour the batter into your prepared bread loaf pan.
Bake for 60 minutes until a toothpick can be inserted and come out clean. You can also test it by using a cooking thermometer. The internal temperature should read between 190 degrees F and 200 degrees F.
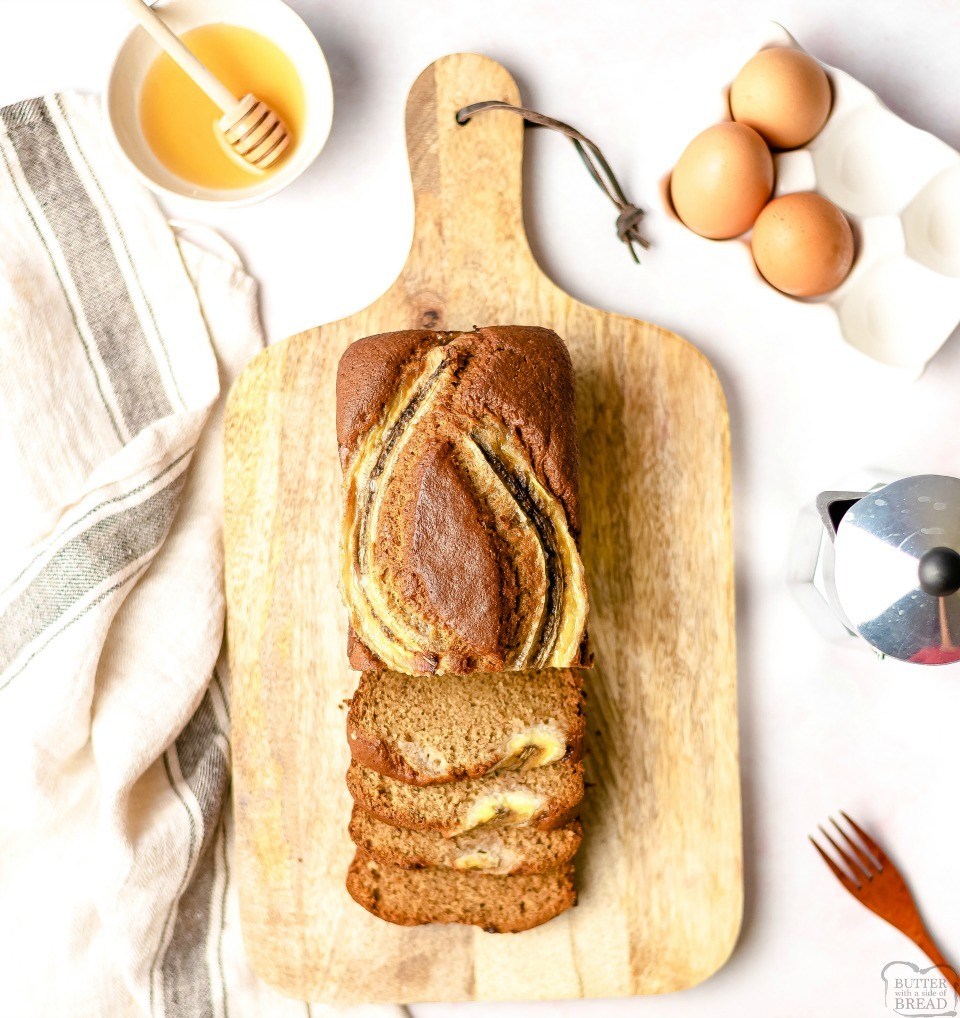
Let the bread cool in the pan for 15 minutes then turn it over onto a wire rack to finish cooling completely.
Slice into 12 slices and serve. Enjoy!

Moist Banana Bread
This delicious moist banana bread recipe is made with ALL butter! This makes it rich, flavorful, and mouth wateringly good. You’re going to love this simple banana bread recipe!
Print
Pin
Rate
Servings: 12 loaf
Calories: 158kcal
Ingredients
- 3 large ripe bananas
- 3/4 cup brown sugar
- 1/2 cup butter melted
- 1 large egg
- 1 tsp vanilla
- 1 1/2 cups all-purpose flour
- 1 tsp baking soda
- 1/8 tsp salt
- 1/4 tsp ground cinnamon
Instructions
-
Firstly, preheat oven to 350* F. Line the loaf pan with parchment paper.
-
In a food processor, add the bananas, sugar, melted butter, egg, and vanilla extract. Blend it at low speed until well combined.
-
Then add the all-purpose flour, baking powder and the baking soda, as well as the cinnamon, and salt into the banana mixture and blend until no streaks of flour remain. Take the loaf pan and pour the batter into it.
-
Bake for 60 minutes, check by inserting a knife or stick in the center of the loaf. It should come out clean. You can also test with a cooking thermometer. Temp should read between 190°F & 200°F.
-
Cool in the pan for 15 minutes, then turn out onto a wire rack and cool completely.
-
Slice into 12 slices and serve.
Nutrition
Calories: 158kcal | Carbohydrates: 22g | Protein: 1g | Fat: 8g | Saturated Fat: 5g | Cholesterol: 36mg | Sodium: 207mg | Potassium: 146mg | Fiber: 1g | Sugar: 18g | Vitamin A: 281IU | Vitamin C: 3mg | Calcium: 18mg | Iron: 1mg

AVOID SUNKEN BREAD
The easiest and best way to avoid sunken bread is to use a cooking thermometer to check the inside of the loaf. Fully cooked bread will register 200°F on a thermometer. My all-time favorite thermometer is the Thermapen. It’s super fast and incredibly durable. Another great cooking thermometer is the ThermoPop which is a more basic version that works just as well.
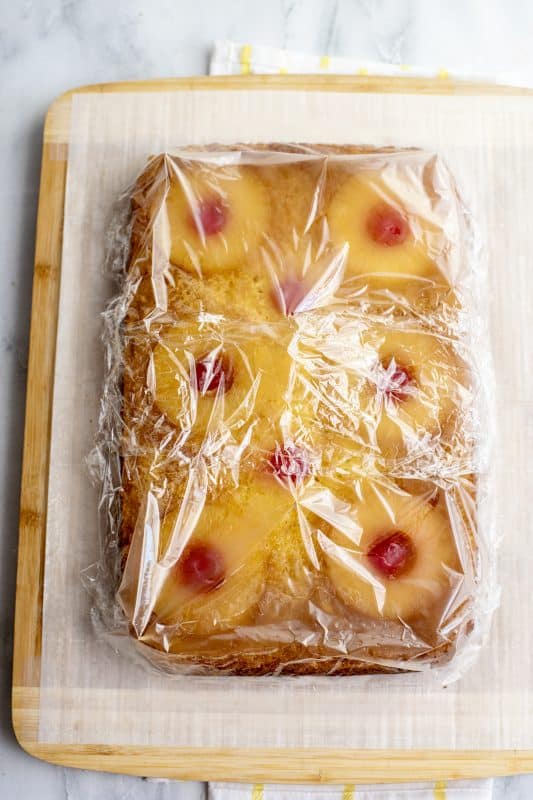
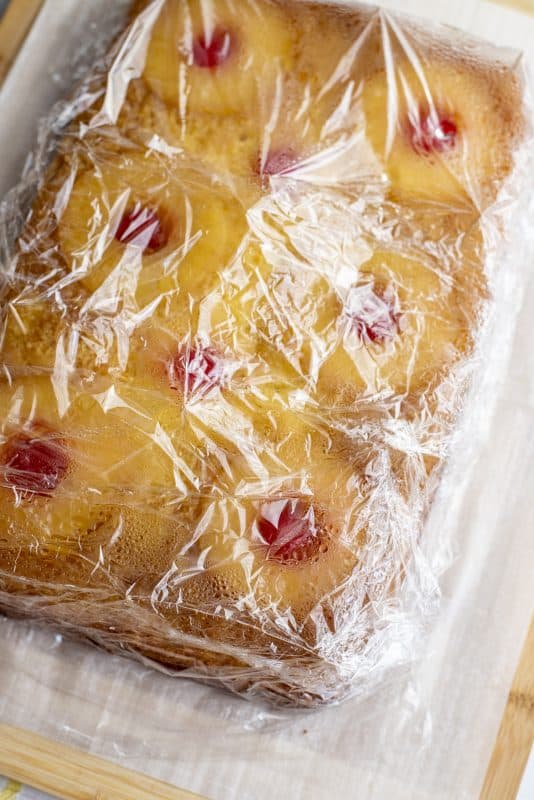
Can I freeze banana bread?
Absolutely! Banana bread can be frozen after it’s cooled completely. Just wrap it in wax paper and then store it in a plastic baggie or airtight container for up to 3 months. This will prevent some freezer burn and help to get it to last even longer. Just thaw before eating and enjoy!
Can I use green bananas to make banana bread?
No. Green bananas aren’t very sweet and are naturally a little more fibrous and harder to mash. The more yellow banans become the more naturally sweet they are and the softer they become. Bananas are perfect when they’re a deep yellow and starting to become speckled with brown spots on the peel. That’s a great indicator that they’re ready for baking!
Looking for more banana bread recipes? Check out these suggestions!

Super moist banana bread is a wonderful and delicious recipe that you’re going to love. With a soft and rich banana bread like this, you won’t want to wait long for your next baking session!
Related