An easy 30-minute recipe starting with searing the chicken breasts on the stovetop, then oven-baked to finish them off for a great tasting, moist, and tender weeknight dinner.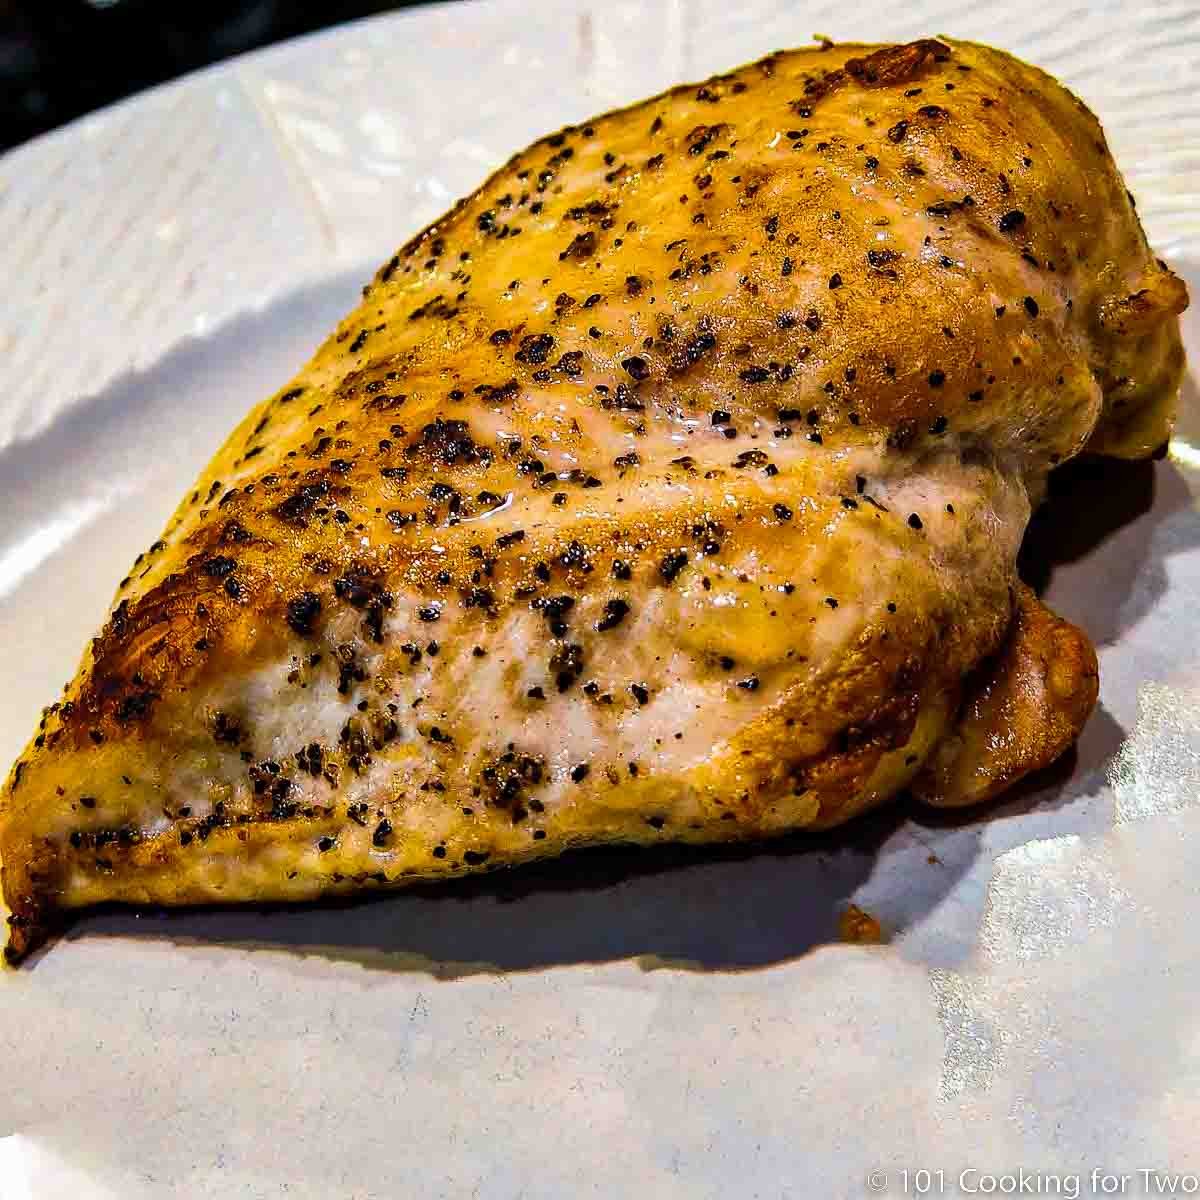
Jump to:
![]()
Introduction and My Rating
This is really how I cooked for many years. I would get home from work, and I was tired, but we want a good dinner. I spent 5-10 minutes of preparation time and usually finish in the oven as I’m unwinding, and in another 15-20 minutes or so, dinner is made.
Faster than ordering pizza and so much better, healthier, and if you’re cheap, then cheaper. You must think ahead a little and have a main course in the fridge.
I have a freezer in the garage fridge for meat only. I might take out a couple of chicken breast, a pork tenderloin, and some sirloin and just let them thaw in the fridge for a few days and work my way through them.
The Maillard Reaction
One of the secrets of this recipe is searing. You get a nice Maillard reaction (the searing/browning) to add lots of flavors you get no other way.
A Maillard reaction is a reaction promoted by heat between proteins and carbohydrates. After several steps, it leads to browning and new flavors. It is different from caramelization since caramelization involvesthe only carbohydrate.
Just sticking them in the oven will not get you there. Get them close to the final color you like during the searing before you move on the oven roasting step.
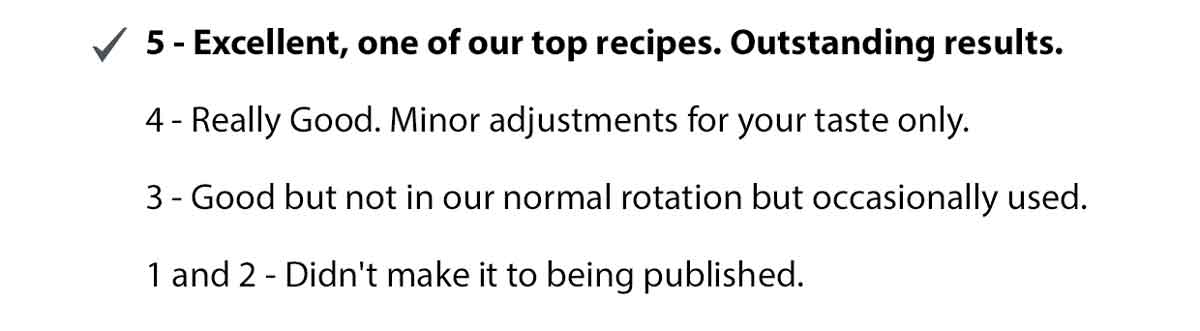
My Rating
This is number one in the standard rotation. A very strong 4. It is a little plain to be a 5 rating.
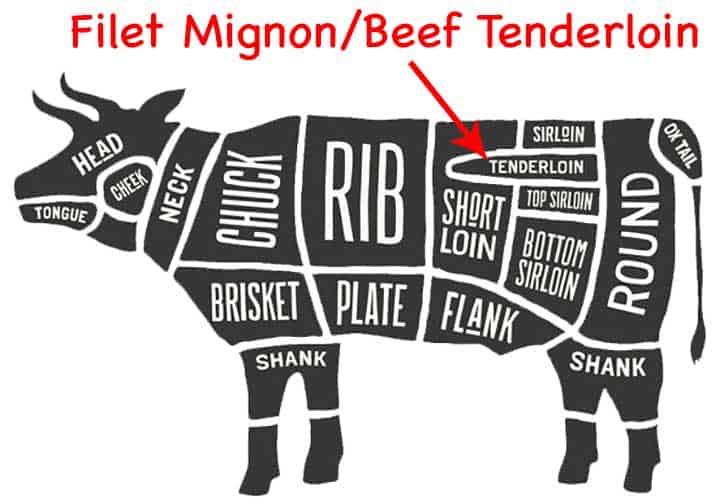
🐓The Chicken
This is a skinless boneless chicken breast recipe. It is not for skin-on or bone-in breasts. You can use skinless chicken thighs, but I suggest a finish temperature of 175° to 180°, although 165° is safe.
If you are doing more than one breast, try to use breasts of about the same sizes and thickness. If the breasts you are using vary in thickness, you should flatten the thicker one down a bit with a meat mallet or heavy pan. If your chicken breasts are an inch thick, flatten them down a little to 3/4 inch thick.
This should not be done with chicken that is still frozen. The outside will be over-cooked and chewy before you get the thickest part of the breast to the safe temperature of 165.
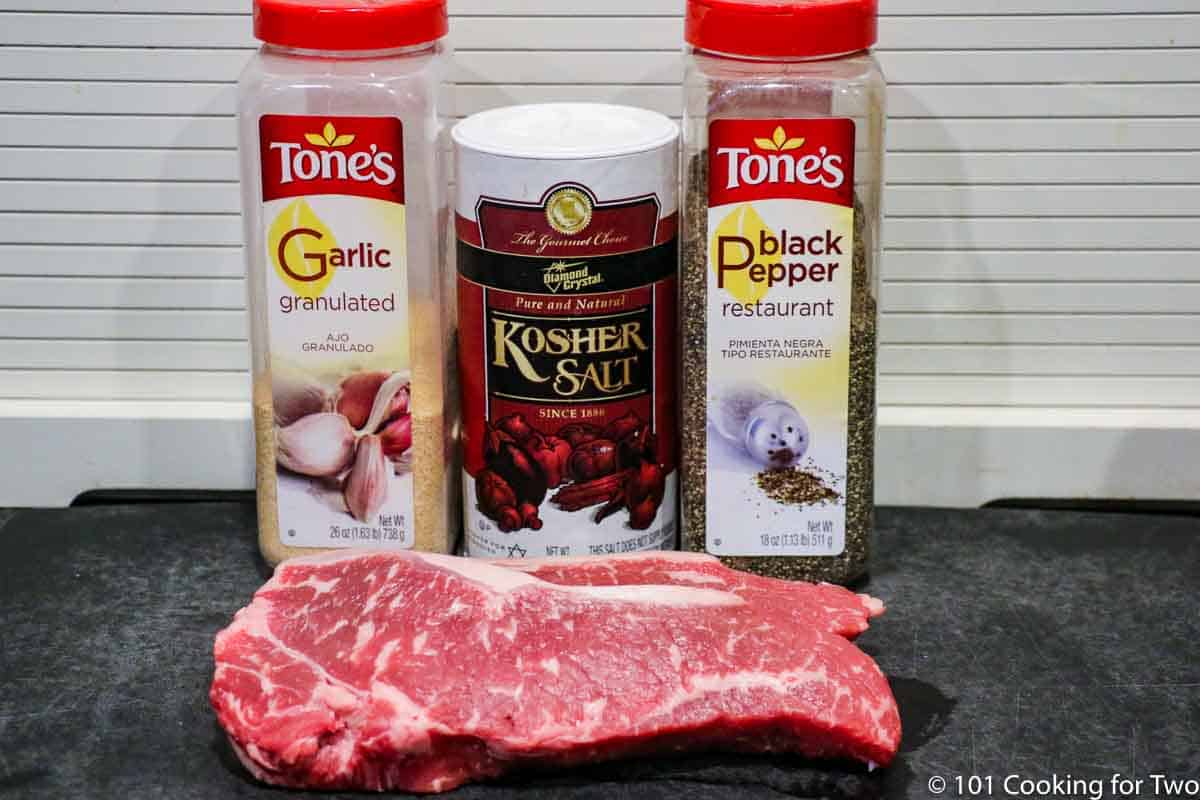
🧂The Seasoning
This is a season as you wish recipe, but I don’t suggest anything with sugars since they might burn with the searing.
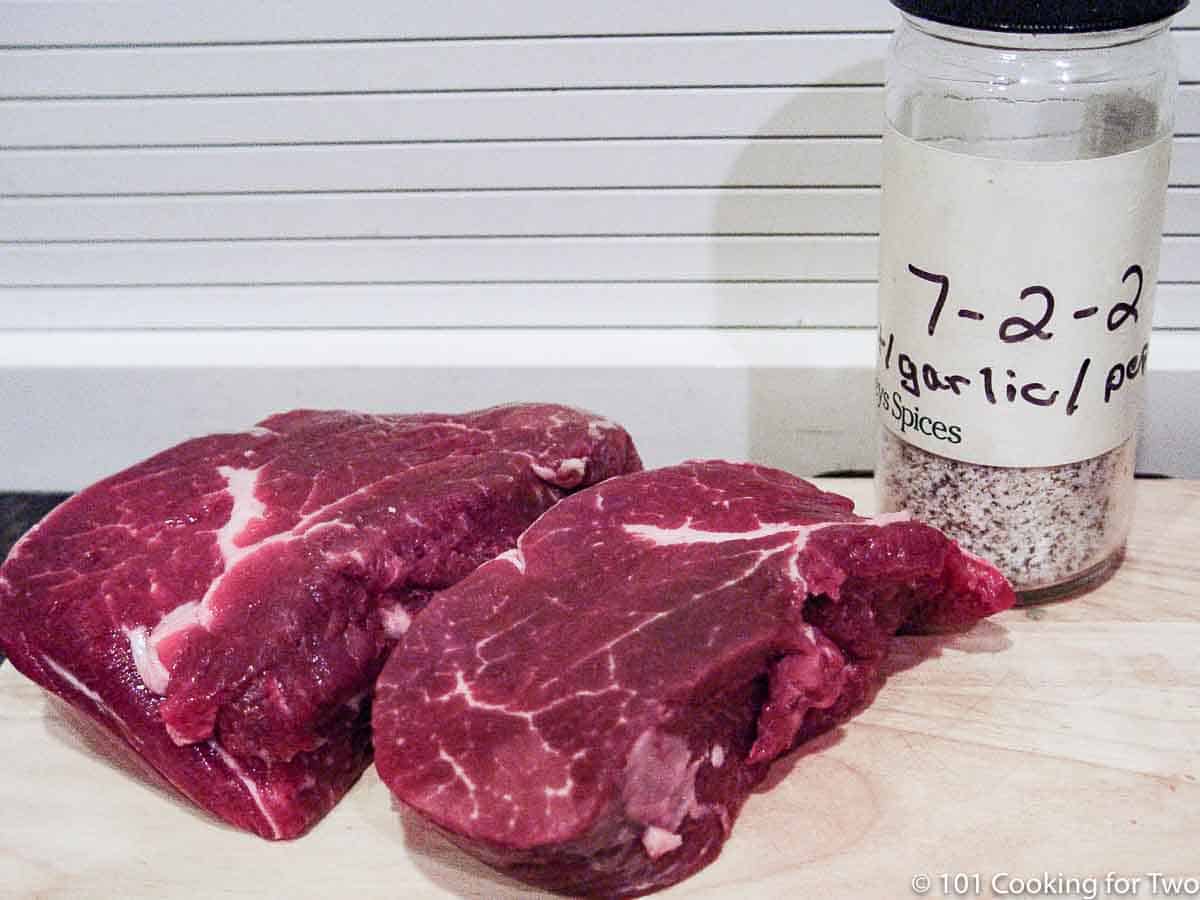
Just a coarse salt and pepper will do, but we like our homemade All Purpose Seasoning – 7:2:1 and 7:2:2 and keep it on the stovetop. It adds garlic, which is required in our household.
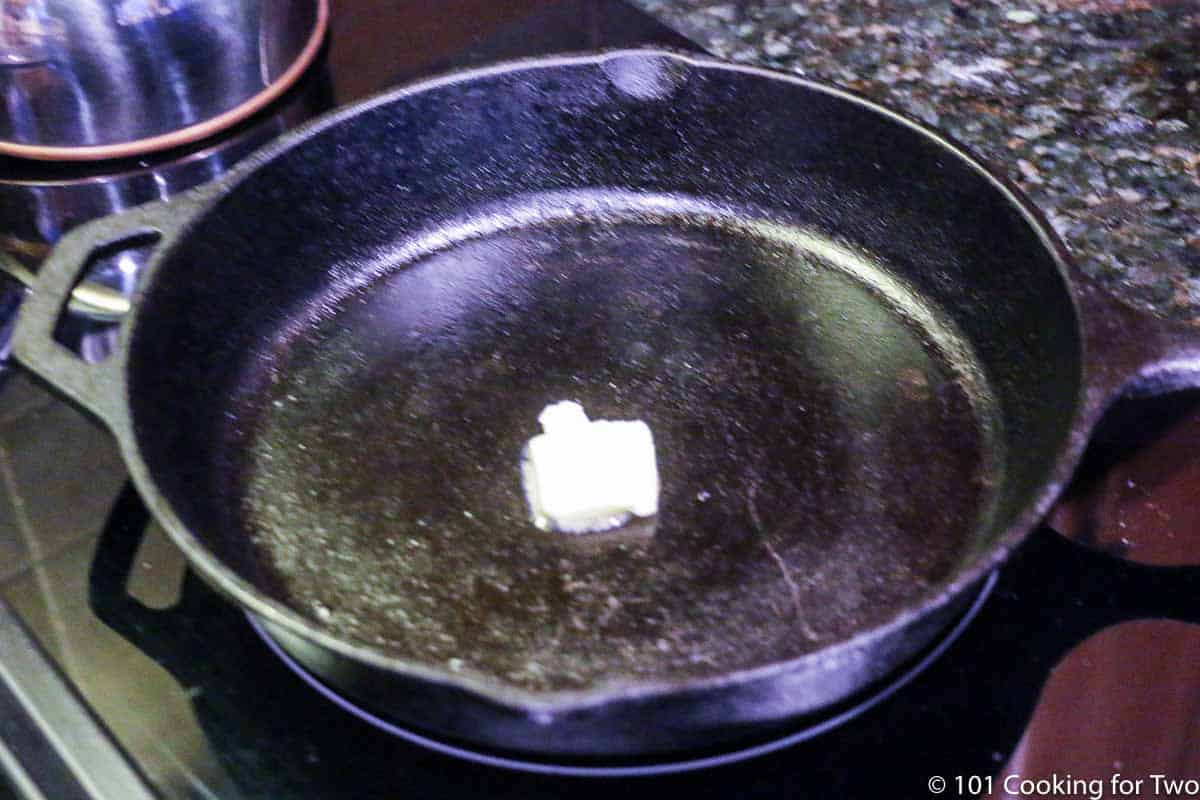
♨️The Pan
This is a perfect recipe for cast iron. I generally use a 10-inch skill for this. It is the perfect stovetop to oven pan and just the right size for two breasts.
Other sizes and non-cast iron skillets can be used. But be sure you are using an oven-safe pan if you are moving it from the stovetop to the oven.
If you don’t have an appropriate pan, you can use a different pan for the stovetop then transfer the chicken to a preheated oven-safe pan to finish cooking.
⏰Time
The most common size breasts (10-12 oz.) will take about 15 minutes in the oven after a nice medium searing. A large, thick breast will be 5 minutes or a little longer. A small breast may take a little as 10 minutes in the oven.
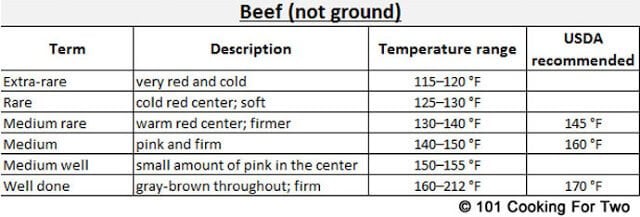
Always cook to a final internal temperature of 165° and never by time alone. Times are provided to help you plan only.
There is only a little variability in this recipe, and most of it is related to the thickness of the chicken breasts and a bit by the amount you sear.
These time estimates are based on an oven temperature of 375° convection or 400° conventional oven. You can use a different oven temperature if you are cooking something else since you are cooking to a final internal temperature. It will take a bit longer or shorter, depending on your adjustments.
Also, be sure to let the chicken rest for 5 minutes before cutting to reabsorb the fluid in the meat from the cooking process.
👨🍳Food Safety Tips
For safety, you must check the internal temperature of the thickest part of the breast and get to 165°.
Chicken should not be rinsed for food safety. It will splatter germs over your kitchen. For more details, please see Chicken- To Rinse or Not To Rinse? .
📖Chicken Breast Recipes
Baked Chicken Breast
Parmesan Baked Chicken Breast
How to Grill Chicken Breasts on a Gas Grill
![]()
![]()
🖼️Instructions
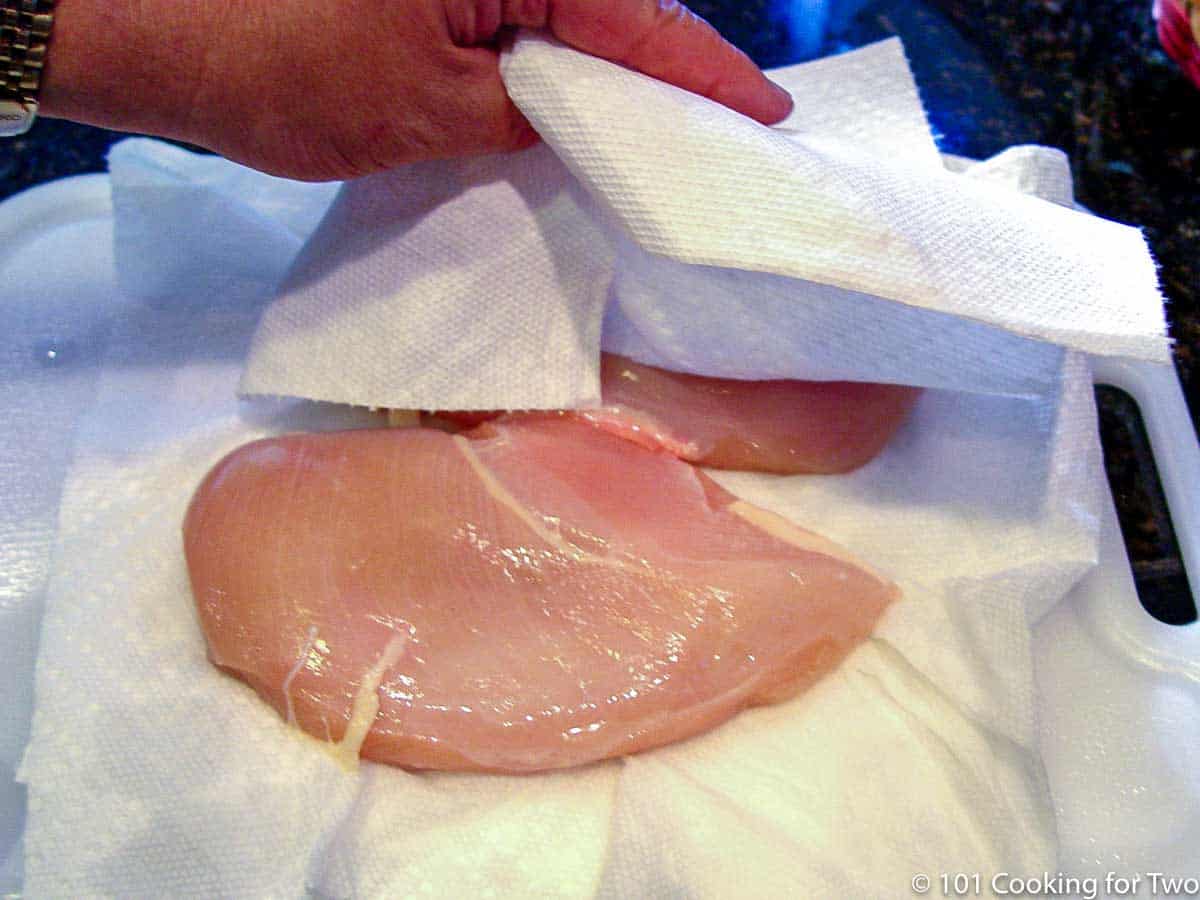
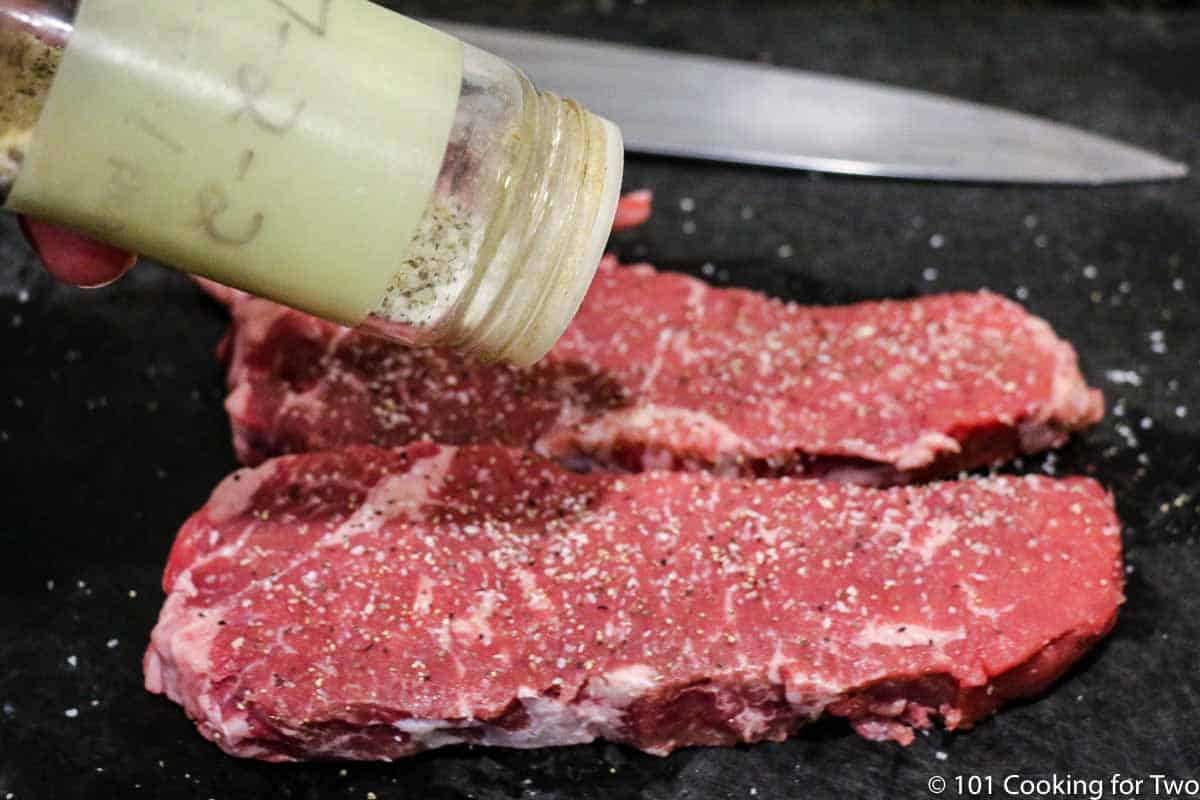
Preheat the oven to 375° convection (400° for a regular oven). Put an oven-safe pan on a stovetop over medium-high heat with a teaspoon of oil. I use a 10 inch cast iron skillet. Trim and pat dry the chicken
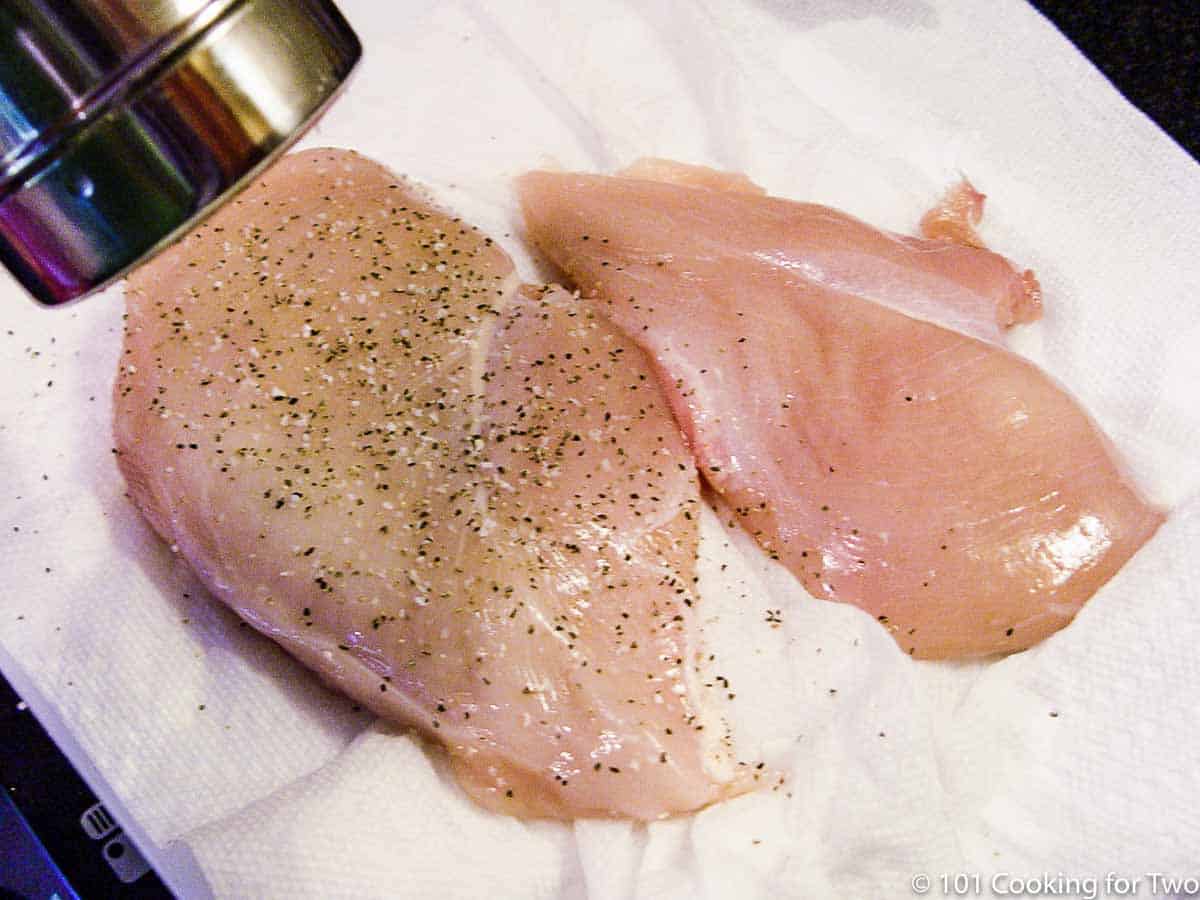
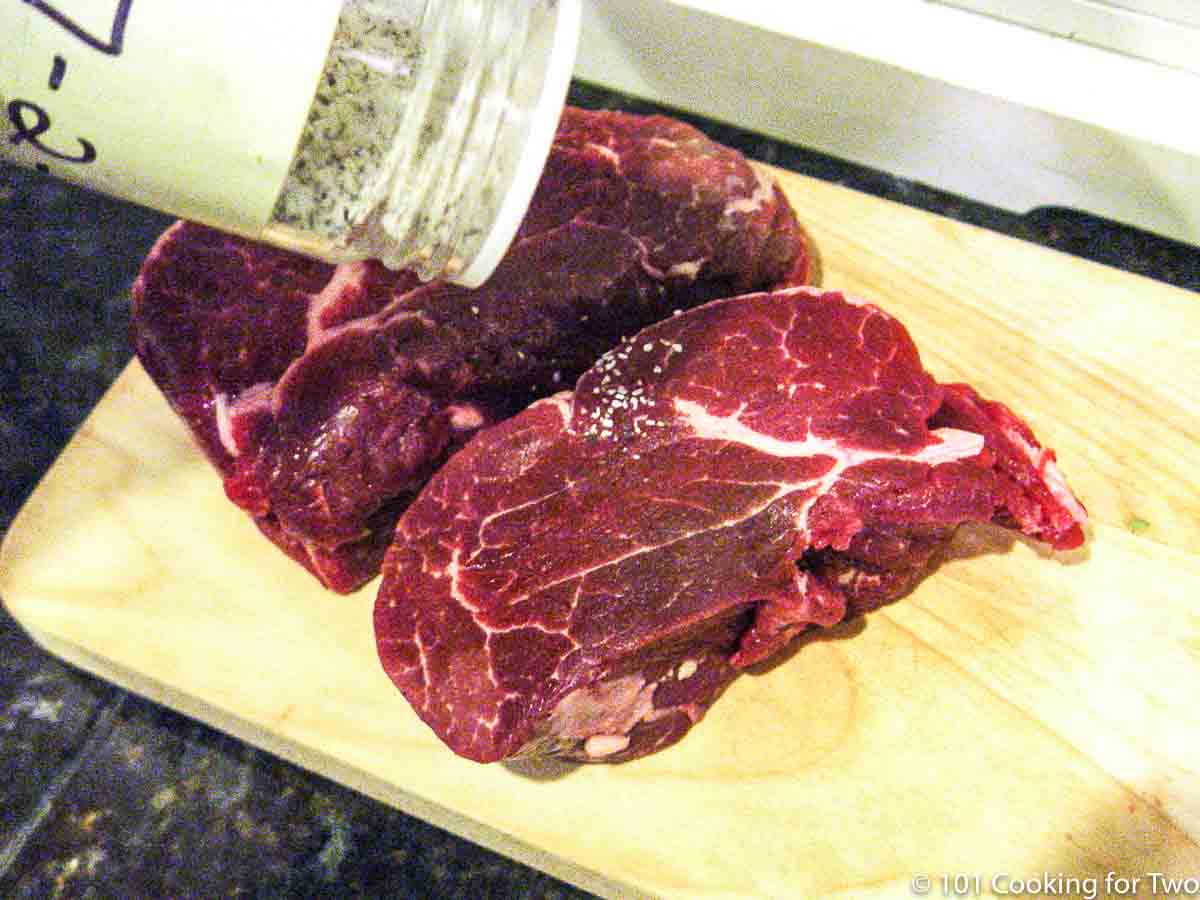
Sprinkle lightly with salt and pepper or seasoning of your choice.
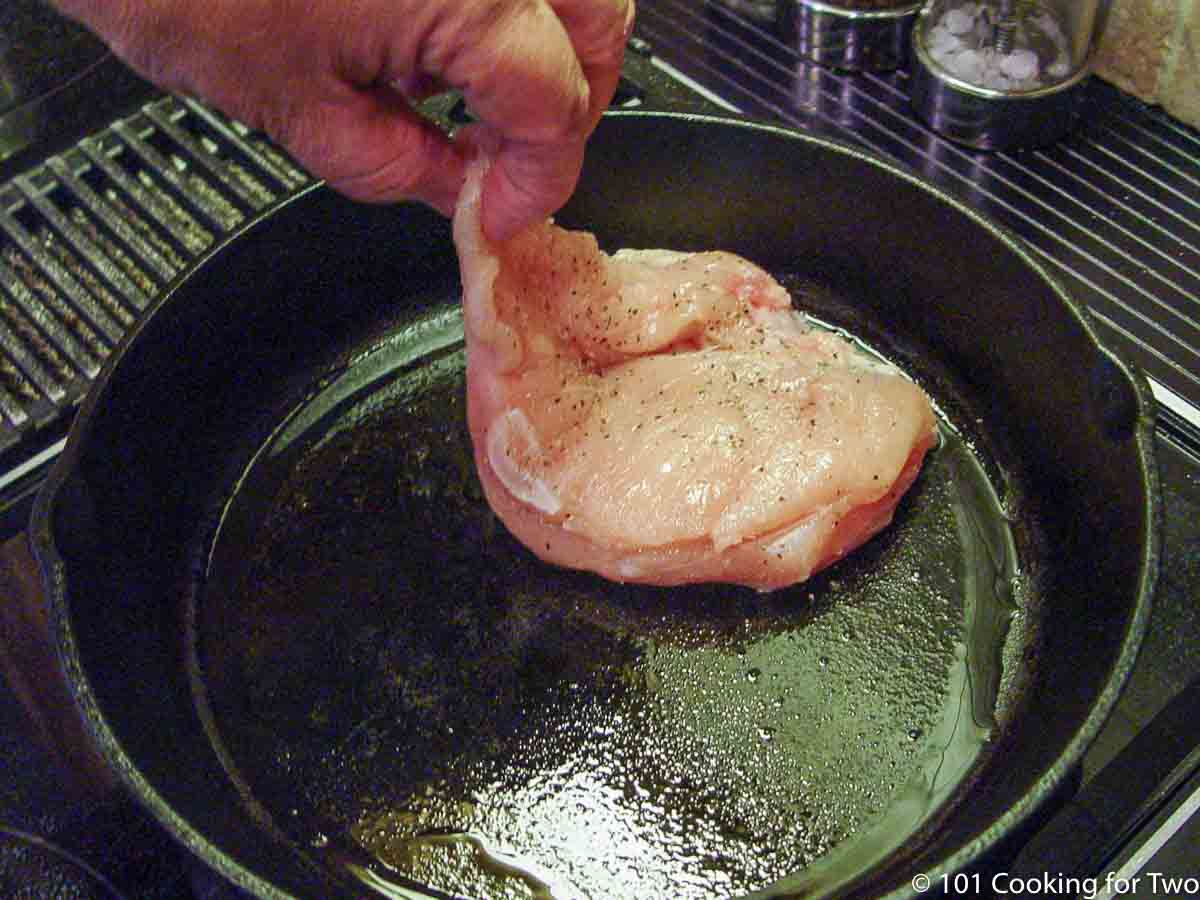
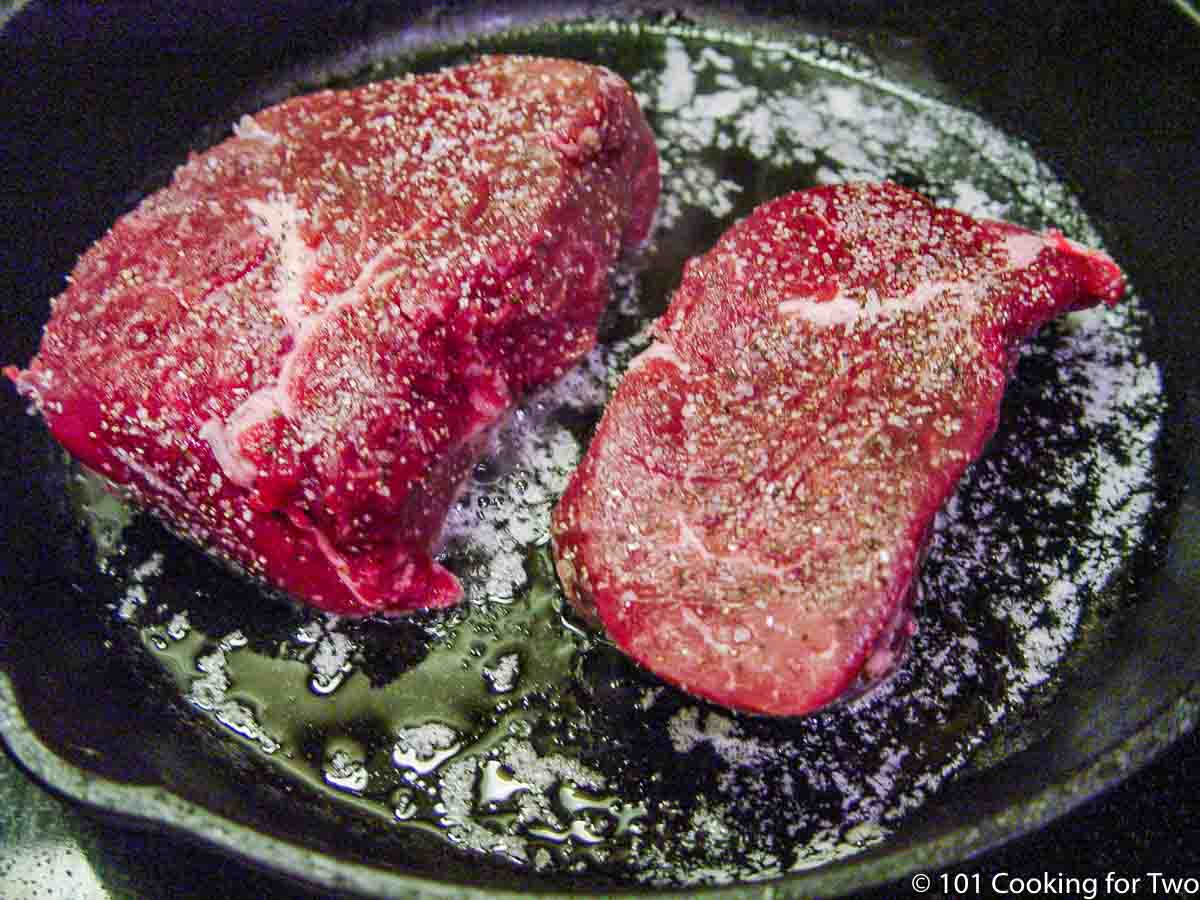
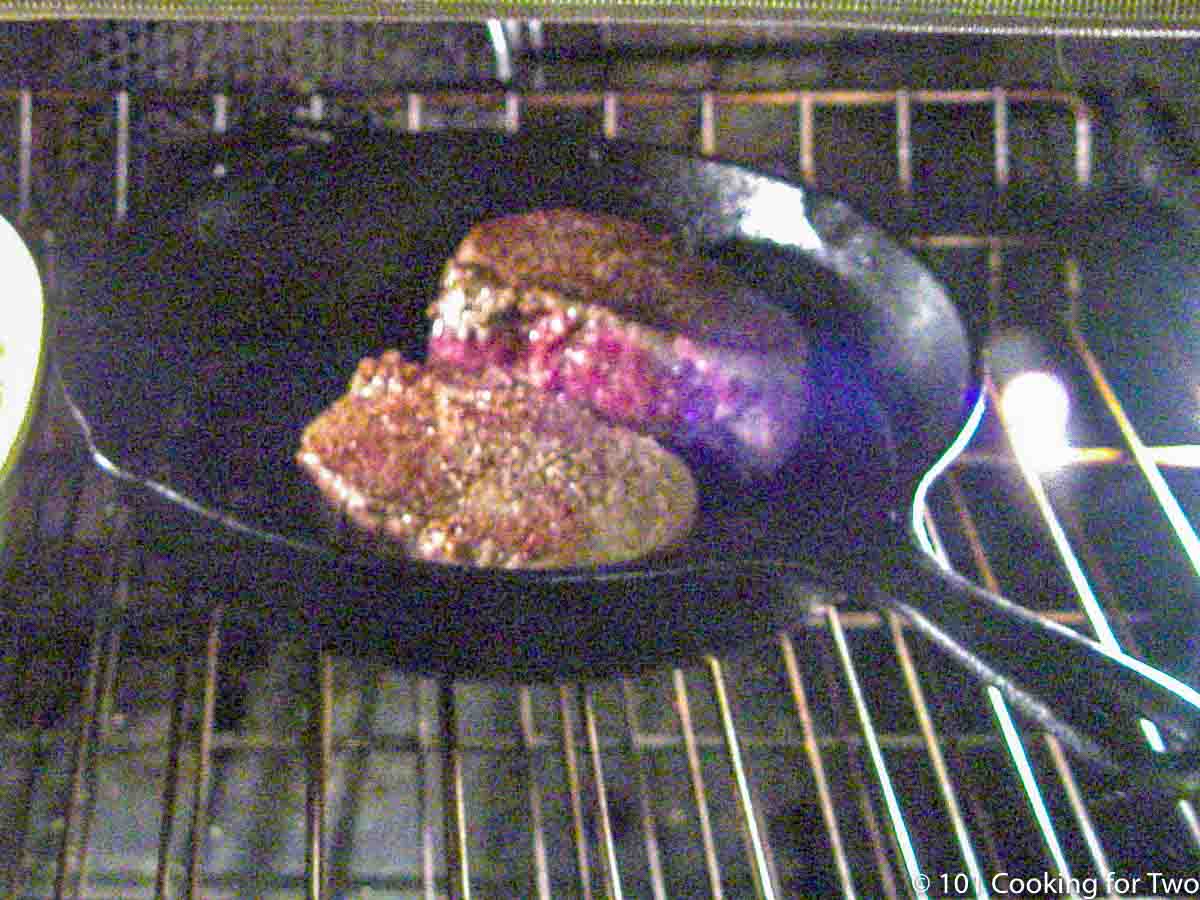
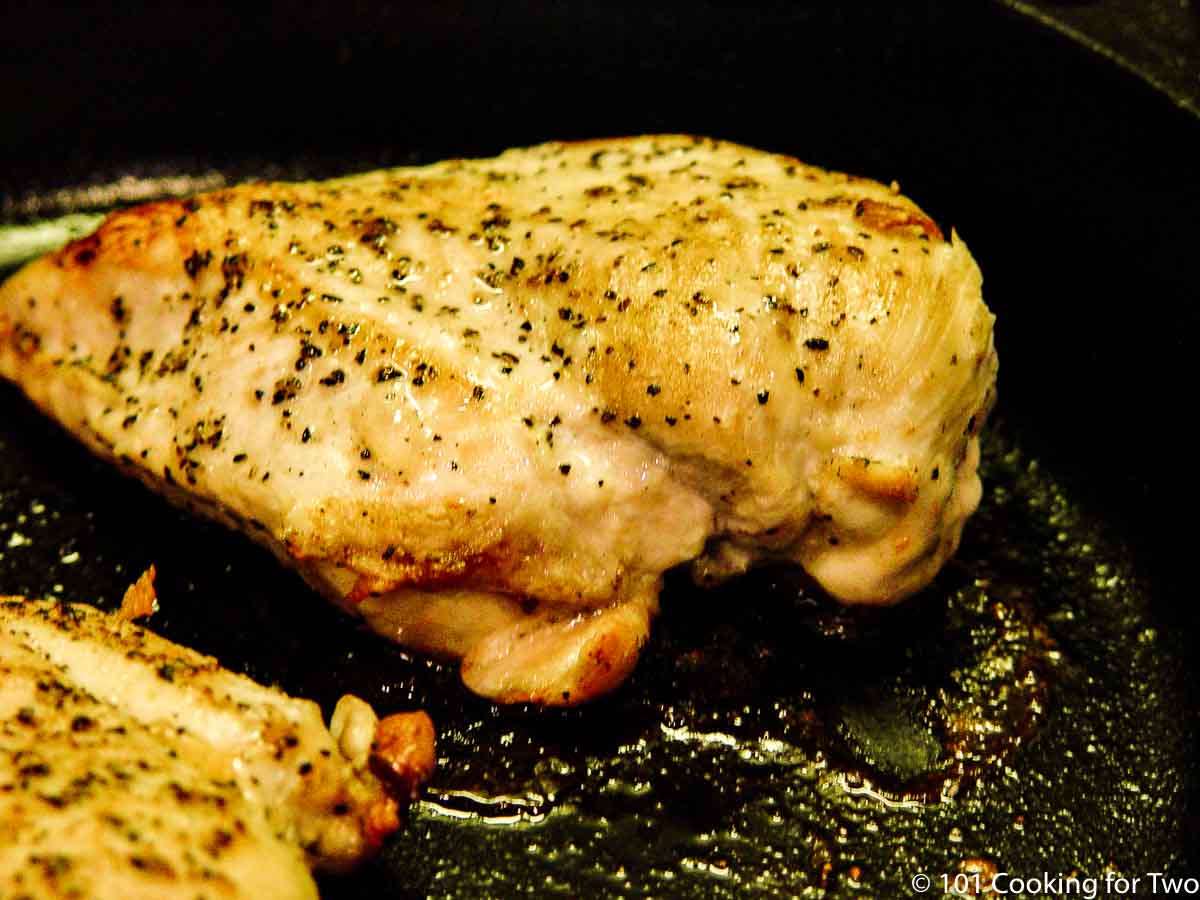
When the oil is hot and shimmering, carefully lay the chicken breast in the hot pan. Brown both sides for 3-4 minutes each.
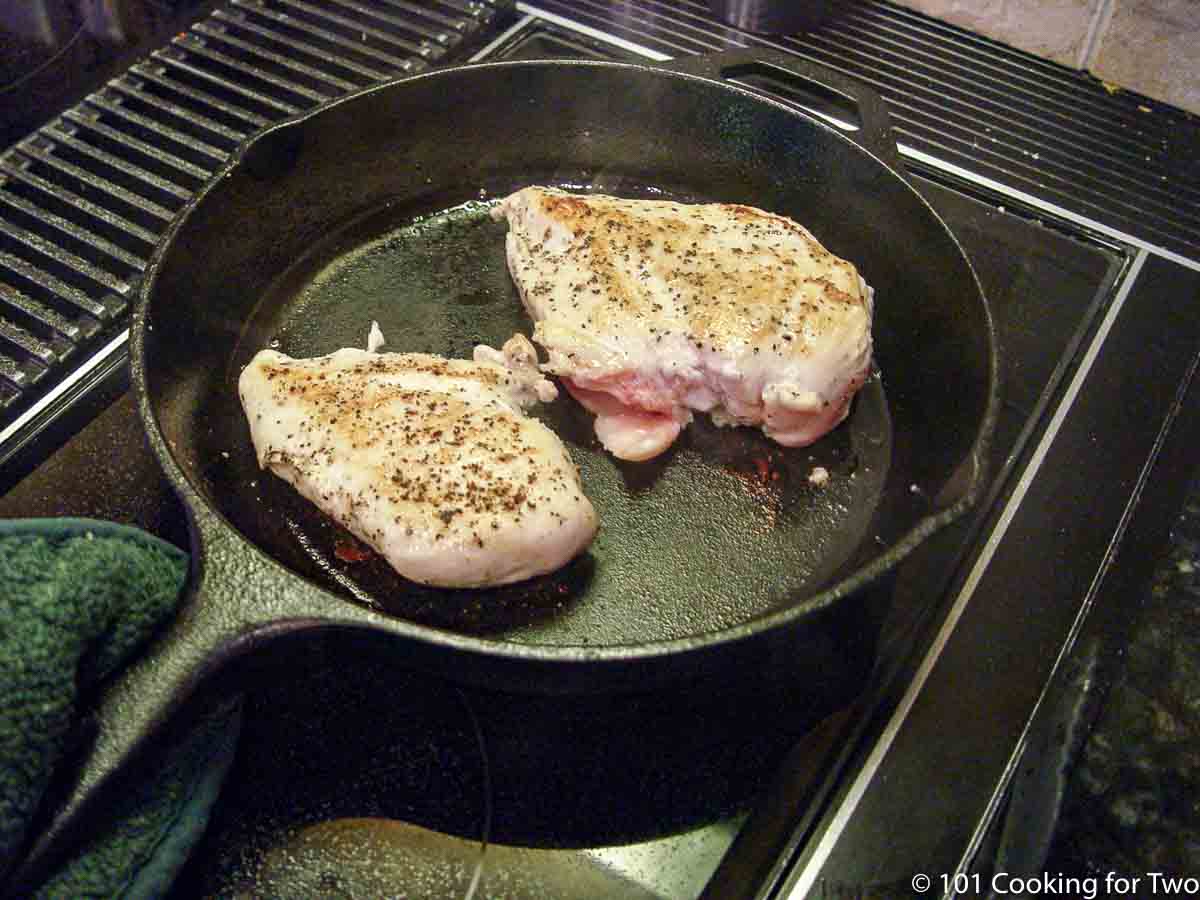
Get them to almost the color you want when eating. So you have seared, flipped, seared, flipped, and then to the oven.
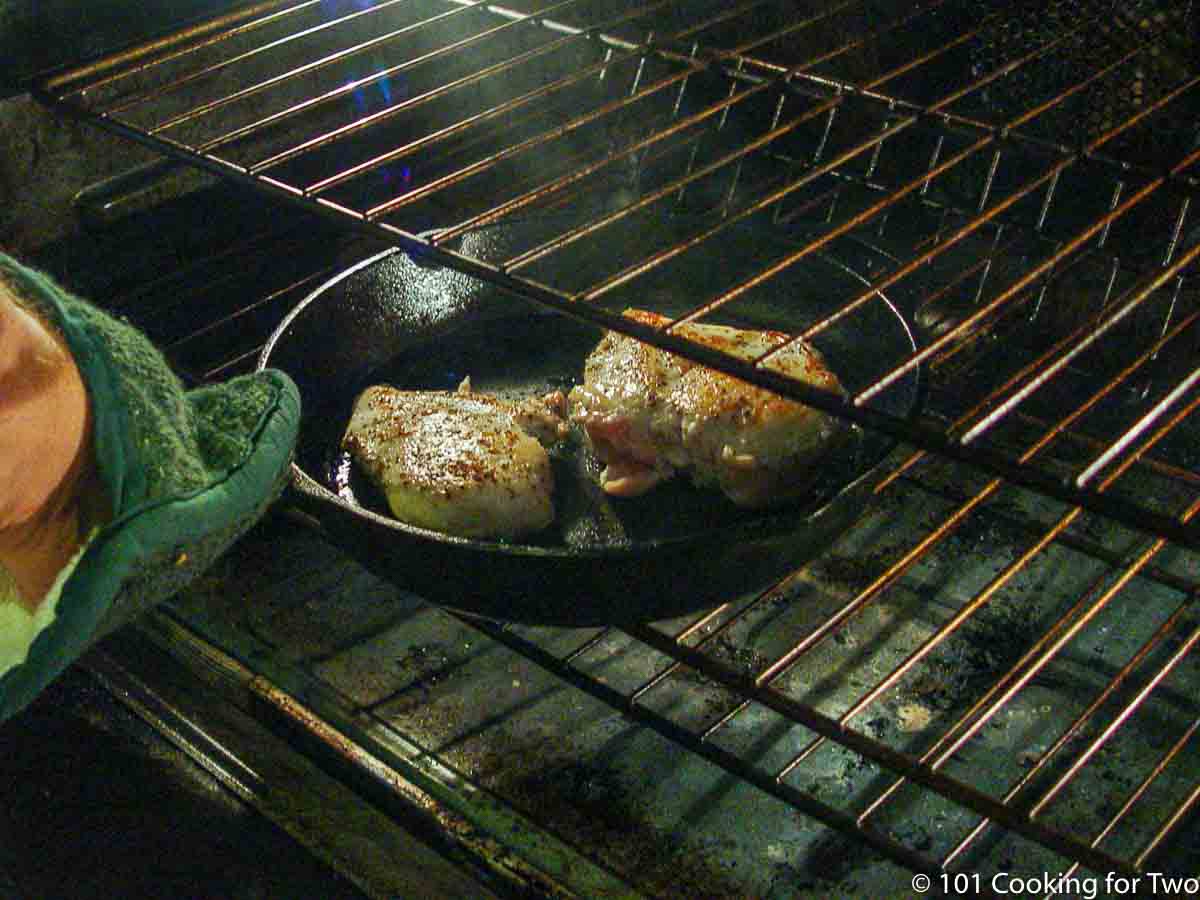
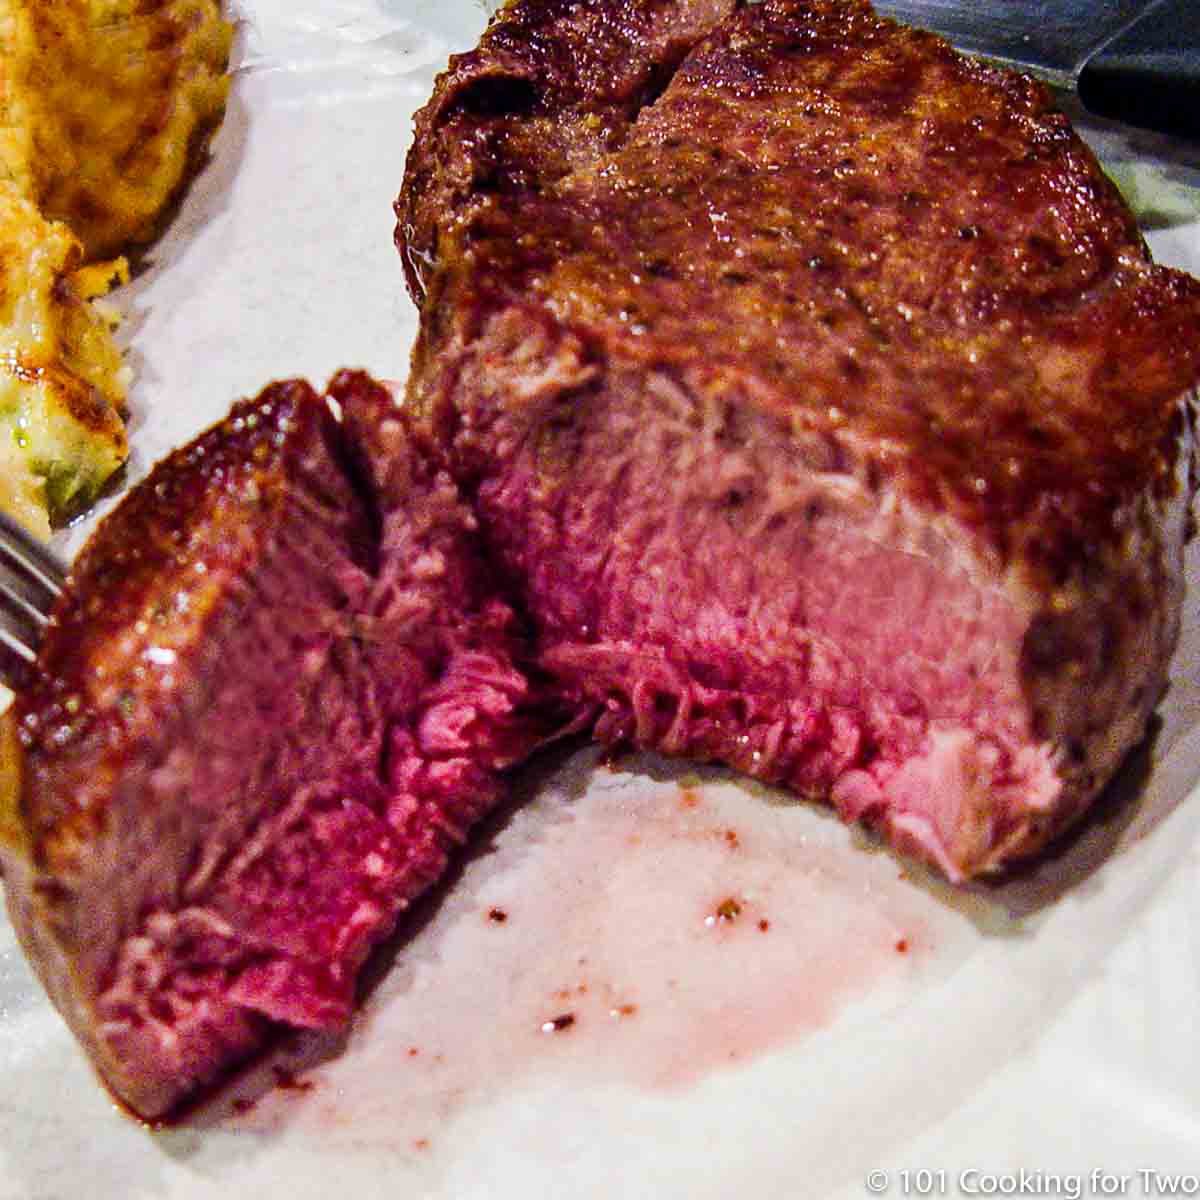
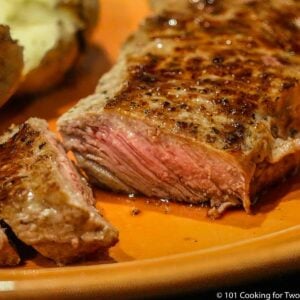
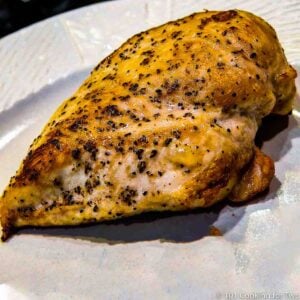
Bake for 15-20 minutes until an internal temperature of 165°. The thinner breast will be 15 minutes and the thicker bigger ones for about 20 minutes.
Let rest for 5 minutes before serving. Done in less than 30 minutes, and you spent most of the time setting and unwinding. Not bad, not bad at all.
![]()
![]()
Do you want more recipes from 101 Cooking for Two? Sign up for the newsletter and get all posts delivered straight to your inbox!![]()
📖 Recipe
Pan Seared Oven Baked Chicken Breast
An easy 30-minute recipe starting with searing the chicken breasts on the stovetop, then oven-baked to finish them off for a great tasting, moist, and tender weeknight dinner.
Ingredients
Recipe Notes
Pro Tips:
- Do not try with frozen chicken.
- Try to use breast of about the same size and thicken. If over 3/4 inch thick, flatten them a bit with a meat mallet or bottom of a heavy pan.
- Season as you want but I suggest nothing with sugar that may burn. We use All Purpose Seasoning – 7:2:1 and 7:2:2.
- Start searing with a preheated pan, not cold. The oil should be shimmering. You may need more oil if you don’t use well-seasoned cast iron or non-stick skillet.
- Sear in the pan to approximately the final color you want.
- First, sear with the smooth side up, then flip, sear, then one final flip as it goes into the oven.
- The oven time can vary by size and thickness. Usually, 15-20 minutes but you must check for the final internal temperature of 165°. Thinner breasts may take as little as 10 minutes.
- Rest for 5 minutes after cooking before cutting.
TO ADJUST THE RECIPE SIZE:You may adjust the number of servings in this recipe card under servings. This does the math for the ingredients for you. BUT it does NOT adjust the text of the instructions. So you need to do that yourself.
Nutrition
Calories : 220kcalProtein : 48gFat : 4gSaturated Fat : 0.3gPolyunsaturated Fat : 0.3gMonounsaturated Fat : 2gCholesterol : 140mgSodium : 710mg
Serving size is my estimate of a normal size unless stated otherwise. The number of servings per recipe is stated above. This is home cooking, and there are many variables. All nutritional information are estimates and may vary from your actual results. To taste ingredients such as salt will be my estimate of the average used.
Editor’s Note: Originally Published August 28, 2011. Updated with expanded options, refreshed photos, and a table of contents to help navigation.