Tasty, moist everyday basic meatloaf adapted from a Paula Deen recipe at Food Network. Everybody needs easy dinner recipes. Just follow these step by step photo instructions.
Jump to:
Introduction and My Rating
My heart can’t take reading most Paula Deen recipes. The doctor in my just can’t take it. But I enjoy watching her cook and her personality.
So I wanted meatloaf and a Food Network email arrive, and there were Paula Deen and her basic meatloaf, and it looked like I would live through it. But realize there were two dangers to my health. First was cardiac from the usual multiple sticks of butter in a Deen recipe. The second was from head trauma when my wife finds out I made meatloaf with a different recipe. I lived through both.
The original recipe was for 1 pound. Never will I make a 1 pound meatloaf. We always cook for leftovers. I made this as a double recipe, so the few photos are for a double size, but the discussion is for a one-pound meatloaf.
My Rating
A medium 4. Ours is better. We like our Classic Meatloaf better. My wife described this as eating stuffed peppers (she does like stuffed peppers). So make your choice. Both are good and quick.
♨️What is Meatloaf?
Traditionally, meatloaf was a way to stretch the more expensive meat into a large family meal. But I like to think of it as an enhancement of the meat to make something relatively boring into a tasty treat.
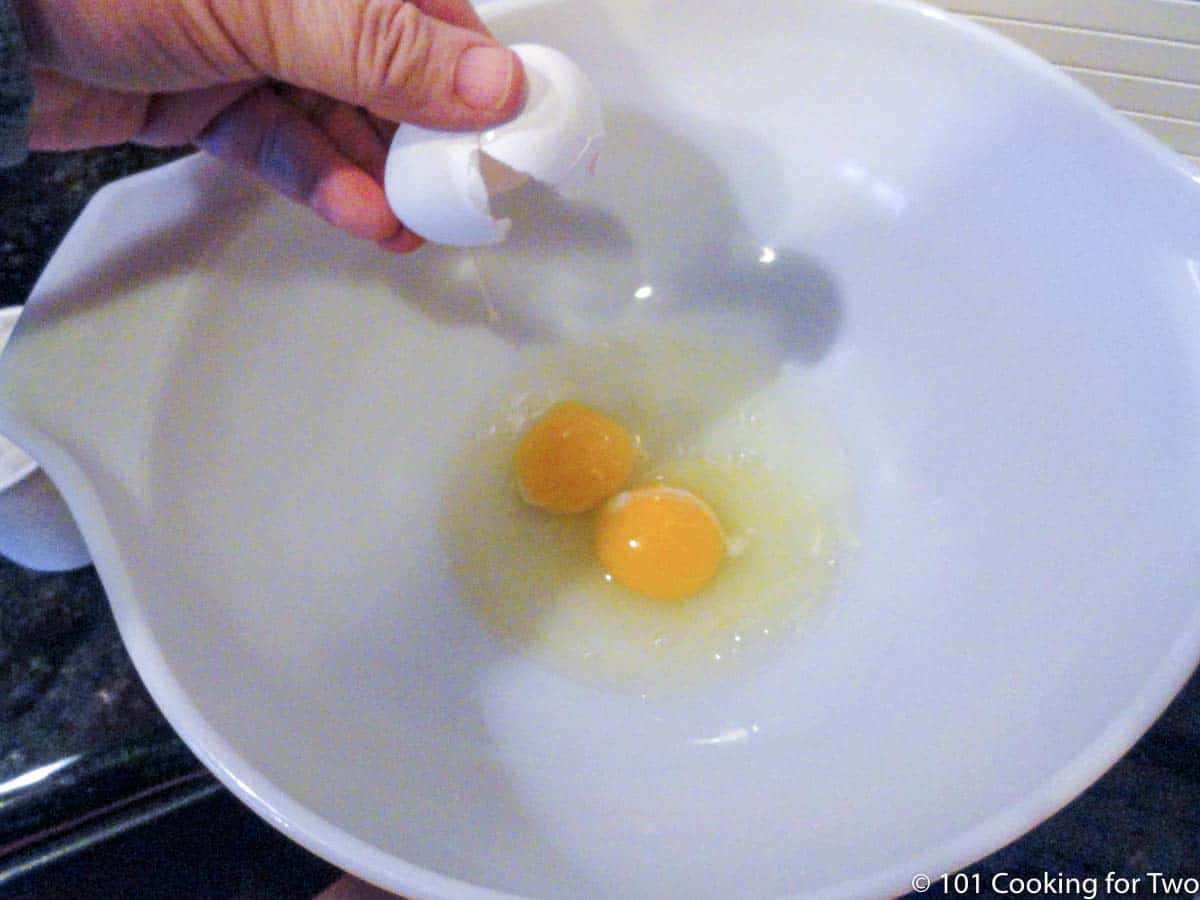
There is a bread and usually milk of some type to help moisture. There is the egg to hold it together. Seasonings, including salt, pepper, and onion, are almost always used. Ketchup or a tomato product of some type. And in this recipe and many others some green bell pepper.
Number of ingredients
Meatloaf should be quick and easy, and this one qualifies. Many published recipes have up to 16 ingredients. Unbelievable.
This one has 8 plus 3 for the topping. Mine has 8 total, but I only top with ketchup. So not much difference.
✔️Tips
The exact cooking time will vary by your pan and oven, some but mostly by thickness. Please check the temperature. This is a ground meat recipe, so for safety, you need a minimum internal temperature of 165°.
I made the green pepper optional since it seemed to dominate the flavor too much for our taste.
I never make a one-pound meatloaf. It is just too good for leftovers. Double or triple, please.
For years I “drained” the meatloaf with a turkey baster. It never worked very well, so today’s helpful hint is to use an 8-inch spatula and just lift it out to a plate.
Good refrigerated for 3-4 days and frozen for 3-4 months.
Classic Meatloaf
Baked Meatloaf Burgers
Old Fashion Salisbury Steak with Onion Gravy
🔪Instructions
NOTE: All discussion and the recipe card are set to a one-pound meatloaf. All images are for a two-pound meatloaf, which is the smallest I make since leftovers are essential.
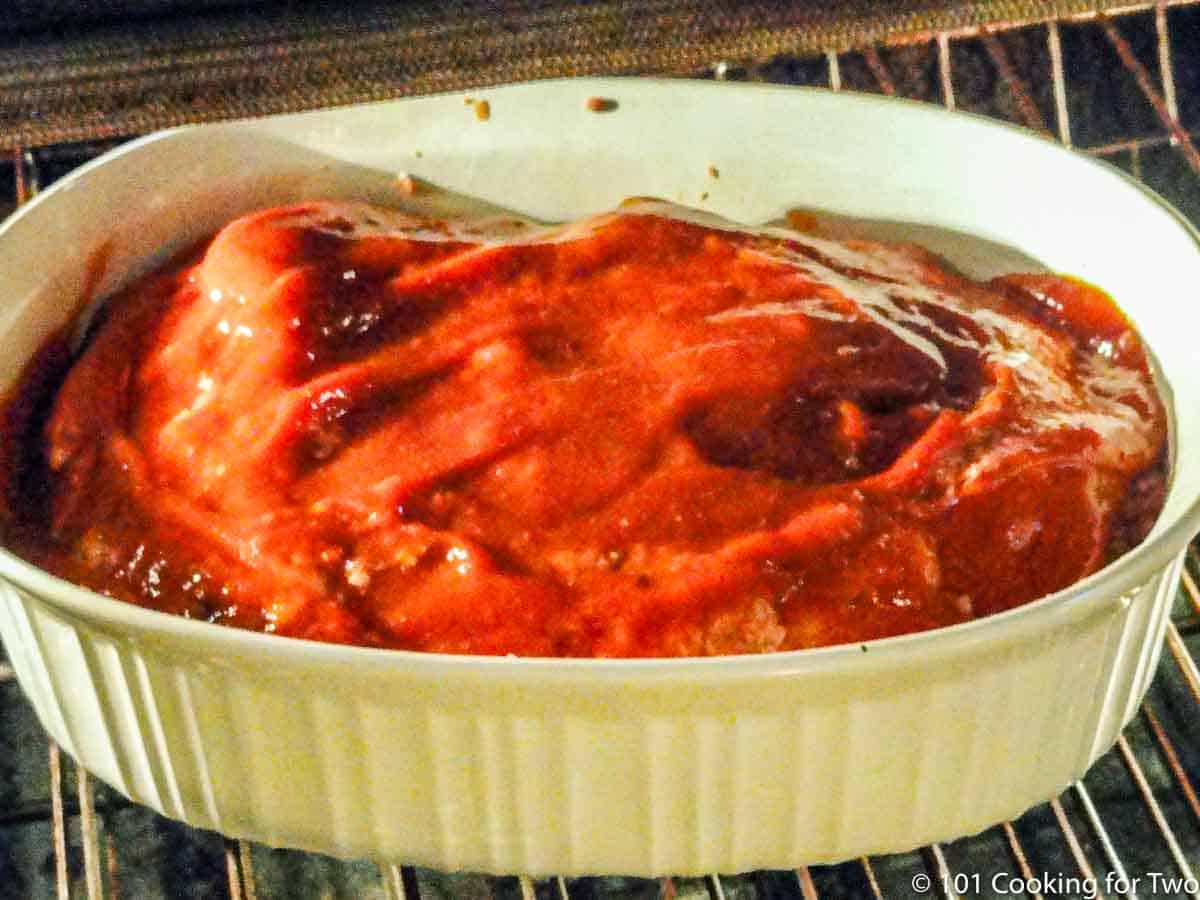
Preheat oven to 350° convection or 375° conventional. Mix all ingredients in a large mixing bowl and transfer to a baking dish. Like all meatloaf, do not over mix.
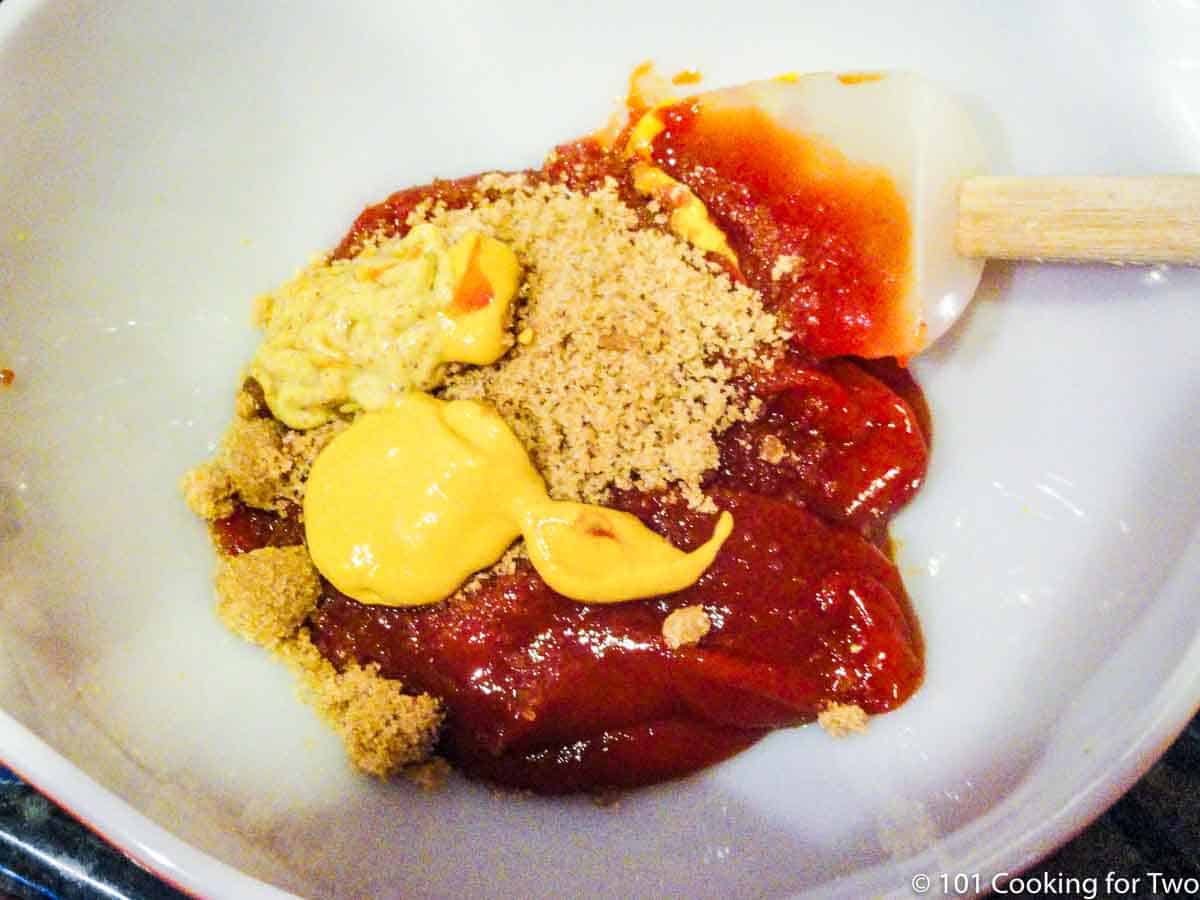
Mix topping.
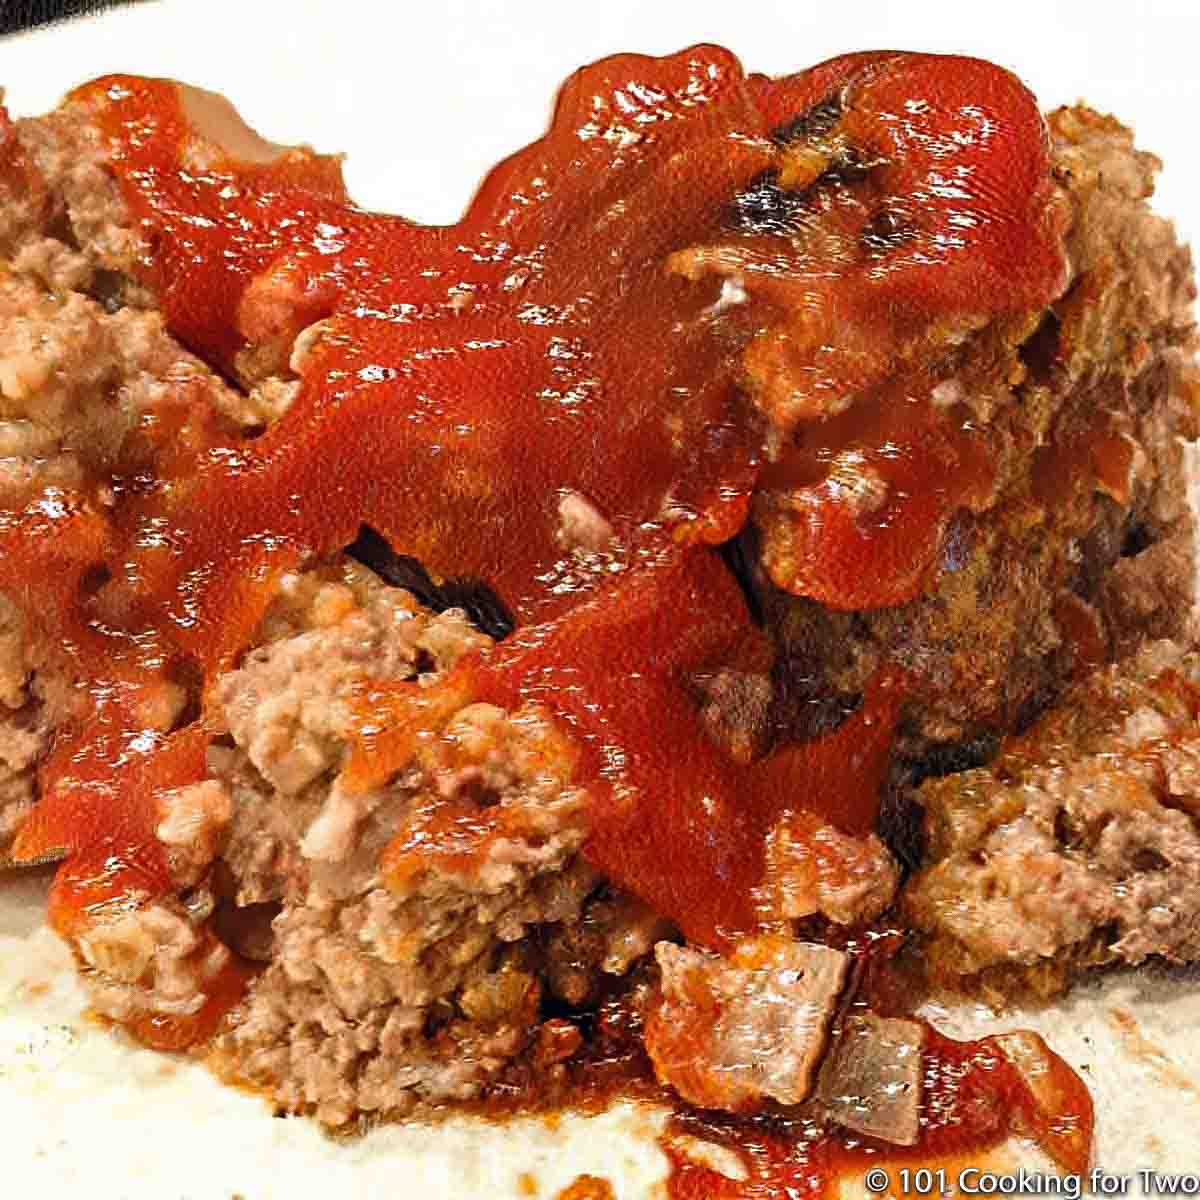
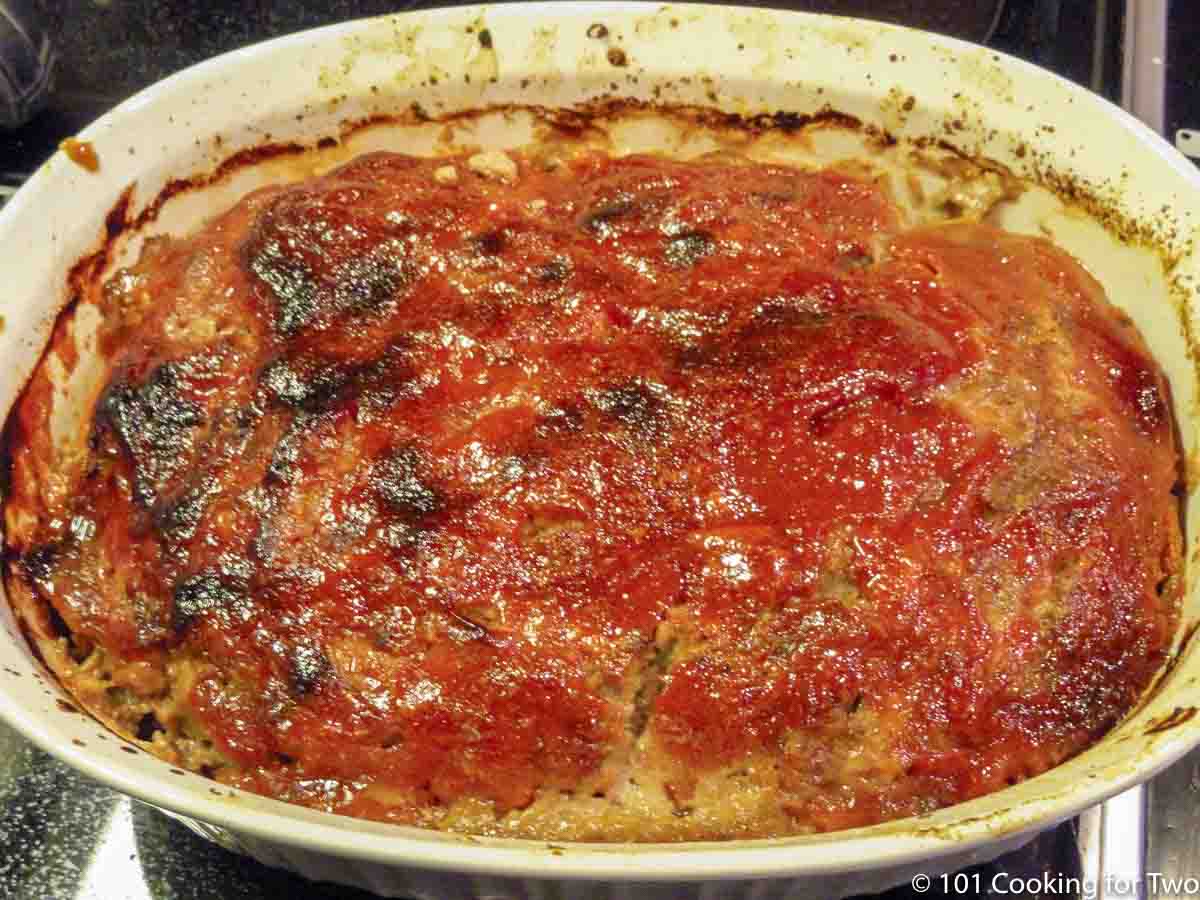
Spread the topping over the meatloaf then bake for approx 1 hour until an internal temp of 165°.
Drain or remove from pan for serving.
Do you want more recipes from 101 Cooking for Two? Sign up for the newsletter and get all posts delivered straight to your inbox!
📖 Recipe
Paula Deen’s Basic Meatloaf
Tasty, moist everyday basic meatloaf adapted from a Paula Deen recipe at Food Network. Everybody needs easy dinner recipes. Just follow these step by step photo instructions.
Prep Time10mins
Cook Time1hr
Total Time1hr10mins
Author: Dan Mikesell AKA DrDan
Servings/Adjust Amount: 4
Ingredients
1poundground beef
1teaspoonsalt
1/4teaspoonblack pepper
1/2cupchopped onion – one small or i/2 medium
1/2cupgreen pepper – about 1/2 of a medium pepper
1egg – whipped
1/2cupQuick oats
1cupdiced tomatoes
Topping
1/3cupketchup
2tablespoonsbrown sugar
1tablespoonmustard
US Customary – Convert to Metric
Instructions
Preheat oven to 350° convection or 375° conventional.
Mix all ingredients in a large mixing bowl and transfer to baking dish. Like all meatloaf, do not over mix.
Mix topping and spread over meatloaf then bake for approx 1 hour. Until an internal temp of 165°.
Drain or remove from pan for serving.
Recipe Notes
Pro Tips
This is written as a one-pound meatloaf. I always make a 2 or 3 pound version for leftovers. Adjust by changing the serving size in this recipe card above.
Mix well but don’t “over mix”.
Since it is ground meat, it must reach 165° to be safe. Please use a thermometer.
Using a long spatula to lift out of the pan.
Good refrigerated for 3-4 days and will freeze will for 3-4 months.
Course Main Course
Cuisine American
Keyword Meatloaf, Paula Deen Meatloaf
Check Out Other Great Recipes
HAVE A QUESTION? – Look in the full post.Make it Perfect First Time and Every Time. Don’t miss out, check the full post above. Almost every recipe includes easy step by step photo instructions so you can visualize yourself cooking this recipe along with helpful tips and options.
ADJUST THE RECIPE SIZE:
You may adjust the number of servings in this recipe card under servings. This does the math for the ingredients for you. BUT it does NOT adjust the text of the instructions. So you need to do that yourself.
Nutrition
Nutrition Facts
Paula Deen’s Basic Meatloaf
Amount Per Serving
Calories 367Calories from Fat 171
% Daily Value*
Fat 19g29%
Saturated Fat 7g35%
Cholesterol 118mg39%
Sodium 905mg38%
Potassium 623mg18%
Carbohydrates 23g8%
Fiber 2g8%
Sugar 13g14%
Protein 25g50%
Vitamin A 301IU6%
Vitamin C 23mg28%
Calcium 59mg6%
Iron 4mg22%
* Percent Daily Values are based on a 2000 calorie diet.
Nutrition is generally for one serving. Number of servings is stated above and is my estimate of normal serving size for this recipe.
All nutritional information are estimates and may vary from your actual results. This is home cooking, and there are many variables. To taste ingredients such as salt will be my estimate of the average used.
Originally Published April 26, 2011. Updated with expanded options, refreshed photos, and a table of contents to help navigation.
This easy basic sugar cookie recipe is a delicious classic that every home cook needs. Once you have the basic sugar cookie dough, the possibilities are endless for holiday treats. Just follow these simple step by step photo instructions.
‘Tis the season for… COOKIES. So here is an excellent quick and easy basic sugar cookie recipe that even the cookie rookie can handle.
I love a good sugar cookie with icing, so I’m suggesting a starting spot for that but use your skill and imagination for creative shapes and decorations.
My Rating
This is an excellent cookie.
Pro Tips: Recipe Notes for Easy Basic Sugar Cookies
Sugar cookies are not and can not be made into health food. Don’t even try.
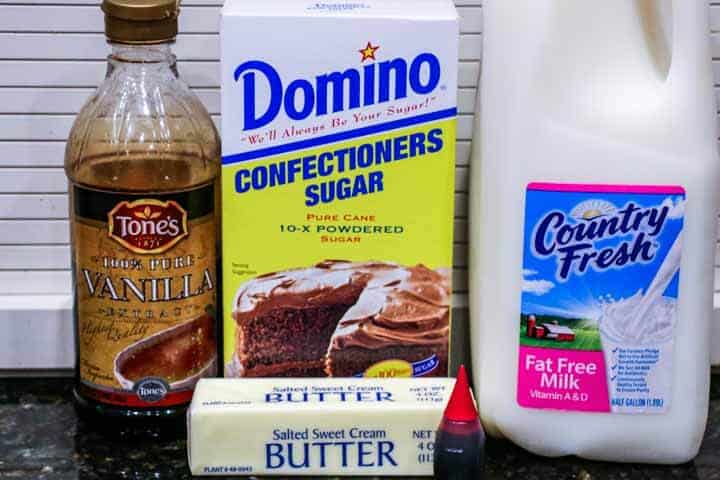
The butter needs to be the best butter you have. So real butter, not fake. A few recipes will suggest salt-free, but your normal butter with salt will be fine.
The last butter note is it needs to be soft. Room temperature is fine or even a little softer with a few seconds in a microwave. This soft butter will whip better with the sugar and give a nice soft texture.
This recipe has two eggs, so it holds together better than some recipes.
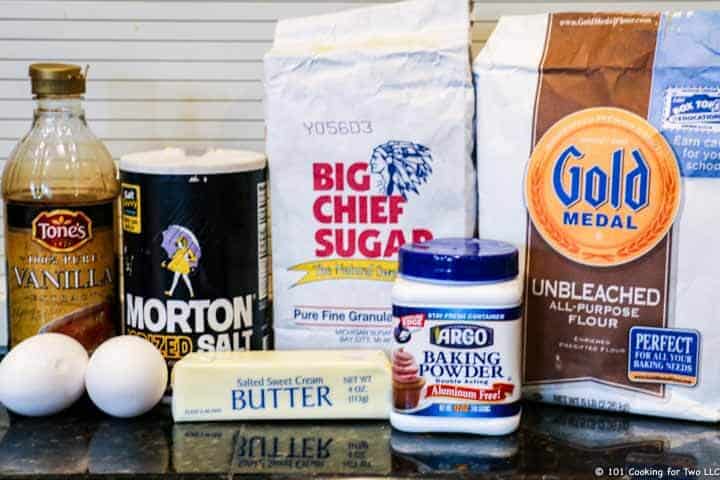
The two other ingredients of note are the baking powder needs to be aluminum-free to avoid any aftertaste, and the real vanilla will make a real difference.
Baking Sheets
Plain baking pans will work fine, but I like to add some parchment paper or baking mats. Use the baking sheets you have but the thickness, material, and even the color can affect the cooking time some. See the section on cooking time.
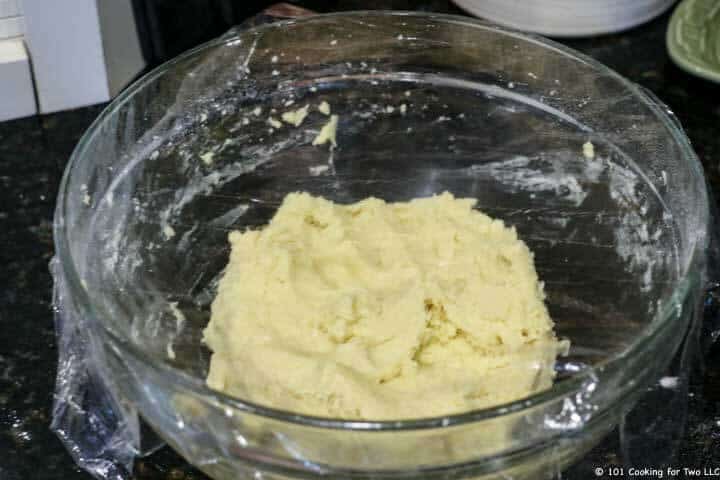
The Dough
The final dough should have a texture close to Play-Doh. Not sticky and wet but also not hard.
If the dough is sticky and wet, add a little flour. If dry, than a touch of milk.
Flour is usually recommended to help roll out the dough. Use powdered sugar instead. It will just blend in and no danger of flour spots on your beautiful cookies.
Cooking Time
Cooking time will vary some. The usual thickness cookie will be about 8 minutes while if you go thicker, it may take a minute or two more.
Other variables are your baking trays and your oven.
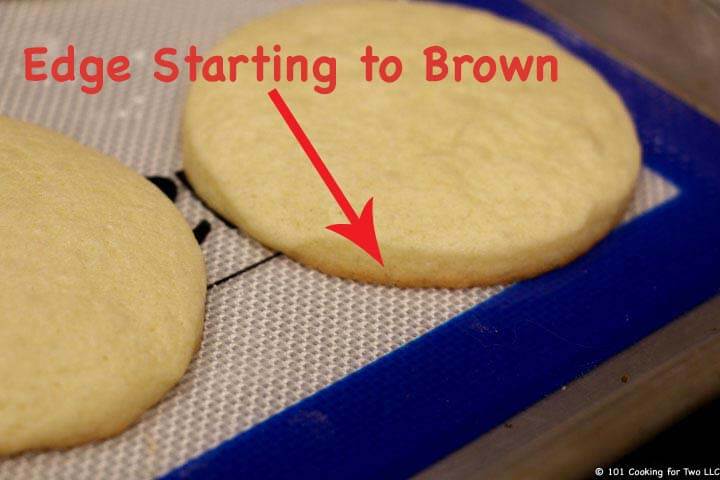
Do not overcook sugar cookies. Look for the edge of the cookies turning a bit brown, and they are done.
Allow the cookies to sit on the baking sheet for a few minutes before moving to the cooling rack.
Storage of Cookies and Dough
The dough can be refrigerated for 2-3 days before use. It should be sealed tightly since it can pick up flavors from other foods easily. Raw dough can also be frozen for 2-3 months.
After cooking, the cookies are really good for about three days. Sealed airtight, they are very good for a week. After that, they will start to dry some. Two weeks is about the maximum time.
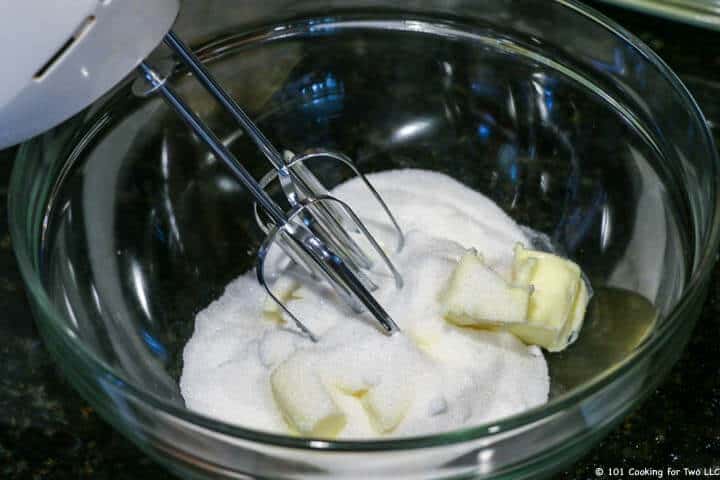
Start with 3/4 cup (1 1/2 sticks) butter. Soften a little either by resting at room temperature or 10-15 seconds in a microwave.
Add one cup sugar to the butter in a larger bowl. Cream together with a mixer.
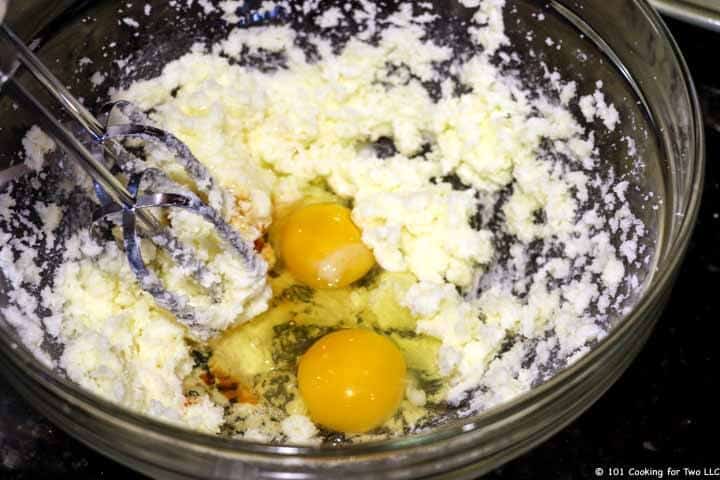
Add two eggs and 1/2 teaspoon vanilla. Mix well.
Add 2 1/2 cup flour, one teaspoon baking powder, and 1/2 teaspoon salt. Mix well, cover, and refrigerate for at least one hour. Preheat oven to 400 degrees. Prep baking sheets. I suggest covering with parchment paper or a baking mat.
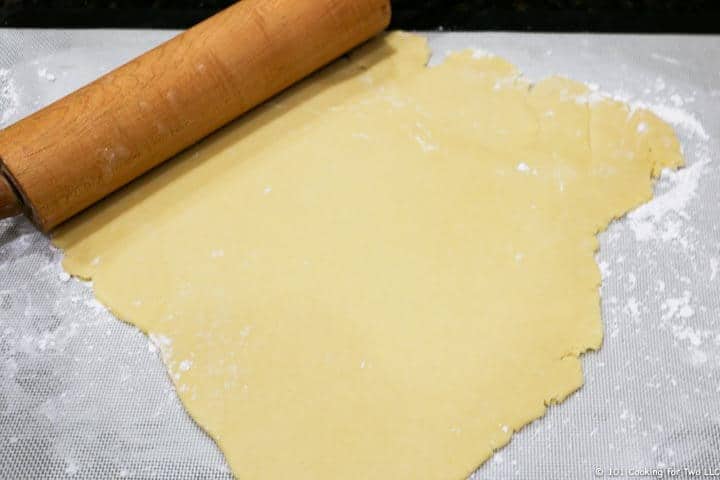
Dust a prep area with some powdered sugar. I used a larger baking mat for my area. Form the dough into a ball and place it on the mat. Flatten and then roll out with a rolling pin. Use lots of powder sugar on the mat and top of the dough to prevent sticking. Roll to a thickness of about 1/4 inch or a bit thicker.
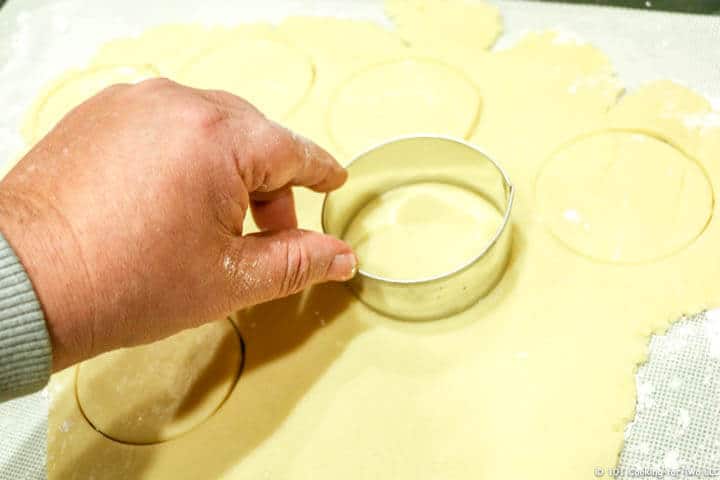
Cut with a cookie cutter. Here I’m using boring 3 inches round since I couldn’t find the Christmas cutters.
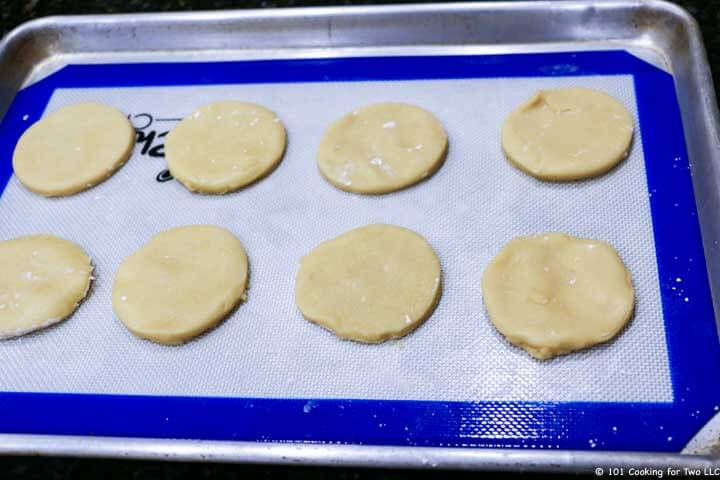
Layout on a cookie sheet, keeping them about one inch apart. They will spread out during cooking. Work quickly reusing the scraps and keep dusting the surface and dough with the powdered sugar to prevent sticking. Continue to cut cookies until done.
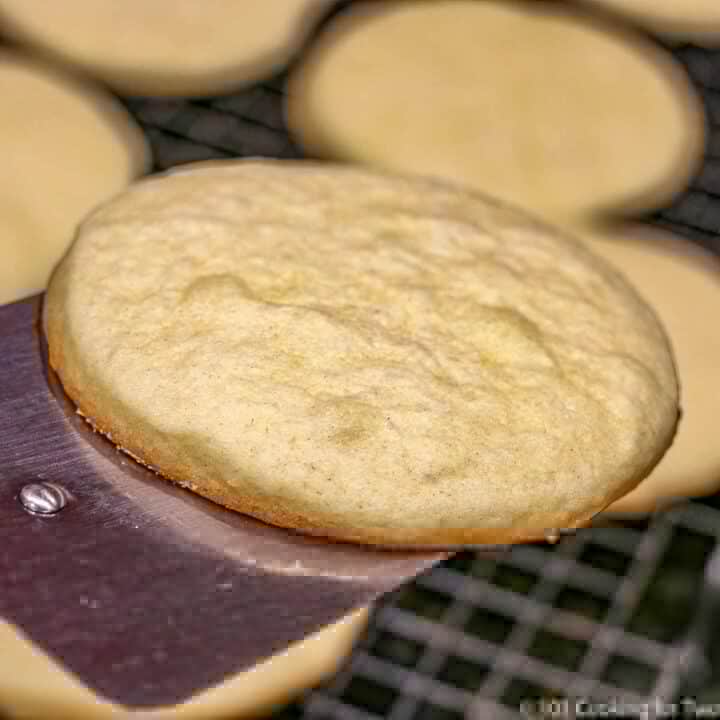
Bake until the edge of the cookies is starting brown a little. About 7-8 minutes. Do not over bake.
Remove from oven and allow to sit for a few minutes then move to a cooling rack.
After cooled, it is time for decoration. I went with a simple glaze. Mix one cup powdered sugar, one tablespoon butter, two drops vanilla, and 3-4 teaspoon milk. Add a few drops of food coloring of choice. Mix well.
Do you want more recipes from 101 Cooking for Two? Sign up for the newsletter and get all posts delivered straight to your inbox!
Easy Basic Sugar Cookies
This easy basic sugar cookie recipe is a delicious classic that every home cook needs. Once you have the basic sugar cookie dough, the possibilities are endless for holiday treats. Just follow these simple step by step photo instructions.
Start with 3/4 cup (1 1/2 sticks) butter. Soften a little either by resting at room temperature or 10-15 seconds in a microwave.
Add one cup sugar to the butter in a larger bowl. Cream together with a mixer.
Add two eggs and 1/2 teaspoon vanilla. Mix well.
Add 2 1/2 cup flour, one teaspoon baking powder, and 1/2 teaspoon salt. Mix well, cover, and refrigerate for at least one hour. Preheat oven to 400 degrees. Prep baking sheets. I suggest covering with parchment paper or a baking mat.
Dust a prep area with some powdered sugar. I used a larger baking mat for my area. Form the dough into a ball and place it on the mat. Flatten and then roll out with a rolling pin. Use lots of powder sugar on the mat and top of the dough to prevent sticking. Roll to a thickness of about 1/4 inch or a bit thicker.
Cut with a cookie cutter.
Layout on a cookie sheet, keeping them about one inch apart. They will spread out during cooking. Work quickly reusing the scraps and keep dusting the surface and dough with the powdered sugar to prevent sticking. Continue to cut cookies until done.
Bake until the edge of the cookies is starting brown a little. About 7-8 minutes. Do not over bake.
Remove from oven and allow to sit for a few minutes then move to a cooling rack.
Optional Frosting
Mix one cup powdered sugar, one tablespoon butter, two drops vanilla, and 3-4 teaspoon milk. Add a few drops of food coloring of choice. Mix well.
Recipe Notes
Pro Tips
An easy recipe to cut half. But I want more cookies.
Room temperature or slightly softer butter is important to get the right texture.
Real butter is not required but you will be happy if you do. Salted is fine.
Use real vanilla if possible.
Never use alunimun containing baking powder for anything.
The dough should have a texture close to Play-Doh. If stick and wet, add a bit of flour. If dry, the a touch of milk.
I suggest a thickness of about 1/4 inch. Thinner will cook faster and thicker will take longer.
I recommend powdered sugar, not flour, on the surface when making out the dough and on the top as your roll out the dough.
You oven and the pans will also affect cooking time so watch the lower edge of the cookie for a hint of brown. Usually about 8 minutes. DO NOT OVER COOK.
Allow to cook on the tray for a few minutes before moving to the cooling rack.
Good at room temperature for about 3 days. Sealed air thight for 7 week really well but up to 2 weeks. They will freeze well for about 3 months.
Dough can be refrigerated for up to 3 days but can easily pick up odors from the refrigerator. Dough can also be frozen for about 2-3 months.
Nutrition includes optional frosting.
Check Out Other Great Recipes
Make it Perfect First Time and Every TimeDon’t miss out, check the full post above. Almost every recipe includes easy step by step photo instructions so you can visualize yourself cooking this recipe along with helpful tips and options.
Nutrition is generally for one serving. Number of servings is stated above and is my estimate of normal serving size for this recipe.
All nutritional information are estimates and may vary from your actual results. This is home cooking, and there are many variables. To taste ingredients such as salt will be my estimate of the average used.
Originally Published December 3, 2014. Updated with greatly expanded discussion and refreshed photos.
Don’t buy that dough. This great basic homemade pizza dough can easily be made with things you always have on hand. Just follow these simple step by step photo instructions.
Editor’s Note: Originally published September 14, 2011. Now with instructions for completing your pizza and update photos.
Some people will do anything to avoid making dough, but it is so easy. They will buy dough from the local pizza place (just buy the pizza and get it over with.) They buy refrigerated roll out dough. They flatten biscuits. They buy precooked pieces of bread labeled pizza crust. I’m sure I’m missing some of the other dodges. DON”T DO THAT.
My Rating:
The easiest 5 I have even given. I suspect I have done this close to 1000 times. Once a week, when the kids were young. Twice a week when I was young (some high school, plus college, med school, and pediatric training.) And still occasionally now.
Pro Tips: Recipe Notes for Basic Homemade Pizza Dough
The Recipe and Technique
This is a recipe that I have used for 50 years. (Did I just let my age slip a little?) It was on the side of a Gold Medal Flour bag in the sixties. I’m sure I have modified it some over the years, but the principles are the same.
Start with warm water. Add some yeast, oil, salt, and sugar. Add about twice as much flour as water. Adjust at this point since some flour needs more or less fluid. You want light and a bit sticky.
Keep it warm and let it double in size. That will take about 40 minutes. If you want, it will be a bit better with a second rise as it develops more gluten.
Spread it out and let it set about 10 minutes if you want a thicker crust. But usually, I just proceed without the wait. If you want a thinner crust (like my four cheese pizza) make a smaller amount and spread it thin and don’t let it set.
Keep it Warm!
You must “keep it warm”. Here are a few tips.
“Preheat” your bowl with hot water.
Use water of 100-110 degrees in the dough.
Do NOT put the bowl on a stone type countertop. Put a wooden cutting board between it and the counter if that is where you want it to let it rise.
Cover with a heavy towel.
Don’t keep checking it. It will take at least 35-40 minutes to double in size.
If it is really cold, then preheat your oven to it’s lowest setting then turn it off and use it as your warm spot to raise the dough.
Flour Types for Pizza Dough
I’m a fan of a good old fashion all-purpose (AP) flour for this recipe. It gives it a little rougher, texture that I think yells pizza.
I have done bread flour, and it works fine. The crust is a little crispier and a bit “finer.”
You can substitute in some whole wheat. I suggest 25%, and you will need a bit more fluid, or the dough will be too tough. And I would also add a touch of honey if you do. I have done 50% whole wheat, and it has worked well after some fluid adjustment.
Other, non-wheat flours may work, but I have never tried them, and like gluten-free bread baking, I think that is a special skill set and not just substituting an ingredient or two. Not recommended in this recipe.
Types of Yeast
All baker yeast is the same organism (Saccharomyces cerevisiae). Old fashion active dry yeast is processed differently and has less live yeast so will work slower.
Otherwise consider quick, cake, fast or any other adjective use approximately the same. Yes, even that “special” pizza yeast.
The amount of yeast in a packet is about 2 1/4 teaspoons. I use bulk yeast usually and use a light tablespoon (3 teaspoons minus a little) as the same thing.
I also like adding the yeast to the water first to be sure I have an even distribution of the little critters. Many will mix the yeast with the flour, and that works also.
I like to “proof” my yeast by letting is set a few minutes to form some bubbles to “prove” to me it is good. I have had new yeast that was dead. Total ruins pizza night. If you proof your yeast, I like to add the sugar but not the salt to the water when doing this.
When I make a smaller amount, I still will use a pack of yeast. I do increase the yeast if doubling.
Suggest Pizza Sauce
Please, please, please DO NOT use a jar or canned pizza sauce. You can use a tablespoon of it on something like a tortilla pizza, but that is all it is good for.
My suggest sauce: One 6 oz can of tomato paste and 6 oz water. 1 teaspoon salt, 1/2 teaspoon pepper, 1 clove garlic, about half a small chopped onion, and 1 teaspoon oregano. A pinch (1/4 teaspoon) crushed red pepper.
The tomato paste gives a touch of sweetness and deeper tomato taste than sauce.
Other Toppings
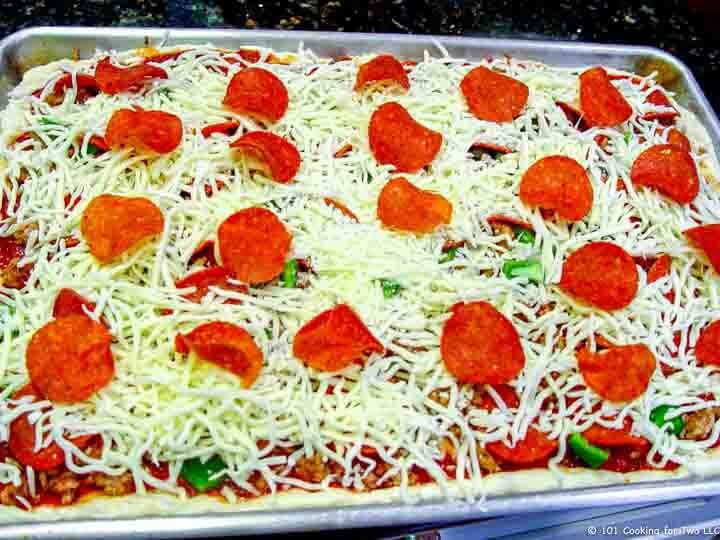
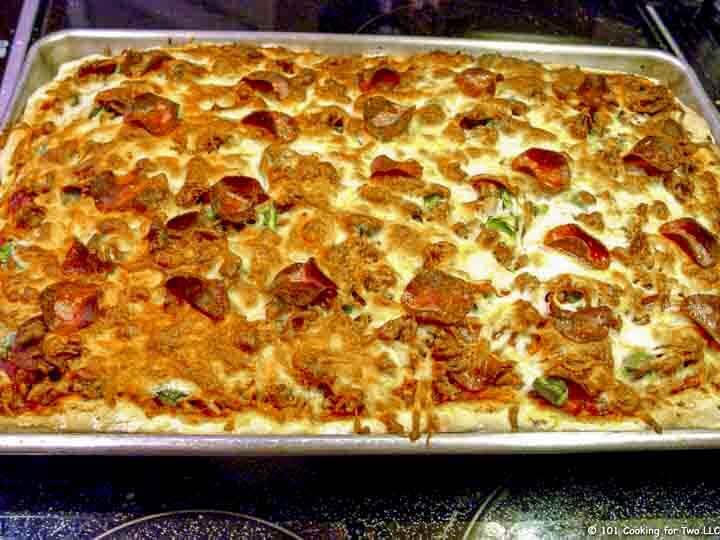
This amount of dough makes a large 16-inch diameter pizza or a half sheet pan size. That will need a lot of topping.
I suggest about one pound of browned Italian sausage, a chopped full green pepper, 4 oz of pepperoni and then topped with 3-4 cups of mozzarella cheese. I like to toss a bit more pepperoni on top of the cheese to brown.
Can I make this ahead?
Yep, let it rise once the form into a ball and give it a light coat of oil and seal tight. Good refrigerated for 1-2 days or frozen for 3-4 months. To thaw the frozen dough, just overnight in the refrigerator.
Once thawed or just refrigerated, let the dough sit at room temperature for about 30-60 minutes then make the dough out on the pan. Spreading cold dough is almost impossible.
Other Pizza Recipes You Will Love
4 Cheese White Pizza
Biscuit Deep Dish Pizza
Pizza Dough for a Pizza Party
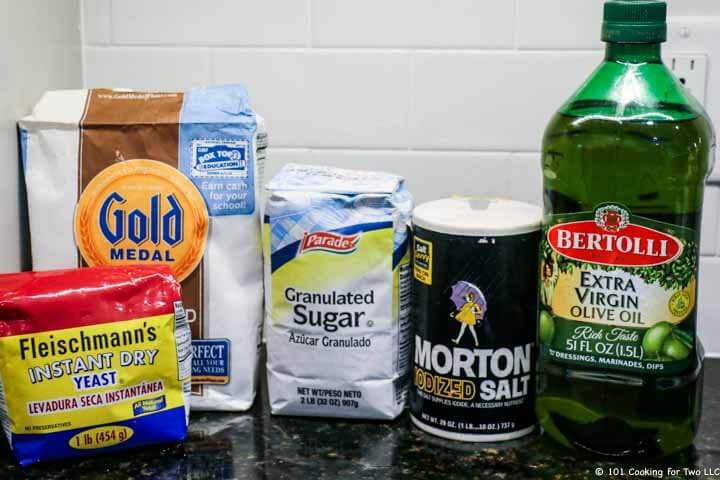
Ingredients most of us have on hand.
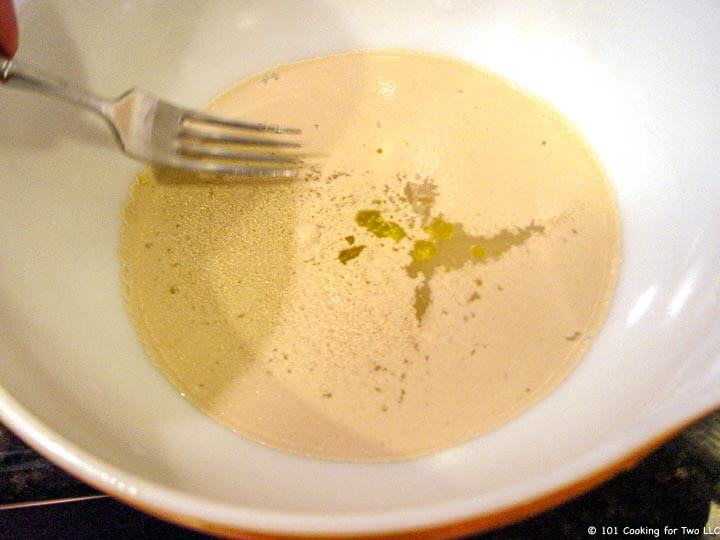
In a large mixing bowl combine 2 cups of warm water (about 100-110 degrees) with 1 tablespoon oil, 1 teaspoon sugar, and one packet ( 2 1/4 teaspoons) of a rapid/instant rising yeast. Mix well. Let sit a few minutes until foaming some then add 1/2 teaspoon salt.
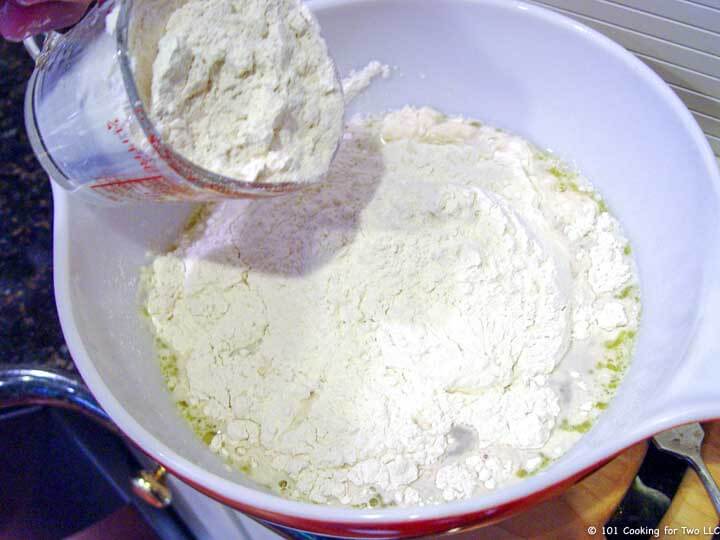
Add 4 cups of AP flour.
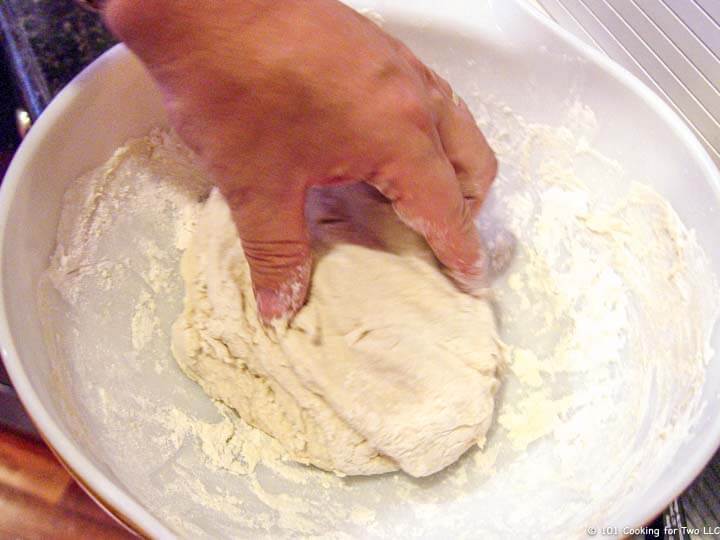
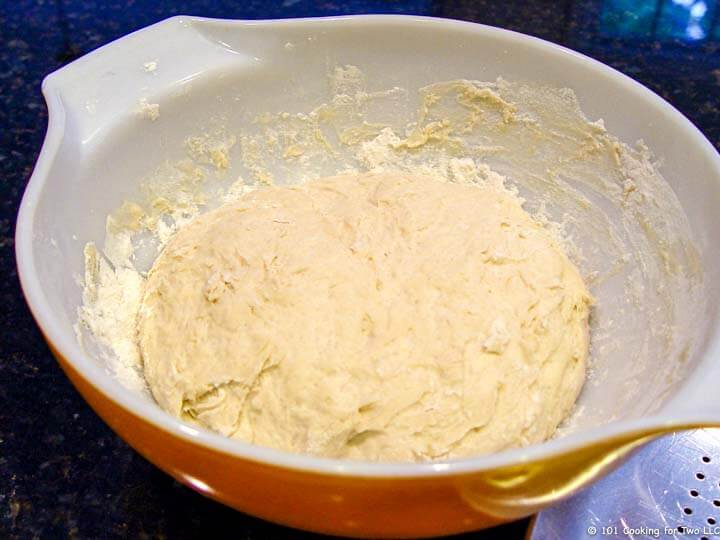
Mix well with a spatula and then finish with a little of hand kneading to get all the flour incorporated for a few minutes in the bowl. Add a little more flour or water to make it relatively light and still a little sticky. Usually, you won’t need to add anything. Dust with a little flour on all sides when done and give the bowl a teaspoon or two of oil coating.
Cover with a towel in a warm place until double in size — about 40-45 minutes.
That is the end of the pizza dough instructions. You can proceed to make your pizza with the following instructions. Or refrigerate or freeze the dough for later use. See the recipe card tips for storage instructions.
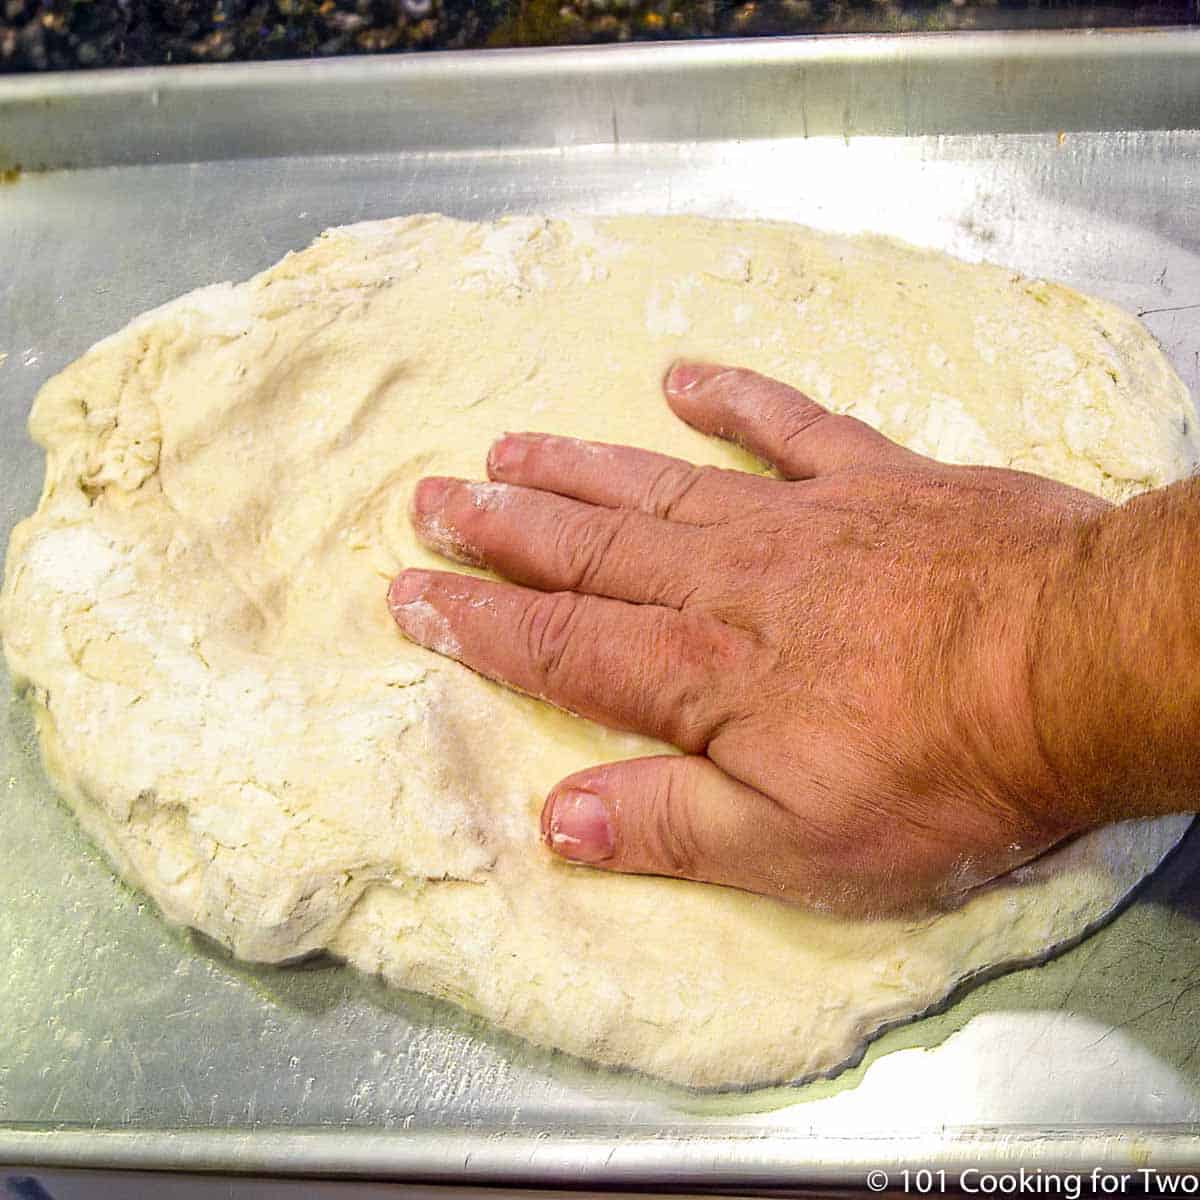
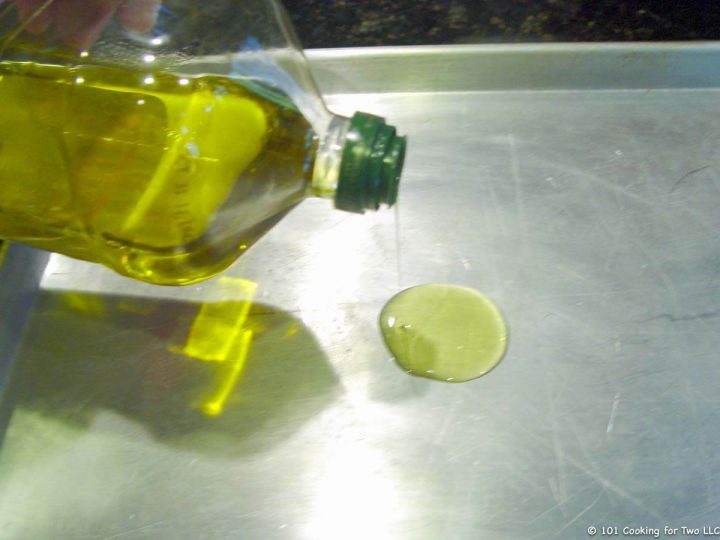
Oil a large pan. A 15 inch round pan or a half size sheet pan.
Flour your hands and spread the dough. A little flour on top of the dough helps some. Let sit for about 10 minutes if you want a thick crust. But for a standard crust, just proceed.
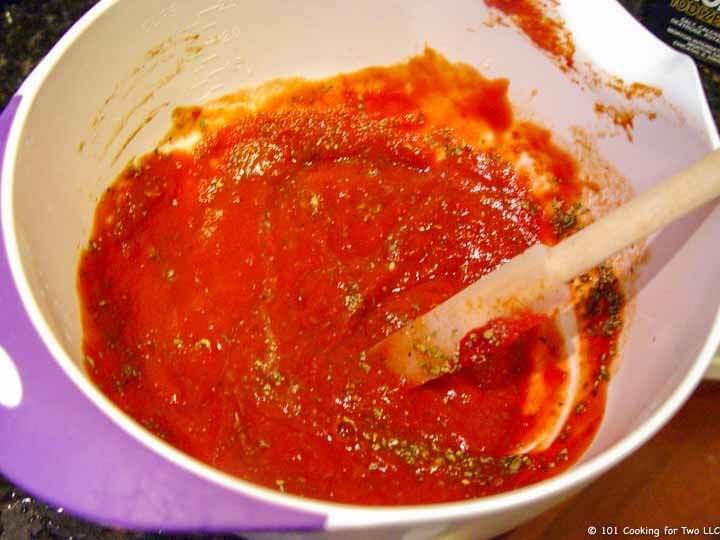
Prepare any sauce and other toppings you want. My suggest sauce: One 6 oz can of tomato paste and 6 oz water. 1 teaspoon salt, 1/2 teaspoon pepper, 1 clove garlic, about half a small chopped onion, and 1 teaspoon oregano. A pinch (1/4 teaspoon) of crushed red pepper is optional.
Top as you wish.
Cook for about 20-25 minutes in a preheated 400-degree convection oven or 425 convection.
Do you want more recipes from 101 Cooking for Two? Sign up for the newsletter and get all posts delivered straight to your inbox!
Basic Homemade Pizza Dough
Don’t buy that dough. This great basic homemade pizza dough can easily be made with things you always have on hand. Just follow these simple step by step photo instructions.
Prep Time50mins
Cook Time25mins
Total Time1hr15mins
Author: Dan Mikesell AKA DrDan
Course : Main Course
Cuisine : Italian
Keyword : Homemade Pizza, pizza dough
Servings/Adjust Amount: 8large slices
8
Ingredients
2cupswater – Warm
4 ½cupsAP flour
1packrapid or quick yeast
1teaspoonsugar
1teaspoonsalt
1tablespoonoil – olive oil preferred
1tablespoonoil – for bowl and pan
My Suggested Sauce – use what you love
6oztomato paste
6ozwater
1teaspoonsalt
½teaspoonpepper
1teaspoondry oregano
½small onion – fine chopped
1clove garlic
¼teaspooncrushed red pepper – optional to taste
My Suggested Toppings – use what you want
3-4cupmozzarella shredded
1poundItalian sausage
4ozsliced pepperoni
1green pepper – chopped
Instructions
In a large mixing bowl combine 2 cups of warm water (about 100-110 degrees) with 1 tablespoon oil, 1 teaspoon sugar, and one packet ( 2 ¼ teaspoons) of a rapid rising yeast. Mix well. Let sit a few minutes until foaming some then add 1 teaspoon salt.
Add 4½ cups of AP flour.
Mix well with a spatula and then finish with a little of hand kneading to get all the flour incorporated for a few minutes in the bowl. Add a little more flour or water to make it relatively light and still a little sticky. Usually, you won’t need to add anything. Dust with a little flour on all sides when done and give the bowl a teaspoon or two of oil coating.
Cover with a towel in a warm place until double in size — about 40-45 minutes.
That is the end of the pizza dough instructions. You can proceed to make your pizza with the following instructions. Or refrigerate or freeze the dough for later use. See the recipe card tips for storage instructions.
Oil a large pan. A 16 inch round pan or a half size sheet pan.
Flour your hands and spread the dough. A little flour on top of the dough helps some. Let sit for about 10 minutes if you want a thicker crust. But for a standard crust, just proceed.
Prepare any sauce and other toppings you want. My suggest sauce: One 6 oz can of tomato paste and 6 oz water. 1 teaspoon salt, 1/2 teaspoon pepper, 1 clove garlic, about half a small chopped onion, and 1 teaspoon oregano. A pinch (1/4 teaspoon) of crushed red pepper is optional.
Top as you wish.
Cook for about 20-25 minutes in a preheated 400-degree convection oven or 425 convection.
Make it Perfect First Time and Every TimeDon’t miss out, check the full post above. Almost every recipe includes easy step by step photo instructions so you can visualize yourself cooking this recipe along with helpful tips and options.
Recipe Notes
Pro Tips:
This makes a large 16 inch pizza. Cut in half for a 12 inch (medium size) pizza.
Use AP flour. Bread flour can be used but will change the texture a bit.
You may substitute up to 50% whole wheat but will need more fluid and a bit of honey.
Non-wheat flours are probably not a good idea in this recipe.
A package of yeast is 2 1/4 teaspoon. I use bulk yeast and generally use a “light” tablespoon.
There is nothing really exact in this recipe. It will work as long as you are close. Just get the mixing right.
I like to “proof” my yeast.
I prefer olive oil for all the oil.
Use the sauce and toppings of your choice.
I hate to say oven temperature doesn’t matter but I have cooked this with oven temperatures of 350 to 450 all with good results. I prefer higher temperatures a bit but if you want that thicker crust, I don’t like 450.
You can make it ahead by letting it rise once, the form into a ball and give it a light coat of oil and seal tight. Good refrigerated for 1-2 days or frozen for 3-4 months. To thaw the frozen dough, just overnight in the refrigerator. Once thawed or just refrigerated, let the dough sit at room temperature for about 30-60 minutes then make the dough out on the pan.
Nutrition is calculated on the crust, cheese, and my sauce. No toppings.
Nutrition Facts
Basic Homemade Pizza Dough
Amount Per Serving
Calories 296Calories from Fat 144
% Daily Value*
Fat 16g25%
Saturated Fat 6g30%
Cholesterol 33mg11%
Sodium 1288mg54%
Potassium 308mg9%
Carbohydrates 26g9%
Fiber 2g8%
Sugar 5g6%
Protein 13g26%
Vitamin A 627IU13%
Vitamin C 5mg6%
Calcium 263mg26%
Iron 2mg11%
* Percent Daily Values are based on a 2000 calorie diet.
Have a question or something not clear? Ask in the comments.
Do you want more recipes from 101 Cooking for Two? Sign up for the newsletter and get all posts delivered straight to your inbox!
Nutrition is for one serving. Number of servings is stated above and is my estimate of normal serving size for this recipe.
All nutritional information are estimates and may vary from your actual results. This is home cooking, and there are many variables. To taste ingredients such as salt will be my estimate of the average used.
If you like this recipe or find it useful, the pleasure of a nice 4 or 5 rating would be greatly appreciated.
The cookie settings on this website are set to "allow cookies" to give you the best browsing experience possible. If you continue to use this website without changing your cookie settings or you click "Accept" below then you are consenting to this.
Read more about data collection for ads personalisation our in our Cookies Policy page