Homemade Caramel Corn is sure to take your reputation up a notch! This recipe is great for holiday munchies while wait on the main meal to finish. Homemade Caramel Corn also makes great gifts.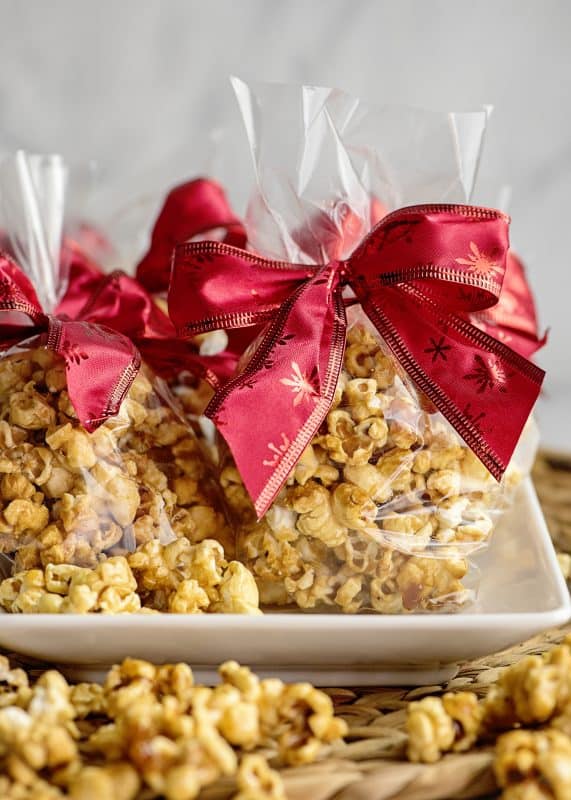
I don’t know how Thanksgiving works with your family but I imagine it is somewhat similar to how it works with mine. Siblings, spouses, kidders, grandmothers, aunts, uncles, and anyone else who happens to want a good meal that day gathers at my mother’s house. Most of us come in toting various dishes full of our contributions to the meal and add them to the already heavily laden table of goodies. My mother’s oven is still going full blast with rolls, mac and cheese, or perhaps even the turkey. The smells of pies, cinnamon, smoked meats, and yeast rolls are so good they are positively torturous. If you weren’t hungry before, you sure are now!
Now the hard part: We have to wait. Whether it’s for a few more dishes to be done or more family members to make their way through the door, we always have to wait. As we all take in the smells of our favorite dishes, we find ourselves with quite a fierce case of the munchies.
Several years back, I got the bright idea of making homemade caramel corn to take to Thanksgiving to help sustain us until dinnertime. Not only was it a hit with the kids (and kept them considerably more patient) but the adults seemed to delight in being able to grab a handful of something to snack on! This is now my personal Thanksgiving tradition. Aunt Christy brings the caramel corn. But this delicious snack has many more uses than that! Homemade caramel corn is very easy and extremely inexpensive to make. This makes a lovely gifts when packaged in a clear cellophane bag and tied with a little ribbon. Let’s gather in the kitchen and make us up a batch.
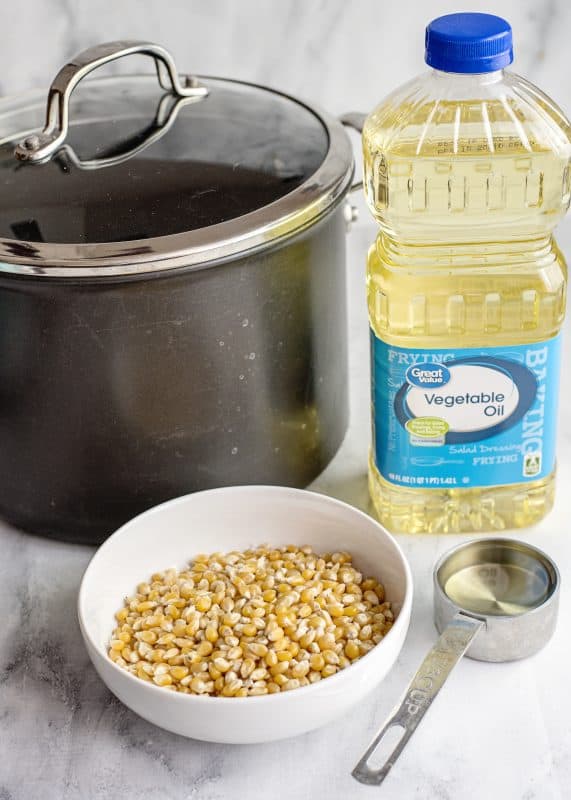
First we’re gonna make some popcorn, the old fashioned way.
I was speaking with a girl in her early twenties a few months back and mentioned something about old fashioned popcorn, and she thought the old fashioned way of making it was in an air popper. She had honestly never heard of folks making it on the stove or even campfire for that matter. For that reason alone, y’all need to make some of this! Not to mention how incredibly inexpensive it is as opposed to microwave style. Did I mention how much better it tastes?
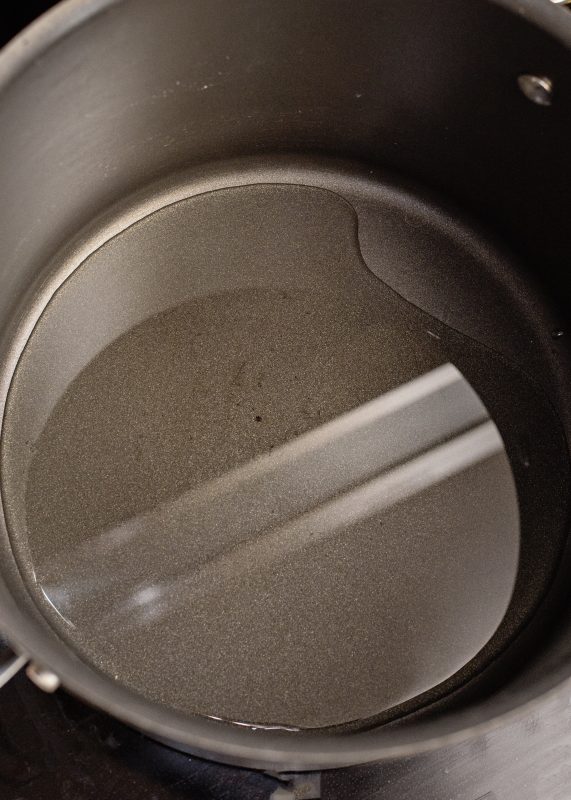
Heat some oil in a large pot. I used about 1/3 cup of vegetable oil.
Save your fancy oil for a fancy dish, we’re just making caramel corn here!
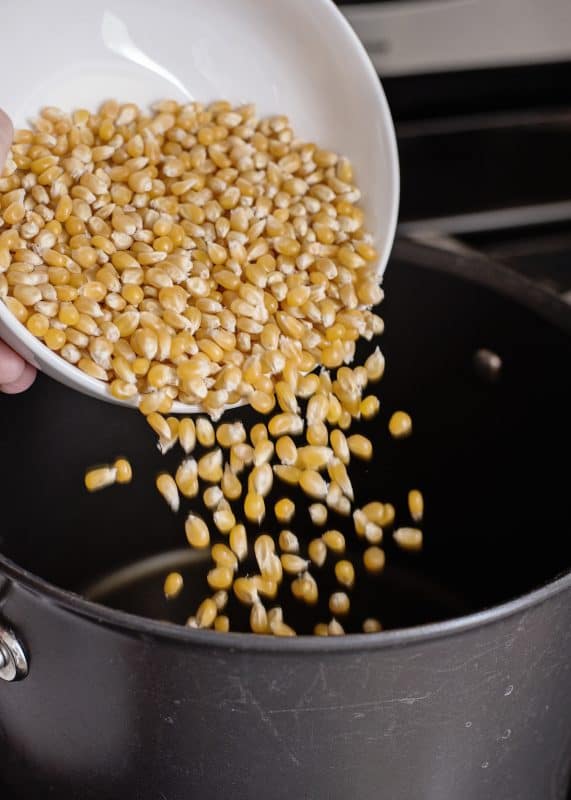
Pour in your popcorn kernels. I just have plain old kernels here. I am using about a cup and a half or so.
Normally, I would sprinkle about a teaspoon of salt over this but I am going to use salt in my sauce so we’re good.
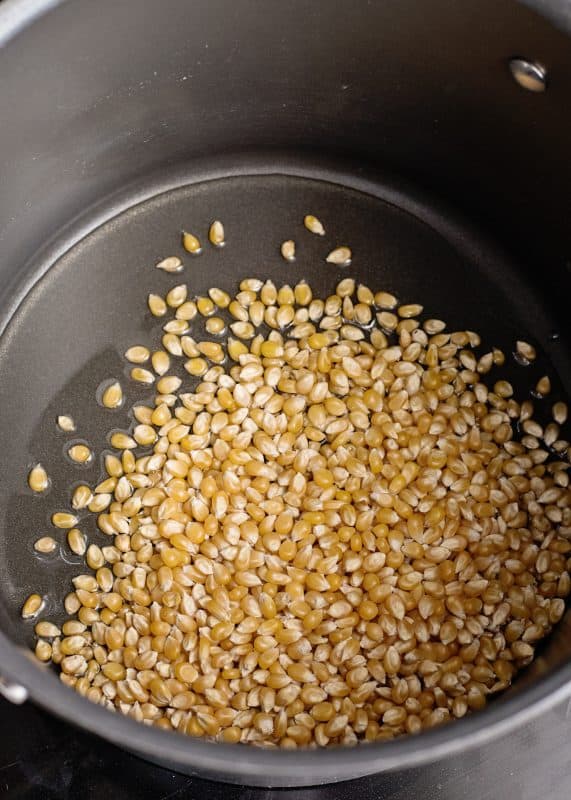
Place this over medium to medium high heat and listen for it to start sizzling a bit. Stay close by!
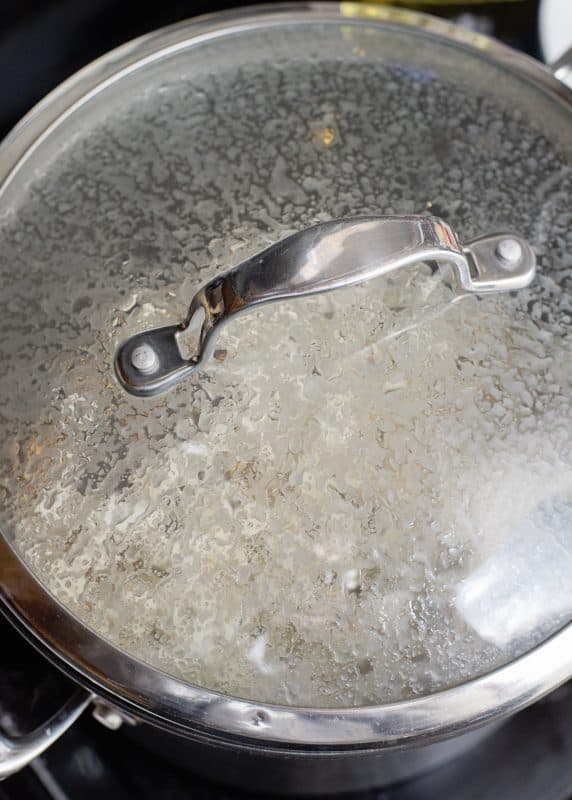
Now put a lid on your pot and continue cooking it on medium heat. It will take a few minutes for the kernels to get hot but once they do they will start popping all over the place!
If you’ve never made homemade popcorn before, please don’t forget the lid on your pot. Popcorn projectiles are VERY hot.
When it starts popping, I hold the handles of my pot and shake it gently from side to side to help get my kernels on the bottom distributed better so they will pop evenly. Keep the lid on and keep the pot sitting on the eye.
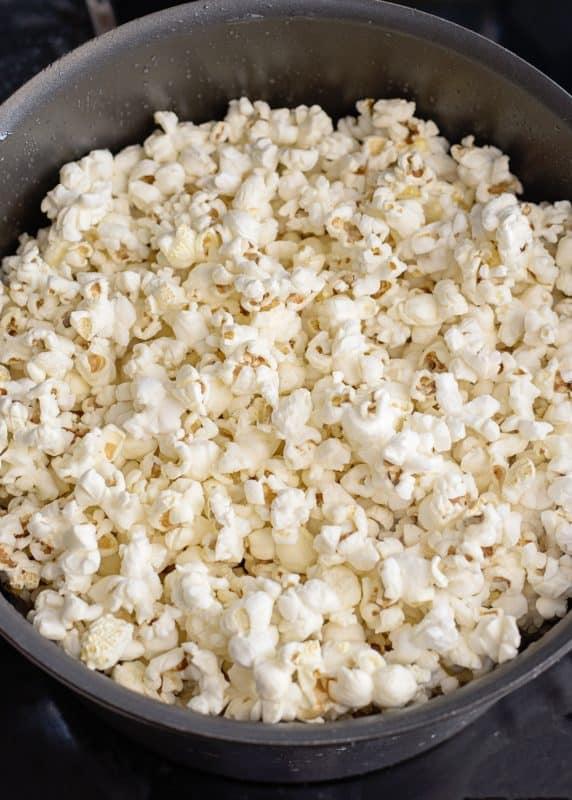
Once it stops popping, immediately remove pot from stove and pour popcorn out into a heat safe bowl or pan of some sort. This is your finished popcorn.
I pop three big pots of this whenever I make caramel corn and end up with about three gallons of popped popcorn. Lets make the caramel now!
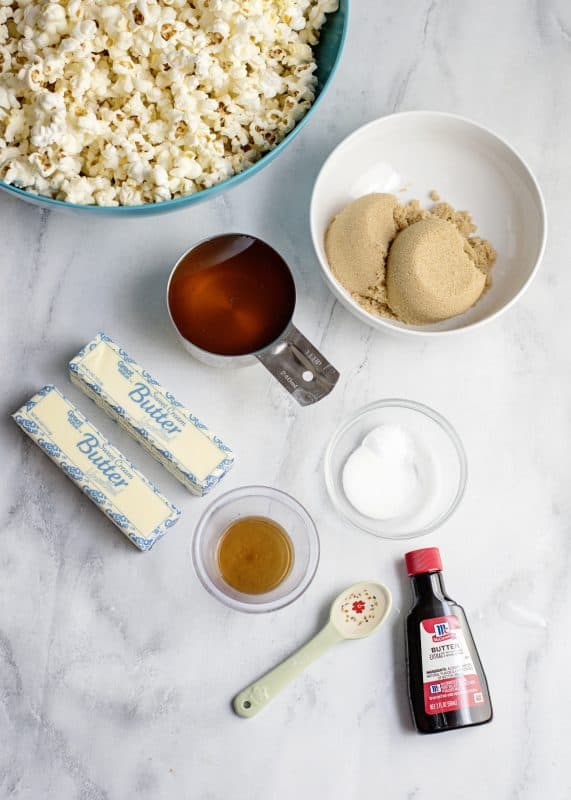
You’ll need: Salt, Honey, Vanilla, butter, Baking Soda, and Brown Sugar.
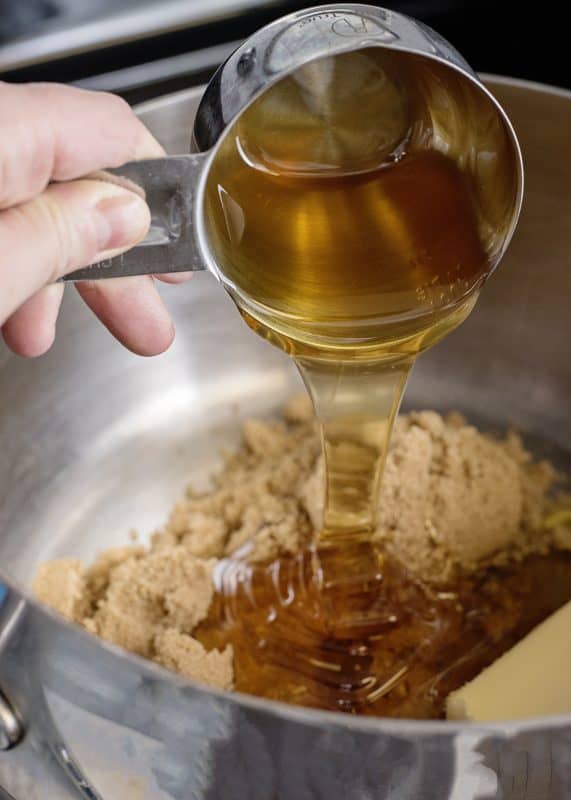
In a heavy saucepot, place your butter, brown sugar, honey, and salt.
I stir that up a bit and turn the heat on medium.
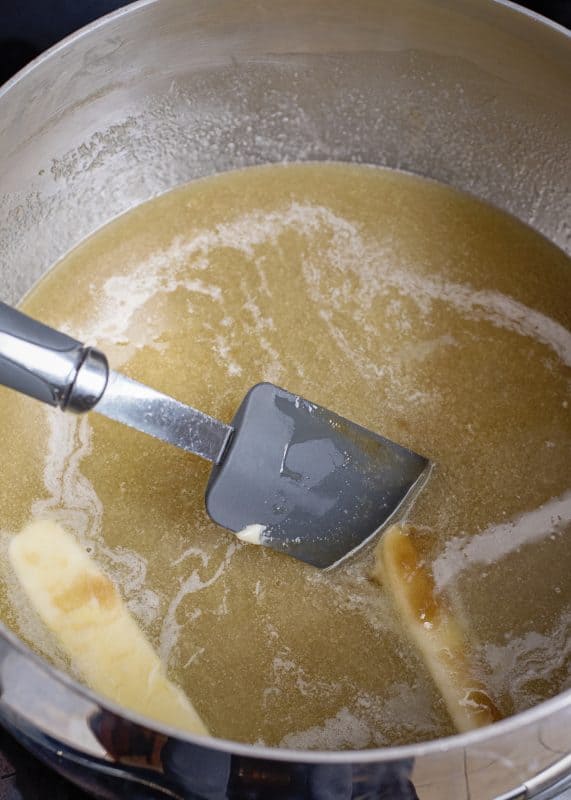
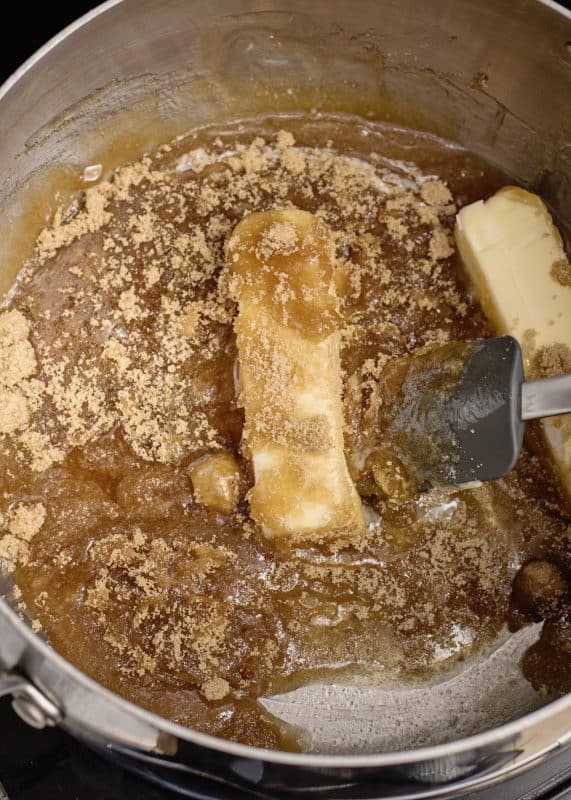
Stir constantly while everything melts and it comes to a boil.

Once it comes to a boil, stop stirring and let boil for about three minutes, undisturbed.
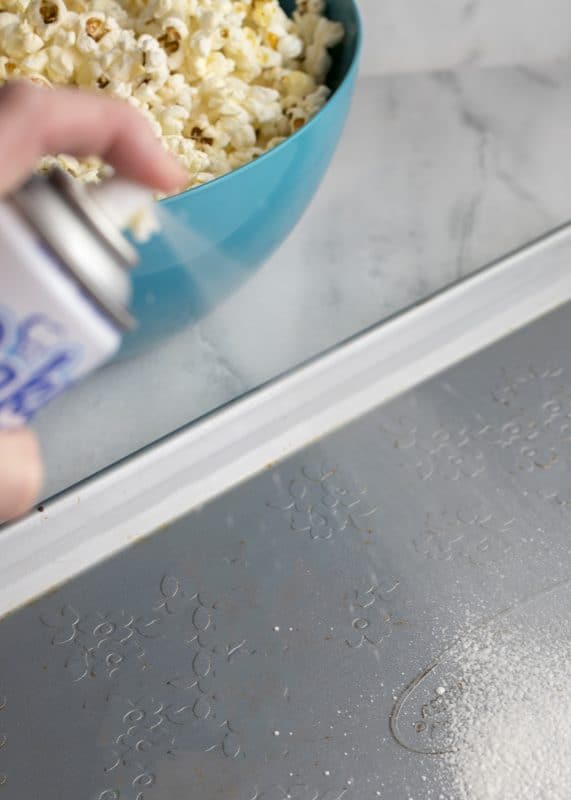
Spray a large baking sheet with cooking spray. You need to use a pan with a rim on it because we’re going to stir it every fifteen minutes and you don’t want to drop a ton of popcorn into the bottom of your oven (which I always do anyway).
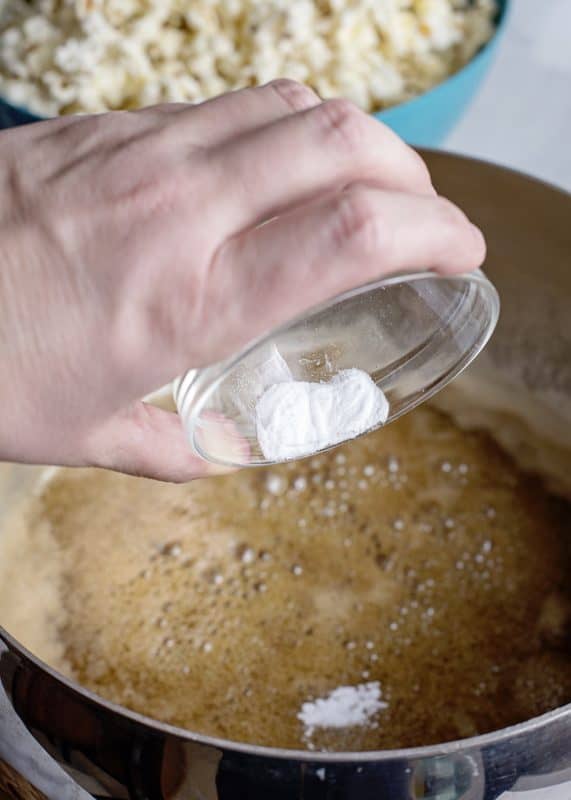
Once it has boiled for three minutes, remove from heat and add in your baking soda.
This will make it foam up a bit, just stir it a little.
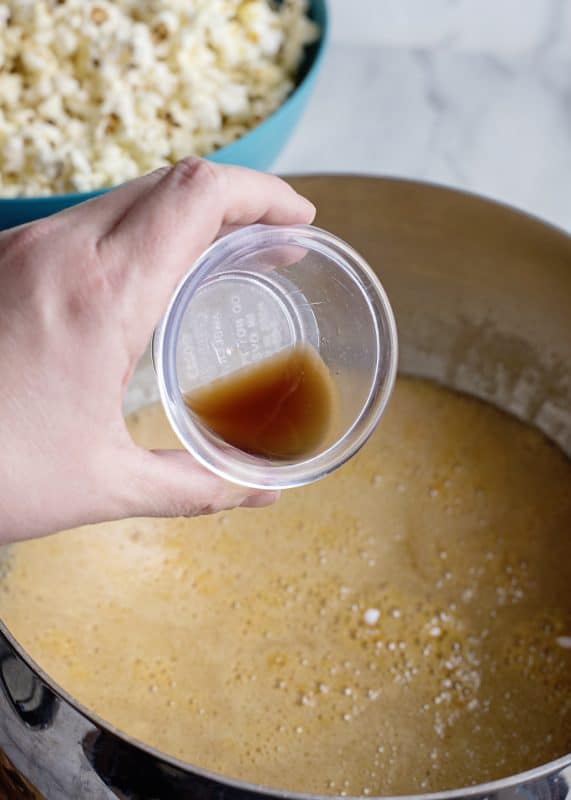
Now add in your vanilla and butter flavoring.
If you don’t have butter flavoring just use more vanilla in its place.
I am a huge advocate for butter flavoring. I don’t know much that doesn’t taste even better with it!
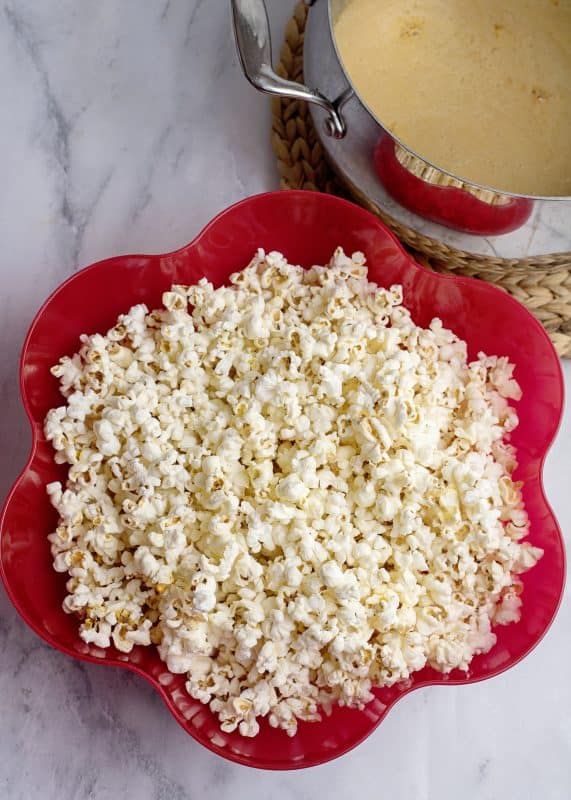
Pour 1/2 of your popcorn into a dishpan or very large bowl.
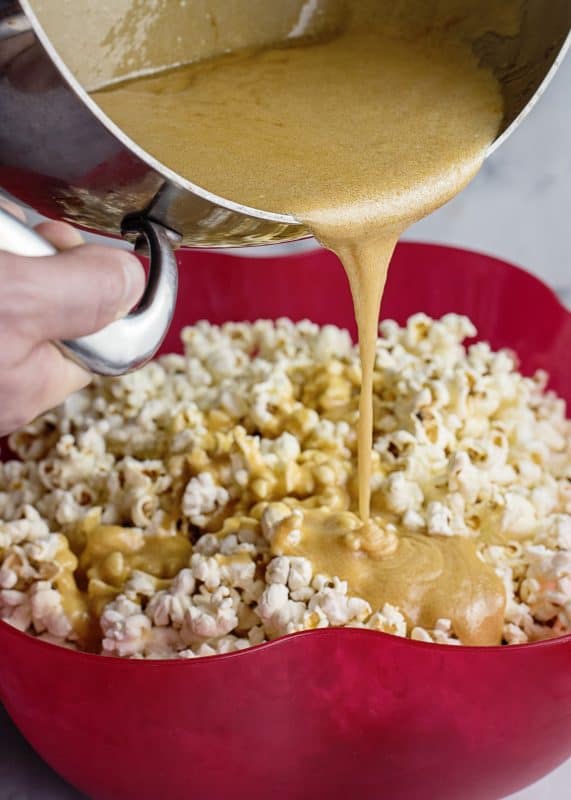
Pour 1/2 of the caramel over the popcorn and give it a good stir.
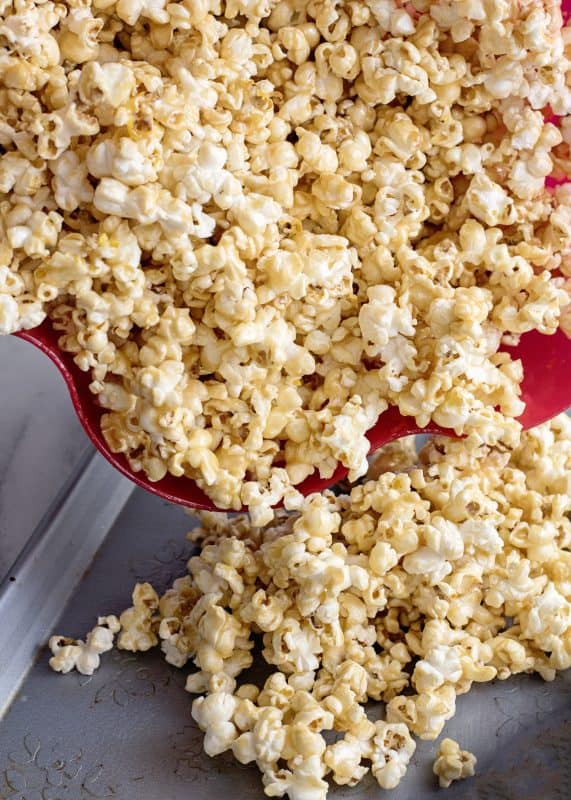
Spread your homemade caramel corn onto greased baking sheet. Repeat with remaining popcorn and caramel.
Place these sheets in the oven at 250 for 1 hour, stirring every fifteen minutes.
I have to use two baking sheets to be able to hold all of my popcorn. After the first half an hour, I swap the sheets so the bottom one is on the top and top on bottom.
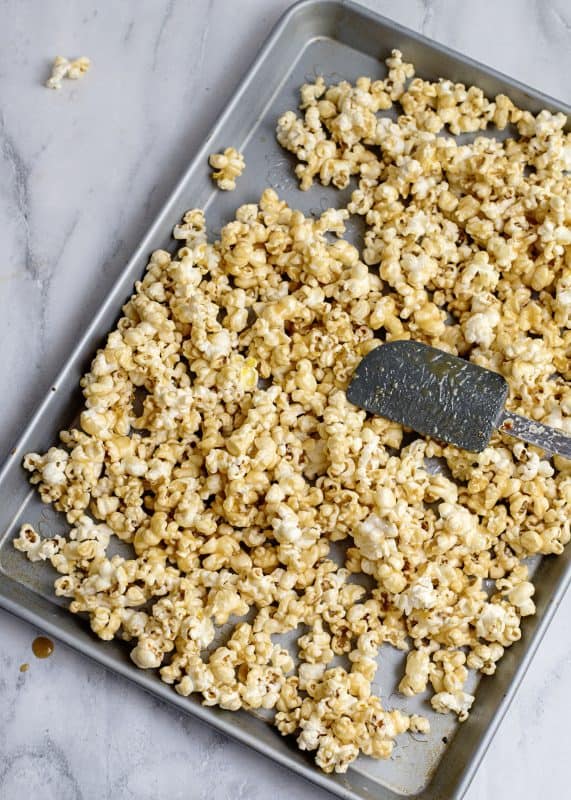
I set my oven timer on fifteen minutes so I can remember.
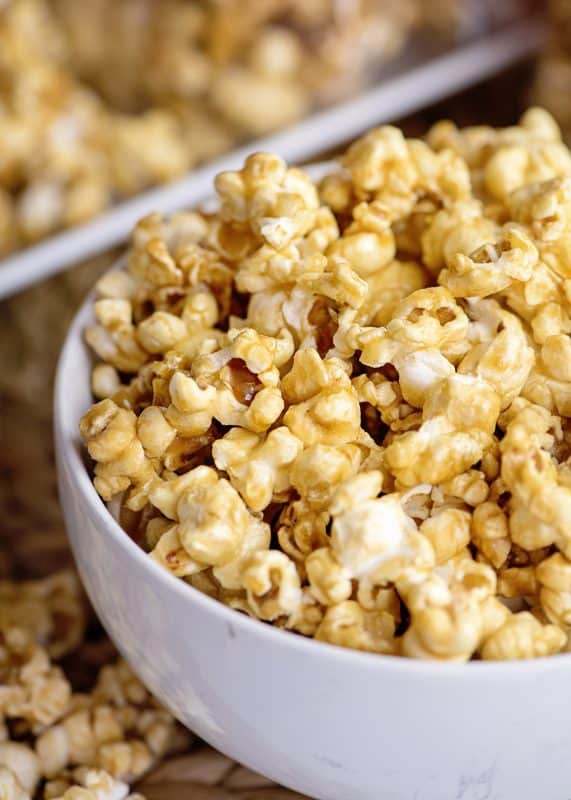
After an hour take it out and let it cool. It will look all golden and pretty like this.
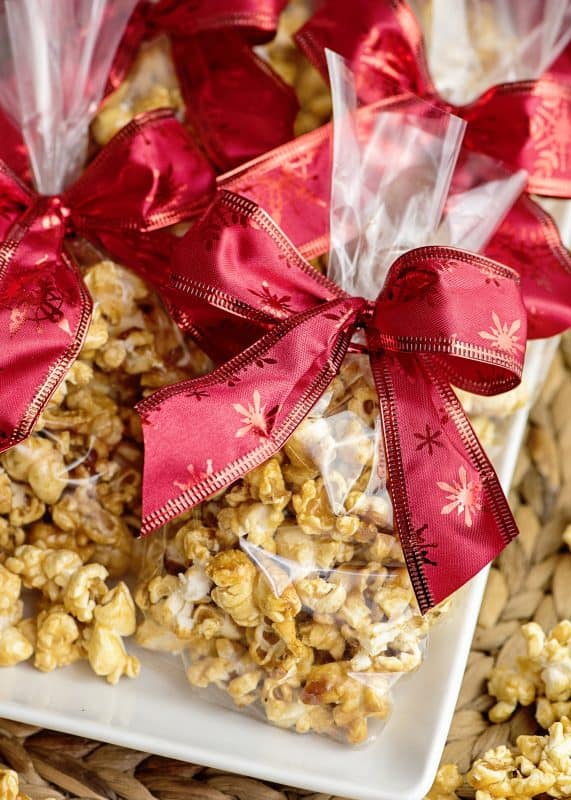
I package mine in those inexpensive clear party favor bags. I get them on the party favor aisle at WalMart at $1 for 20.
Now you have a great snack or an impressive gift!
- 1 Cup honey
- 1 Cup butter two sticks
- 1 Cup packed brown sugar
- 1 teaspoon salt
- 1/2 teaspoon baking soda
- 3 gallons popped popcorn
- 1 teaspoon vanilla
- 1 teaspoon butter flavoring can use more vanilla instead
-
Preheat oven to 250 degrees. Grease two large baking sheets.
-
In heavy saucepot, combine butter, honey, brown sugar, and salt. Place over medium heat and stir continuously until it comes to a boil. Stop stirring and let boil, undisturbed, for three minutes.
-
Remove from heat and stir in baking soda and flavorings. Place 1/2 of cooled popcorn in a large dishpan (I do mine in two batches) and pour half caramel sauce over. Stir until evenly coated. Spread onto baking sheet and repeat with remainder on another baking sheet.
-
Place in oven and bake at 250 for one hour, stirring every fifteen minutes. Allow to cool and break apart before placing in airtight container.
Do you subscribe to my email list? Click here to subscribe to my free recipe newsletter.

Click here to see my entire collection of Quote pictures, with new ones added each week! There are over 200 so far. You are welcome to download and share them.
Click here to follow me on Instagram.

Yum