Tag: Italian recipes

Perfect basic recipe and 10 variations! (step by step) – Gordon Ramsay’s version

Birthday cake


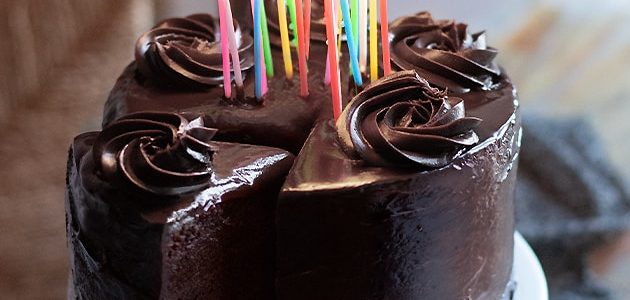
There Birthday cake it's a sweet scenographic and greedy perfect for celebrating adults and children! It is prepared with one chocolate base or White what can be with 2 or 3 floors ; then filled with creams or Ganache Chocolate ; finally entirely covered And decorated on the edges; usually one is left free central space for add candles! Imagine it soft and creamy inside, where the tall and full-bodied slices cut perfectly without making crumbs! in two words: the Perfect birthday cake! Below is the Recipe with all step-by-step illustrated tips for make it at home with 10 variants to make the Birthday cakes that the more you like them according to tastes and situations!

Birthday cake

It's about a very easy preparation, just a little bit of time available to organize with the timing of composition First of all the soft base gets ready by hand in minutes, it cooks, but it is basic the half day rest! Which is why I recommend always preparing them the day before. The filling of ganache is made in a flash; but it must reach the right consistency, neither too liquid nor too solid! Only finally can you assemble and decorate. The secret for a perfect result is that each base has the ideal consistency! Follow all my tricks and you will see what a result!

Starting from this base and from this process, you can realize many versions! Indeed among the ingredients found white bases with which you can replace this with chocolate e alternative creams with which to replace the ganache!

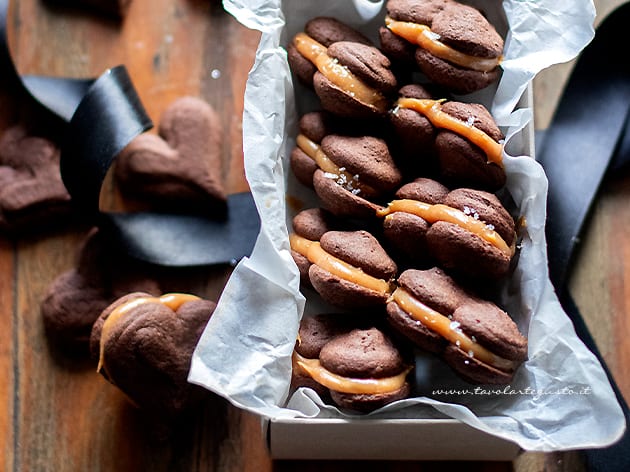
The result is what you see: one Birthday cake choreographic and chic, perfect it is for adults that for little ones! for Special occasions And anniversaries! try it soon! and not miss the 10 variations of Birthday Cakes for all tastes which you can find at the bottom of the article

How to make a birthday cake

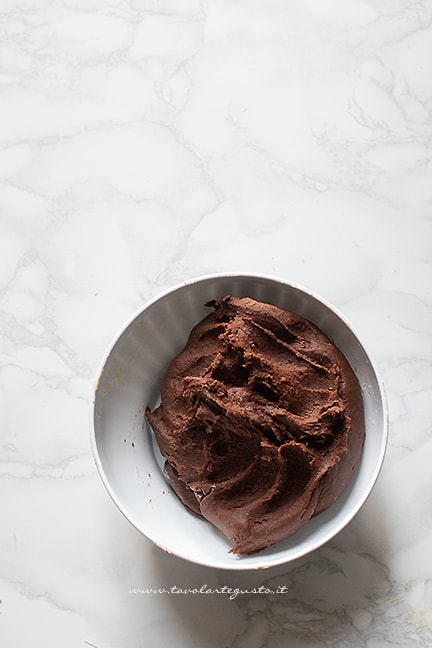
First of all prepare the base by placing the chopped chocolate, milk, butter, sugar in a saucepan and melt over low heat, stirring occasionally. Once melted, remove from the heat and allow to cool.

Then mix the flour together with the cocoa and baking powder previously sifted together.

Finally, beat the eggs with a fork.

Only when the chocolate mixture is fresh, add the eggs and mix with a hand whisk.

Finally add the flours as well. Mix well, mixing perfectly and then pour into a previously greased and floured pan.

Finally, bake in a static oven at 160 ° in the middle part for about 1 hour (attention, the time is indicative and depends on the oven and the mold!)

Always do the toothpick test and if it is too wet, continue cooking. If you see a crust that is too double on the surface, lower the temperature and continue cooking, but don't let it dry too much!

If you are cooking the dough on several discs , the cooking time for each disc will be halved!

Finally, remove from the oven and leave to cool on a wire rack for at least 5 hours. (If you want to see all the photos step by step, see the MUD CAKE article)

About 1 hour before cutting into layers, chop the chocolate and add it to the saucepan where you have boiled the cream for a few minutes. Stir until the mixture is smooth and set aside. It must be shiny, fluid, but at the same time spreadable. It will take about 20 minutes to cool down before getting the right consistency.

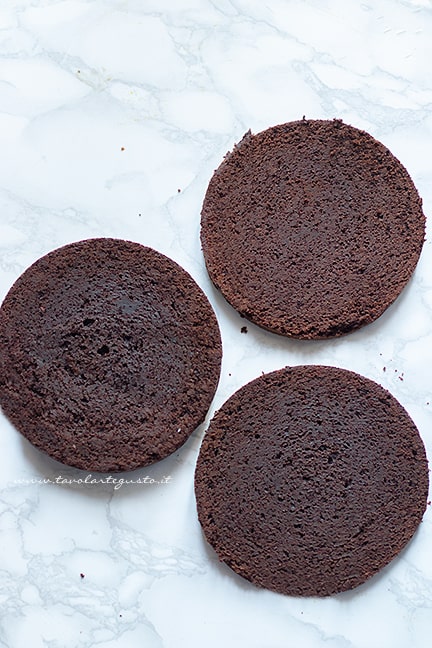
In the meantime, you can cut the cake into 3 if you have cooked in a single high mold, otherwise if you have cooked twice, just cut each circle in half to find 4 discs.

Of course, be careful to calculate the height equal to each layer.

how to make a birthday cake

Finally, stuff the first layer with about 2 tablespoons of ganache

fill and decorate a birthday cake

then place the second disc on the just stuffed disc, stuff it, finally add the last disc.

Finally, transfer the cake onto a serving plate or backsplash, cover with the ganache on the surface that the sides, spreading with a spatula or a knife, making sure to level.

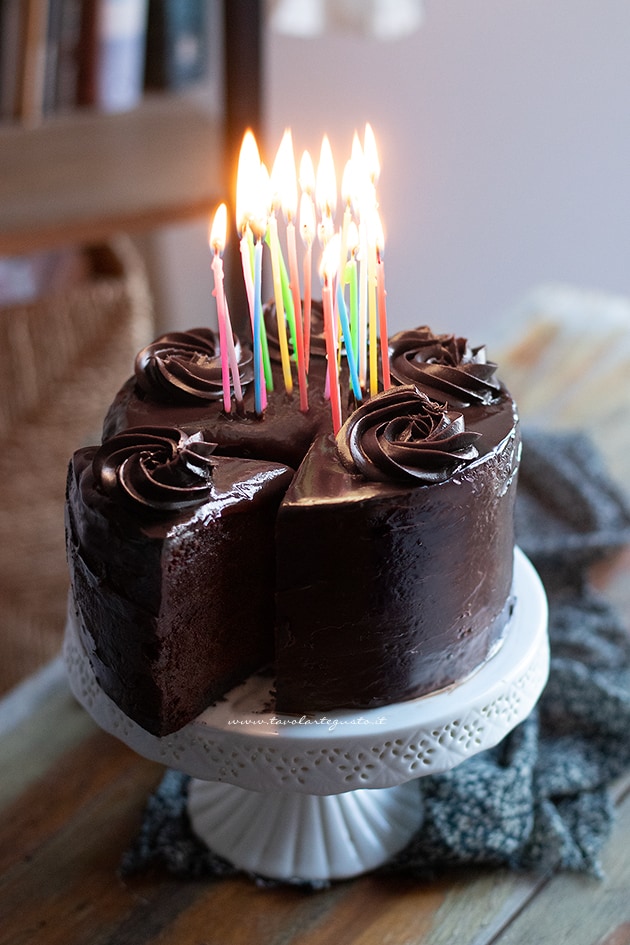
Then clean the bottom and wait for the ganache to solidify a bit to make the decorations. It is important that it becomes soft and fits into a piping bag with a star nozzle. Create roses on the edges or tufts, leaving the center flat and free, to place the birthday candles!

Leave at room temperature (in the fridge it will tend to harden too much)

Yours is ready Birthday cake

Step by step recipe birthday cake

In anticipation of holidays, I recommend that you prepare the base the day before and if you want the ganache too. and assemble all the same day. You can heat the ganache over a fire to make it liquefy and then thicken.

Once the cake is made, you can keep it in a dry place at room temperature for about half a day.

Then it should be put in the fridge, where it will harden and therefore you will have to leave it at room temperature before serving

Below you will find others Birthday cakes not to be missed, perfect for many occasions!

Birthday cakes

Cream Tart Birthday Cake

Perfect to make with numbers, letters or hearts, the step-by-step recipe can be found in the article: CREAM TART
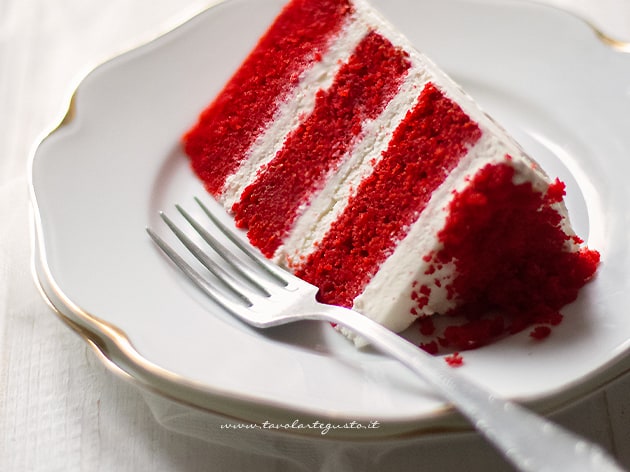
Cream Tart - Cream Tart Cake Recipe-

Red velvet

velvety red base and the typical cheese filling! The recipe can be found in the RED VELVET article
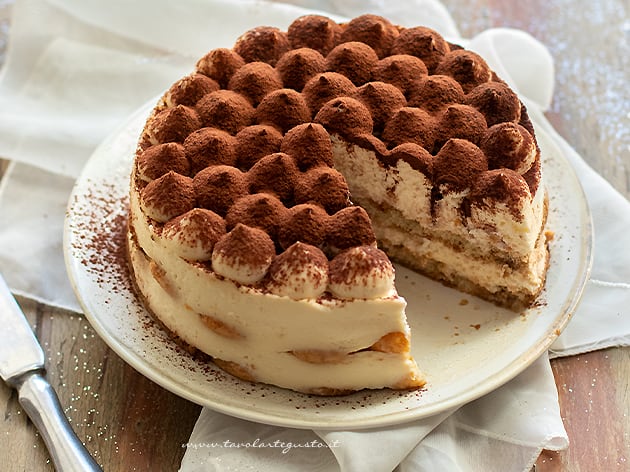
Red velvet - Red Velvet cake - Recipe Red velvet cake

Tiramisu cake

When the classic spoon dessert turns into a cake. The recipe can be found in TORTA TIRAMISU
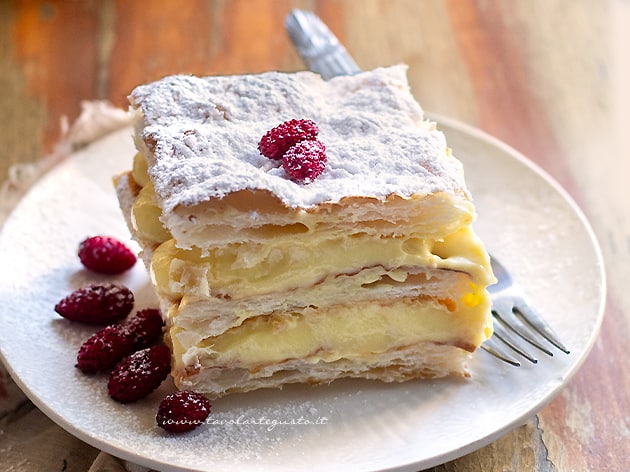
Tiramisu Cake - Tiramisu Cake Recipe

a thousand leaves

The classic with custard and strawberries the Recipe can be found in MILLEFOGLIE
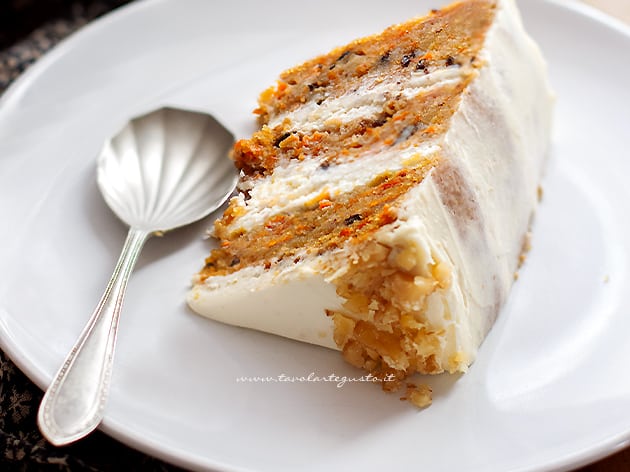
Millefoglie - Recipe Millefeuille with cream -

Carrot Cake

Carrot and walnut American with mascarpone cream! the step-by-step recipe is in the CARROT CAKE article
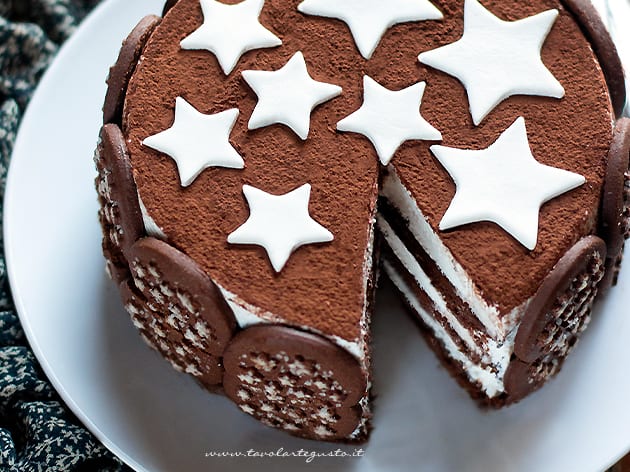
Carrot cake recipe

Pan of stars

Very easy and without cooking with biscuits, cream and Nutella, the step by step recipe in PAN DI STELLE CAKE
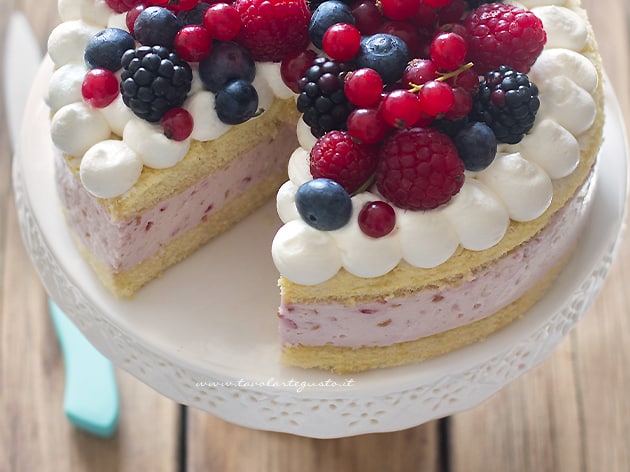
Pan Cake Stars

Berry birthday cake

biscuit dough stuffed with yogurt cream and wild berries the recipe in CAKE I FRUTTI DI BOSCO
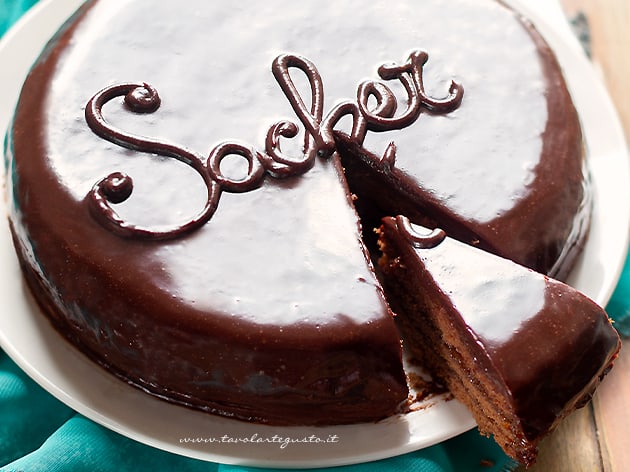
Forest fruit cake (soft, with a creamy filling and fresh fruit) - Recipe-

Sacher cake

cocoa base filled with jam and glazed with chocolate the step-by-step recipe in SACHER
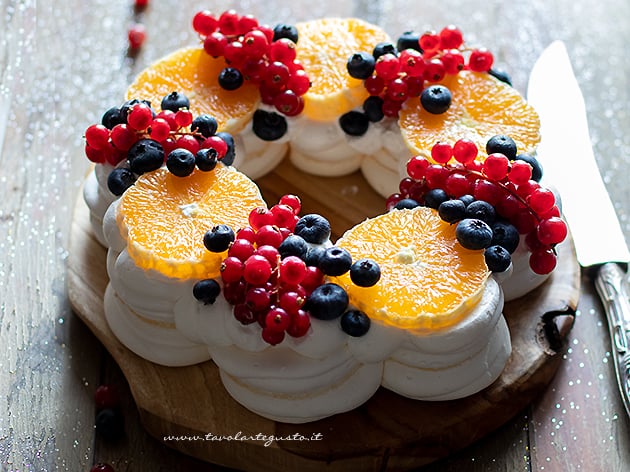
Sachertorte (Sachertorte) - Sachertorte Recipe -

Pavlova

Mwringa stuffed with cream and fruit of your choice, the recipe step by step in PAVLOVA CAKE
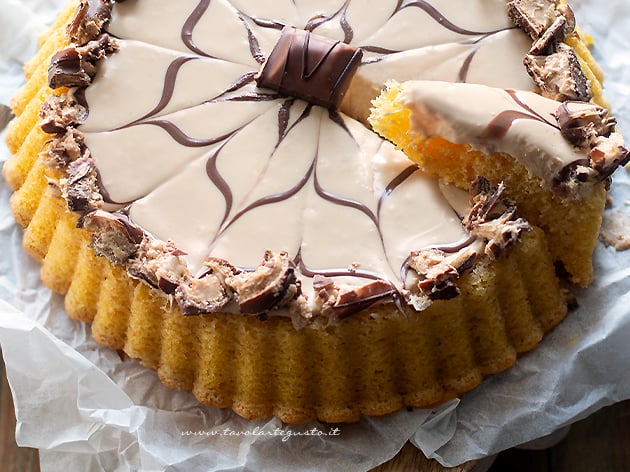
Pavlova - Pavlova cake (Original recipe)

Kinder bueno

Soft vanilla base with white, black and bueno Nutella, the step-by-step recipe in KINDER BUENO CAKE

Kinder bueno cake

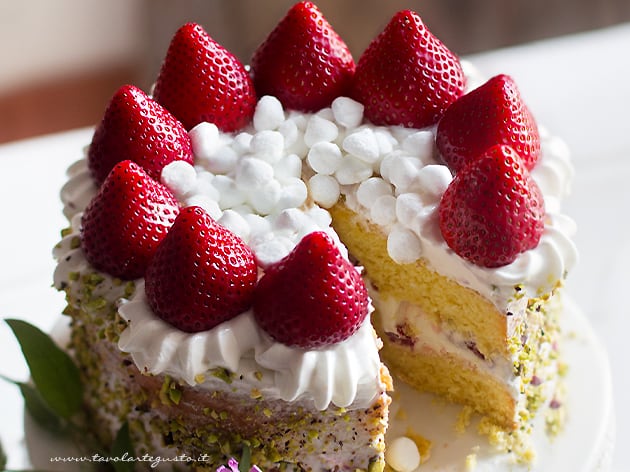
Cream and strawberry birthday cake

Sponge cake, chantilly, strawberries and meringues! the step-by-step recipe is in CAKE CREAM AND STRAWBERRIES

Quick and easy cream and strawberry cake - Recipe Cream and strawberry cake

.

the perfect, fast and delicious recipe! – Gordon Ramsay’s version

Salmon In Crust


The Salmon In Crust it's a second dish of fish choreographic and exquisite! It is about Salmon fillet scented with herbs aromatic; first enclosed in a casket of puff pastry braided or simple and finally baked in the oven; where the salmon becomes soft, juicy, delicately melting inside , exquisitely flaky and crunchy on the outside! A delight mouth-watering!

Salmon In Crust

After the success of the baked salmon and the practical one in the pan, I wanted to make one new version beautiful for the holidays: Salmon in a puff pastry crust!

It's about a quick and easy preparation! For the preparation you can use a fresh salmon fillet the size you prefer. To realize the crust you will need them 2 rolls of puff pastry to be woven just like in the Crust Meatloaf. The secret for best results use very cold sheets! in this way the weaves will be perfect in minutes!

In this case I chose to serve it with a radicchio salad and sugar loaf, but you can accompany it with baked potatoes or choose from the seasonal side dishes you like best!

Crusted Salmon is perfect to serve as second course for special occasions ; like a Sunday in the family, the Christmas Eve or New Year's, as an alternative to the classic Sea bass with salt or Octopus with potatoes! Trust me even children will lick their whiskers!

Crusted salmon recipe

PREPARATION TIMES

Preparation Cooking Total
20 minutes + cooling 30 minutes 50 minutes

Ingrediants

Quantity for 6 people

  • 1 salmon fillet of about 500 gr
  • 2 round puff pastry rolls
  • lemon thyme or simple thyme
  • 1 pinch of salt
  • 1 drizzle of extra virgin olive oil
  • egg yolk to brush

Method

How to make salmon fillet in a puff pastry crust

First of all wash the salmon fillet and remove the skin with a very sharp knife, tearing it gently, so that the piece remains intact.

Then make the intertwining with the puff pastry following the tutorial found in MEATBALL IN CRUST

how to make crusted salmon

Put the braided pastry in the fridge for 10 minutes before using it.

Then add the salmon on top that you have previously sprinkled with oil, thyme and a pinch of salt and fold it into a package:

cover the crusted salmon fillet

Finally, turn it upside down on a baking tray previously lined with parchment paper and brushstrokes of yolk:

brush the crusted salmon with yolk

Place in the fridge for 20 minutes.

Then bake at 200 ° in a very hot static oven in the central part for 10 minutes then lower to 180 ° and continue cooking for another 10 – 15 minutes until golden brown.

Remove from the oven and let it cool!

Yours is ready Crusted salmon fillet!

Salmon in a puff pastry crust

You can keep it in the fridge raw for 1 whole day already intertwined with the pastry!

.

Cocoa biscuits (plain or filled) the quick and delicious recipe! – Gordon Ramsay’s version

Cocoa biscuits


THE Cocoa biscuits they are gods treats delicious, quick shortbread biscuits made with flour, sugar, eggs, butter And cocoa in the dough . From the crumbly consistency it's a chocolate flavor they are irresistible! Excellent simple ; filled with spreads to taste, to glaze or even enriched with chocolate chips And grains of dried fruit!

Cocoa biscuits

For the very easy preparation you just need it 1 beater and 1 bowl where all the ingredients are assembled. You can choose whether to make them with the molds that you like the most; or with the sac a poche or again cookie shooters ; the one that I used it myself to make raised hearts that look like Heartbeat with cocoa! Aren't they cute? Yes they can leave natural , believe me they are delicious or for the sweet tooth or stuff with Nutella, Marmalade or Dulce de leche as in my case e pair together! They are truly superb!

THE Cocoa biscuits they are perfect for the breakfast from soak in milk or in coffee, for a snack afternoon together with a hot chocolate and of course to be packaged e give for greedy gifts a Christmas or hag!

Cocoa biscuits recipe

PREPARATION TIMES

Preparation Cooking Total
20 minutes + cooling 12 minutes 22 minutes

Ingrediants

Quantity for 40 pieces

  • 300 grams of flour '00
  • 60 grams of unsweetened cocoa powder
  • 250 gr of ointment butter
  • 150 grams of vanilla icing sugar (or icing with 1 teaspoon of vanilla or vanilla sachet)
  • 2 eggs
  • 1 egg yolk
  • 1 pinch of salt
  • grated orange peel
  • A few tablespoons of Dulce de leche for the filling (which you can replace with Jam, Nutella, pistachio cream …)

NOTE : if you want to realize Cocoa biscuits without butter I advise you to follow the recipe for shortcrust pastry with cocoa; if you want them instead without eggs: follow that of the vegan shortcrust pastry with cocoa

Method

How to make cocoa shortbread biscuits

To prepare the base, follow the procedure you find in MOUNTED SHORT PASTRY

You will find many useful tips.

cocoa biscuit dough

If you are using sac a poche or shoot biscuits, it will not be necessary to let the dough rest in the fridge.

If you want to use the cookie cutters, you will have to let the pastry rest in the fridge for at least 1 hour and then roll out the pastry to 5mm with the help of a rolling pin, carefully dusting the surface with flour.

In this case I have chosen the BISCOLT Cookie Shooting Machine

simple to use, in non-toxic aluminum, with 14 dies with original shapes! In this case I chose the heart shape!

heart-shaped cookie shooters

After inserting part of the dough, simply shoot the cocoa biscuit onto a previously greased pan! a few seconds:

how to make cocoa cookies

Finally, always let the biscuits rest in the pan in the fridge for at least 20 minutes.

Then, whatever type of biscuits you have made, bake them in a static oven at 180 ° for about 12 minutes until golden brown.

Remove from the oven and leave to cool completely.

Then if you want to stuff them, do it only when they are very cold, adding 1 teaspoon of filling or using the sac a poche. Close with another shortbread

Yours are ready Cocoa biscuits

Cocoa biscuits

Without filling they can be kept 1 month and a half, with filling they should be consumed within 3 – 4 days.

.

Proudly powered by WordPress

By continuing to use the site, you agree to the use of cookies. Click here to read more information about data collection for ads personalisation

The cookie settings on this website are set to "allow cookies" to give you the best browsing experience possible. If you continue to use this website without changing your cookie settings or you click "Accept" below then you are consenting to this.

Read more about data collection for ads personalisation our in our Cookies Policy page

Close