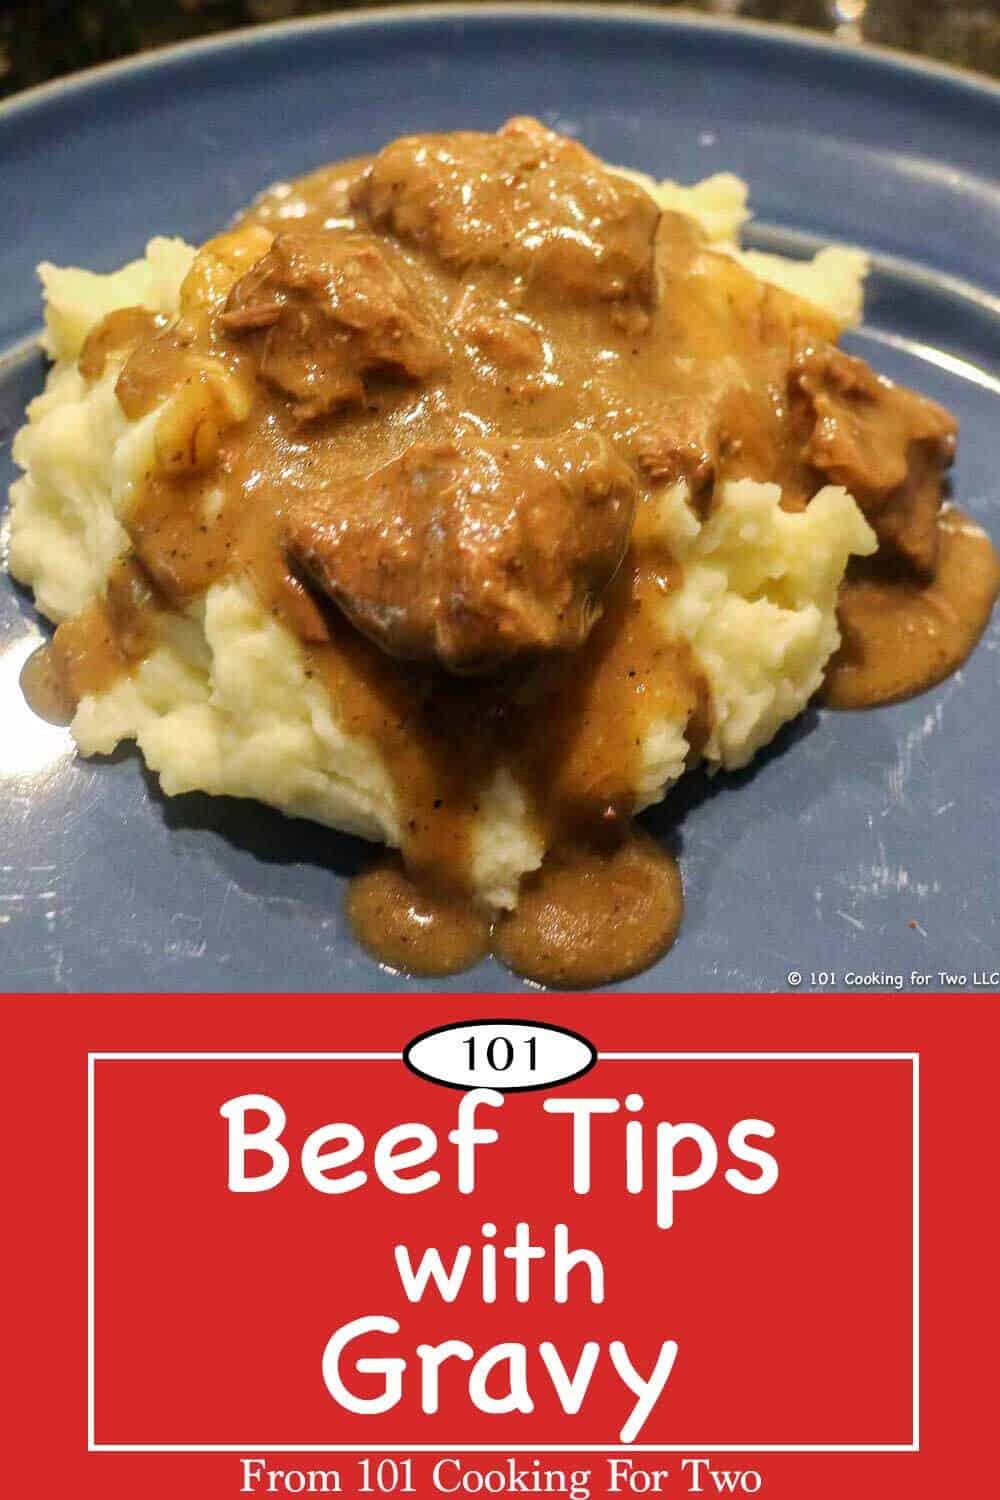
Easy step by step photo instructions for these tender and tasty beef tips with gravy. Guaranteed to become part of your comfort food rotation.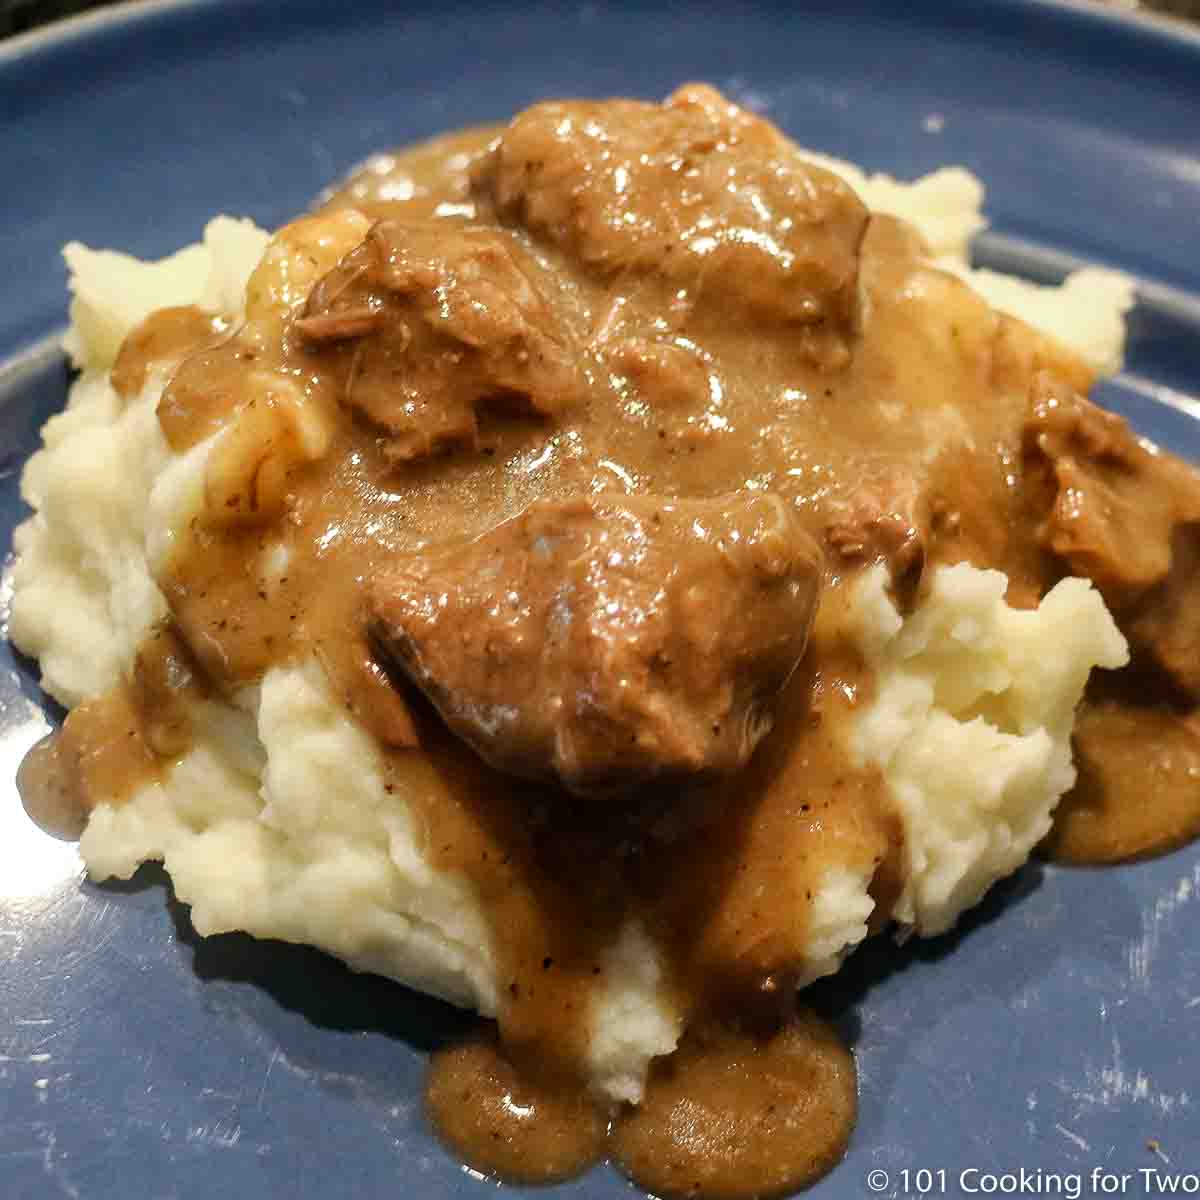
Editor’s Note: Originally Published October 15, 2017. Updated with expanded discussion and updated photos.
It is comfort food season. And what could be better to warm you and your family then this classic dish? A skill level of about 3/10.
This is one of those dishes that both my wife and I grew up eating. But you just don’t see or hear about it much. But it is a great family dish that you can easily whip up and have some leftovers too.
My Rating

It is just comfort food, but it is very good comfort food.
Pro Tips: Recipe Notes for Beef Tips with Gravy
What Meat to Use?
If you want, a “stew meat” from your local store will work fine. I chose a nicely marbled chuck roast that I could cut and trim myself.
I do not suggest leaner meat like a sirloin tip roast even though this dish is frequently called “sirloin tips” but you want more marbling for tender meat.
Adding Taste
The Worcestershire sauce pumps up the beef taste. Plus you can adjust the garlic to your taste. In my house, my garlic loving wife wants a good strong garlic taste. If you are not big on garlic, then cut it back some.
The Gravy
I used a slurry gravy method here, and it was all easily done in one pan. With this method, you can easily adjust the amount thickness of the gravy to your taste.
See How To Make Gravy at Home if you want to know more about making gravy.
A Sodium Note
You will not see any added salt here. The Worcestershire sauce and the beef broth add enough sodium here.
I would suggest low sodium broth but didn’t have any for the pictures so you will see regular beef broth in the pictures.
Most of the recipes out there use twice as much Worcestershire sauce plus they usually add soy sauce so the sodium will go sky high.
Don’t Use Corn Starch
Please do not use corn starch to thicken recipes like this. It is comfort food, and there are usually leftovers. Here I purposely cook for leftovers.
Things thickened with cornstarch will be gelatinized when cooled. It tastes ok, but the texture is odd.
Make half or freeze.
Good in the refrigerator for 3-4 days. It will freeze well for 3-4 months.
An easy recipe to cut in half but I suggest freezing instead. If you cut in half, the cooking time stays the same, and you can use the other half of the can of broth for the gravy instead of water.
Check out other comfort food:
Easy Meatloaf
Pot Roast with Gravy
Cheesy American Goulash
![]()
![]()
You will need 2 pounds of stew meat. I like to pick out my own using a chuck roast that is nicely marbled.
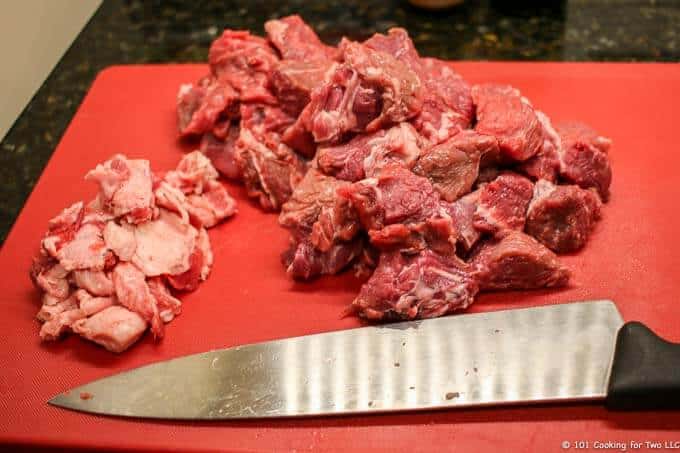
Then trim and cut into 1-inch cubes.
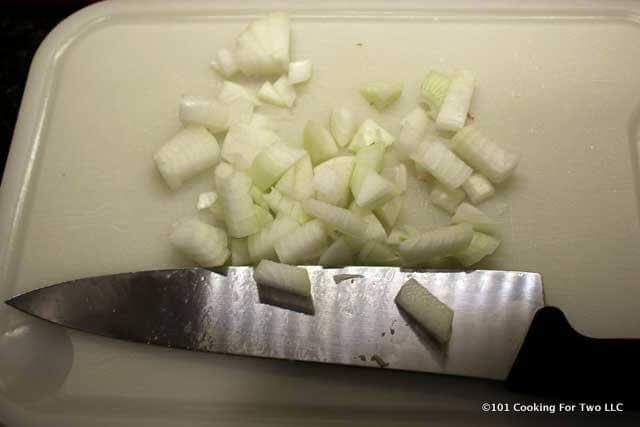
Chop one medium onion.
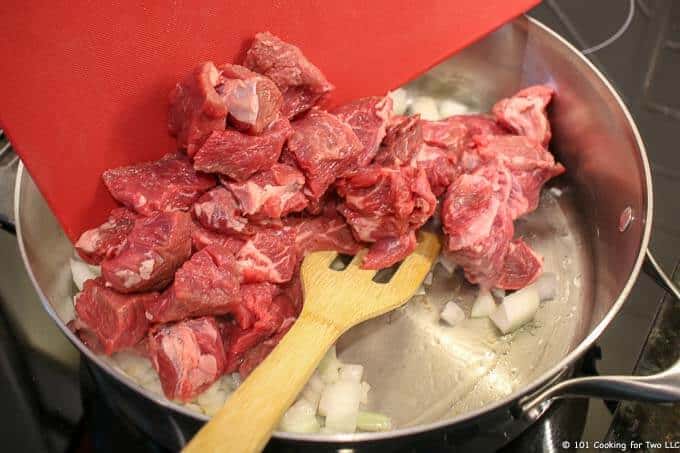
Over high heat, add 2 tablespoons vegetable oil. When shimmering, add onion and beef.
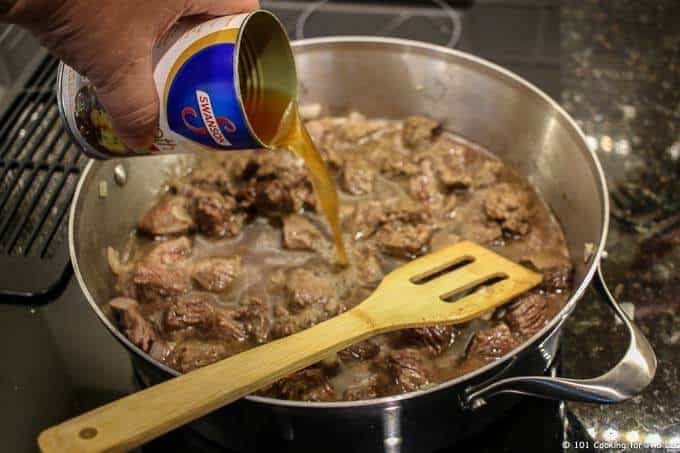
Brown the meat for about 10 minutes. Then add 4 tablespoons Worcestershire sauce, 1 teaspoon garlic powder, and 1 teaspoon pepper. Stir occasionally until nicely brown. Add a 14-oz can of low sodium beef broth.
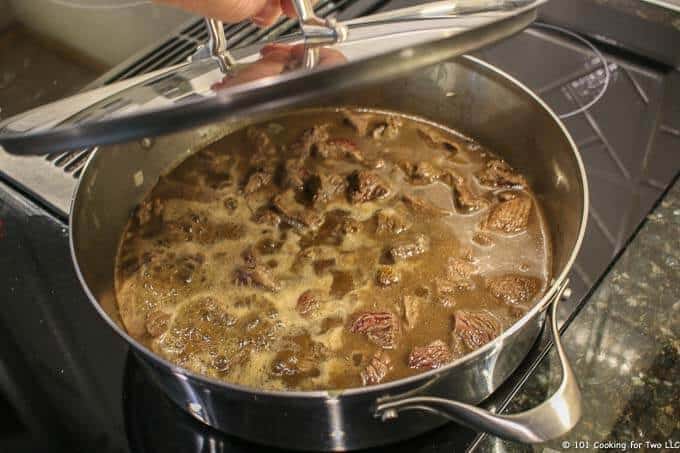
Bring to a boil then decrease heat to simmer and cover. After about 90 minutes, the meat should be fork tender. Mix a slurry of 1/2 cup flour with enough water to make 2 cups. Shake to mix using a gravy shaker or whisk until smooth.
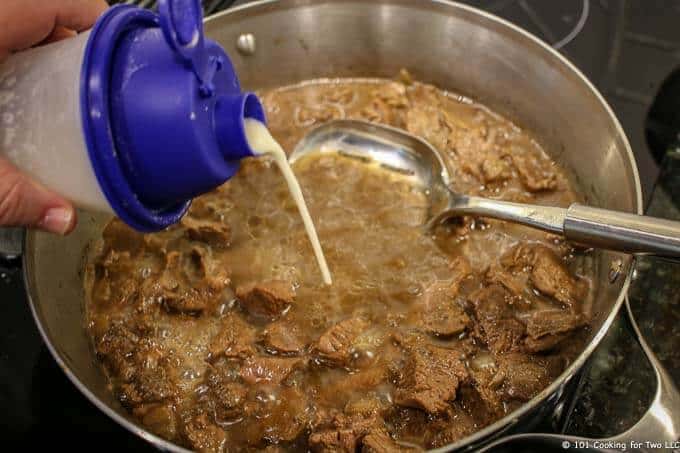
Uncover and turn the heat back to high. When boiling well, slowly add part of the flour slurry. Mix continuously and slowly add more every few minutes until the gravy is your desired thickness.
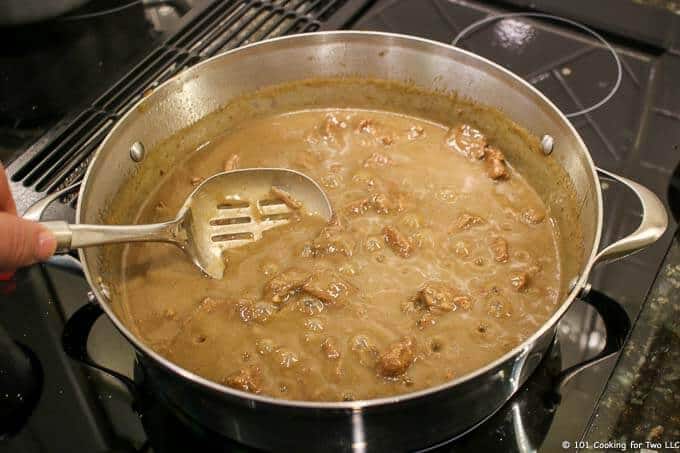
Cook a few more minutes. Server over mashed potatoes or noodles.
Do you want more recipes from 101 Cooking for Two? Sign up for the newsletter and get all posts delivered straight to your inbox!
![]()
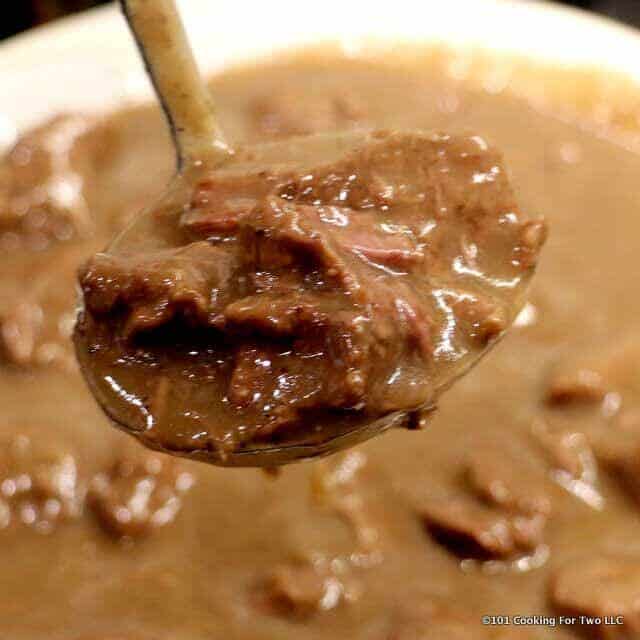
Beef Tips with Gravy
Easy step by step photo instructions for these tender and tasty beef tips with gravy. Guaranteed to become part of your comfort food rotation.
Prep Time15 mins
Cook Time1 hr 35 mins
Total Time1 hr 50 mins
Servings/Adjustment: 6 servings
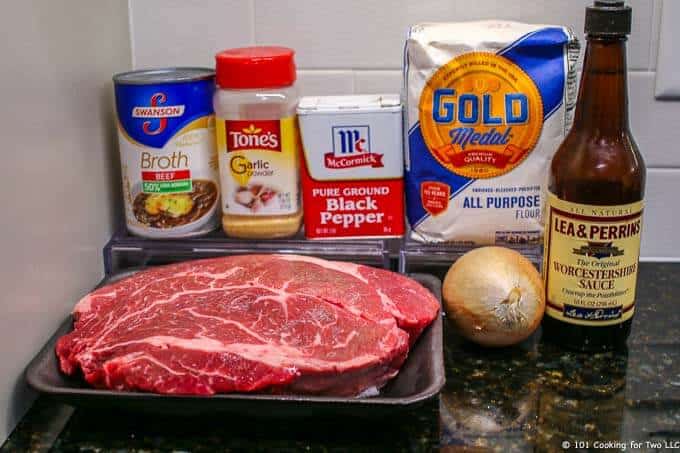
Ingredients
- 2 tablespoons oil
- 2 pounds beef – 1 inch cubes
- 1 onion – medium – diced
- 14 oz low-sodium beef broth
- 4 tablespoons Worcestershire sauce
- 1 teaspoon garlic powder
- 1 teaspoon pepper
- 1/2 cup flour – may take a bit more
- noodles or mashed potatoes to serve
Instructions
-
You will need 2 pounds of stew meat. I like to pick out my own using a chuck roast that is nicely marbled. Then trim and cut into 1-inch cubes.
-
Chop one medium onion.
-
Over high heat, add 2 tablespoons vegetable oil. When shimmering, add onion and beef.
-
Brown the meat for about 10 minutes. Then add 4 tablespoons Worcestershire sauce, 1 teaspoon garlic powder, and 1 teaspoon pepper. Stir occasionally until nicely brown. Add a 14-oz can of low sodium beef broth.
-
Add a 14-oz can of low sodium beef broth. Bring to a boil then decrease heat to simmer and cover.
-
After about 90 minutes, the meat should be fork tender. Mix a slurry of 1/2 cup flour with enough water to make 2 cups. Shake to mix using a gravy shaker or whisk until smooth. CLICK HERE to start 90 minute timer
-
Uncover and turn the heat back to high. When boiling well, slowly add part of the flour slurry. Mix continuously and slowly add more every few minutes until the gravy is your desired thickness.
-
Cook a few more minutes. Server over mashed potatoes or noodles.
Recipe Notes
Pro Tips:
- You can use “stew meat” from your local store. I prefer a nicely marbled chuck roast. But leaner beef will not be as tender.
- Simmer for about 90 minutes covered, but the meat needs to be “fork tender” before going to the gravy stage.
- Make up a little extra of the flour slurry. Add most of it and add more later if you need thicker.
- Good in the refrigerator for 3-4 days. Will freeze well for 3-4 months.
- An easy recipe to cut in half but I suggest freezing instead. If you cut in half, the cooking time stays the same, and you can use the other half of the can of broth for the gravy instead of water.
Nutrition Facts
Beef Tips with Gravy
Amount Per Serving
Calories 596 Calories from Fat 315
% Daily Value*
Total Fat 35g 54%
Saturated Fat 13g 65%
Polyunsaturated Fat 2g
Monounsaturated Fat 17g
Cholesterol 142mg 47%
Sodium 833mg 35%
Potassium 559mg 16%
Total Carbohydrates 19g 6%
Dietary Fiber 1g 4%
Sugars 3g
Protein 46g 92%
Vitamin C 2%
Calcium 0.5%
Iron 35%
* Percent Daily Values are based on a 2000 calorie diet.
Have a question or something not clear? Ask in the comments.
Nutrition is for one serving. Number of servings is stated above and is my estimate of normal serving size for this recipe.
All nutritional information are estimates and may vary from your actual results. This is home cooking, and there are many variables. To taste ingredients such as salt will be my estimate of the average used.
![]()
If you like this recipe or find it useful, the pleasure of a nice 4 or 5 rating would be greatly appreciated.
![]()
Do you want more recipes from 101 Cooking for Two? Sign up for the newsletter and get all posts delivered straight to your inbox! ![]()