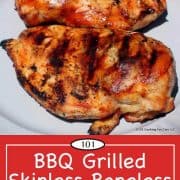
A great tasting, moist, and tender grilled BBQ skinless boneless chicken breast. A simple short brine gets you the moist chicken breast you want. A light coat of BBQ sauce then grills carefully. Umm, chicken heaven.
Jump to:
![]()
Introduction and My Rating
Everybody wants to grill skinless boneless chicken breast, but they all get hockey pucks. To address this issue, I started with a simple brine to help with the moisture problem you can have with SBCB. Add a little cayenne for taste to the brine.
Let set in the brine for about 30 minutes while the grill is heating. Rinse, pat dry, and a light coat of sauce. Grill carefully for about 30 minutes and add another coat of sauce a few minutes before removing. Let sit for 5 minutes and serve.
My Rating:
Tasty and easy to do. A classic recipe. I was a high four, but having redone this a number of times, I’m at a low five along with my wife.
🐓Chicken Breasts
Skinless boneless chicken breasts have gotten much bigger over the years. It is always easier to cook chicken that is about the same size and thickness. So try to even it out when you pick your chicken.
If you get these really plump ones, flatten them down a little with a meat mallet or bottom of a pan. Try for about 3/4 inch thickness.
🥣The Brine
The recommended brine is relatively heavy in salt. According to Cooks Illustrated, this concentration of brine is recommended for chicken for 30 minutes to 2 hours. The chicken gets saltier if over 1 hour, so I’m suggesting 1-hour max.
To me (a safety guy), I don’t like raw chicken at room temperature for more than 20 minutes. Actually, 20 minutes will do a fairly good job of brining these.
While we no longer recommend rinsing chicken, you should always rinse carefully after brining. Also, don’t add any more salt after brine is used. You can grill a chicken breast and keep it moist without the brine, but it requires attention and skill. Skip the brine at your own risk.
♨️Grill
The grill temperature is the most important part of our keep it moist quest. For any chicken, I feel you can not “sock the heat to it.” The outside will be burnt before the center is safe to eat. Also, the light coat of sauce can burn easily.
I like to cook all chicken with a grill surface temperature of about 450°, give a take a little. This is medium on my current grill, which is a “hot” grill. It is medium-high on most gas grills. Please see my guide A Beginners Guide to Grill Temperature on a Gas Grill and get it right.
I like to add a very light coat of BBQ sauce at the beginning to create a base for the last coat. You do not have to do that, but I recommend it.
Use the BBQ sauce of your choice. I love Gates BBQ of KC sauce but used Bulls Eye Original, which Cooks Illustrated likes (me too). My Memphis BBQ Sauce would also be great.
📖Chicken Breast Recipes
How to Grill Chicken Breasts on a Gas Grill
Super Moist Grilled Skinless Boneless Chicken Breasts
Grilled Blackened Chicken Breasts
Baked Chicken Breast
A Beginners Guide to Grill Temperature on a Gas Grill![]()
![]()
🖊️Instructions
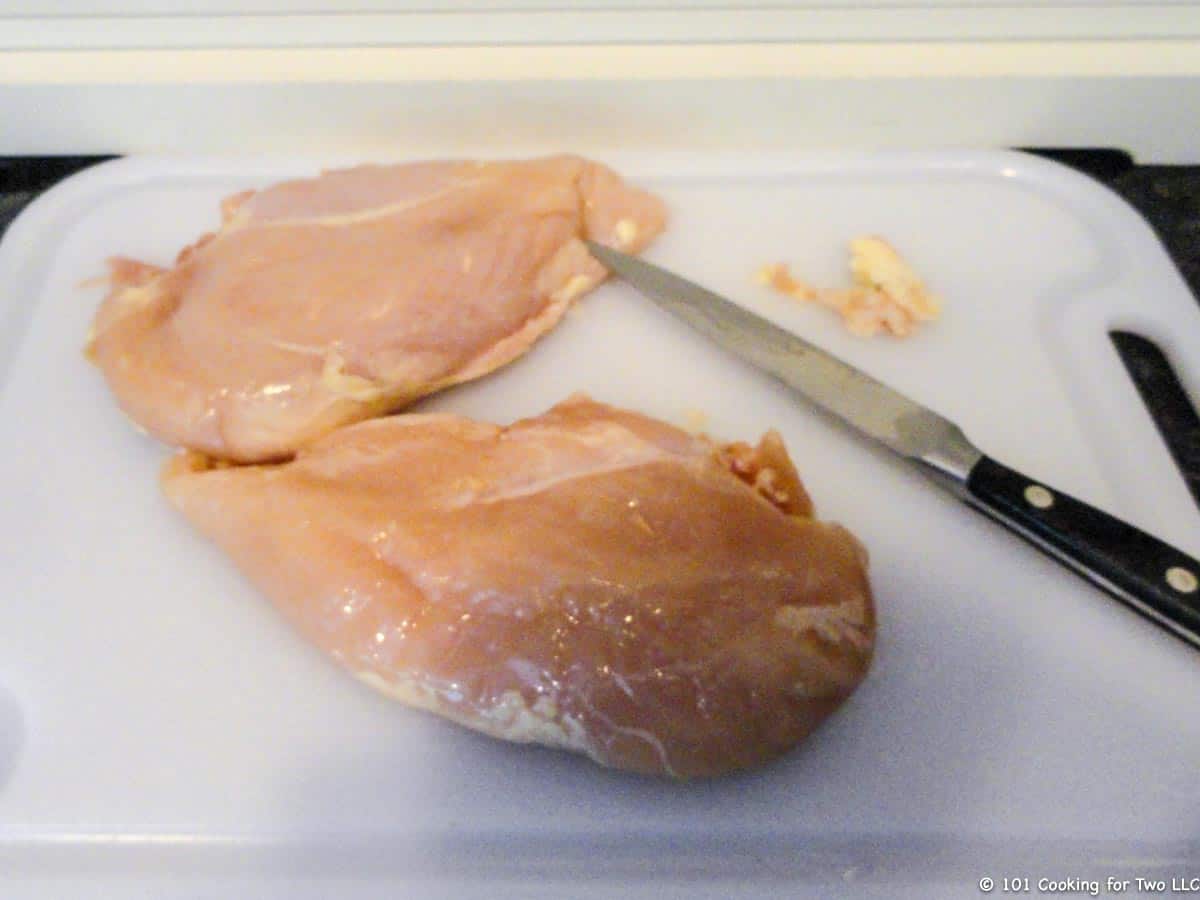
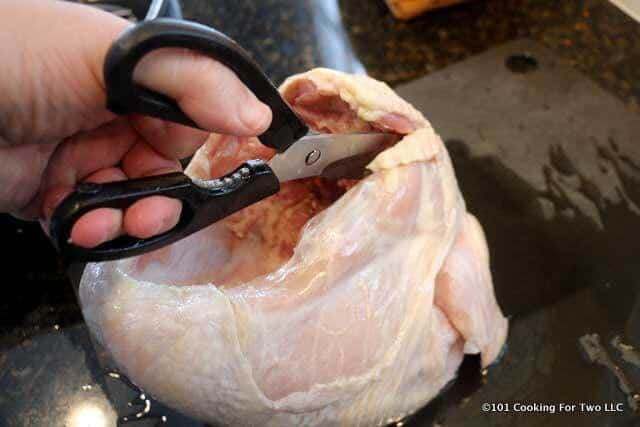
Trim skinless boneless chicken breast of any trim-able fat. Try to use chicken breasts of about the same size. And if you get some that are very plump, flatten them down a little with a meat mallet or bottom of a pan to about 3/4 inch thick.
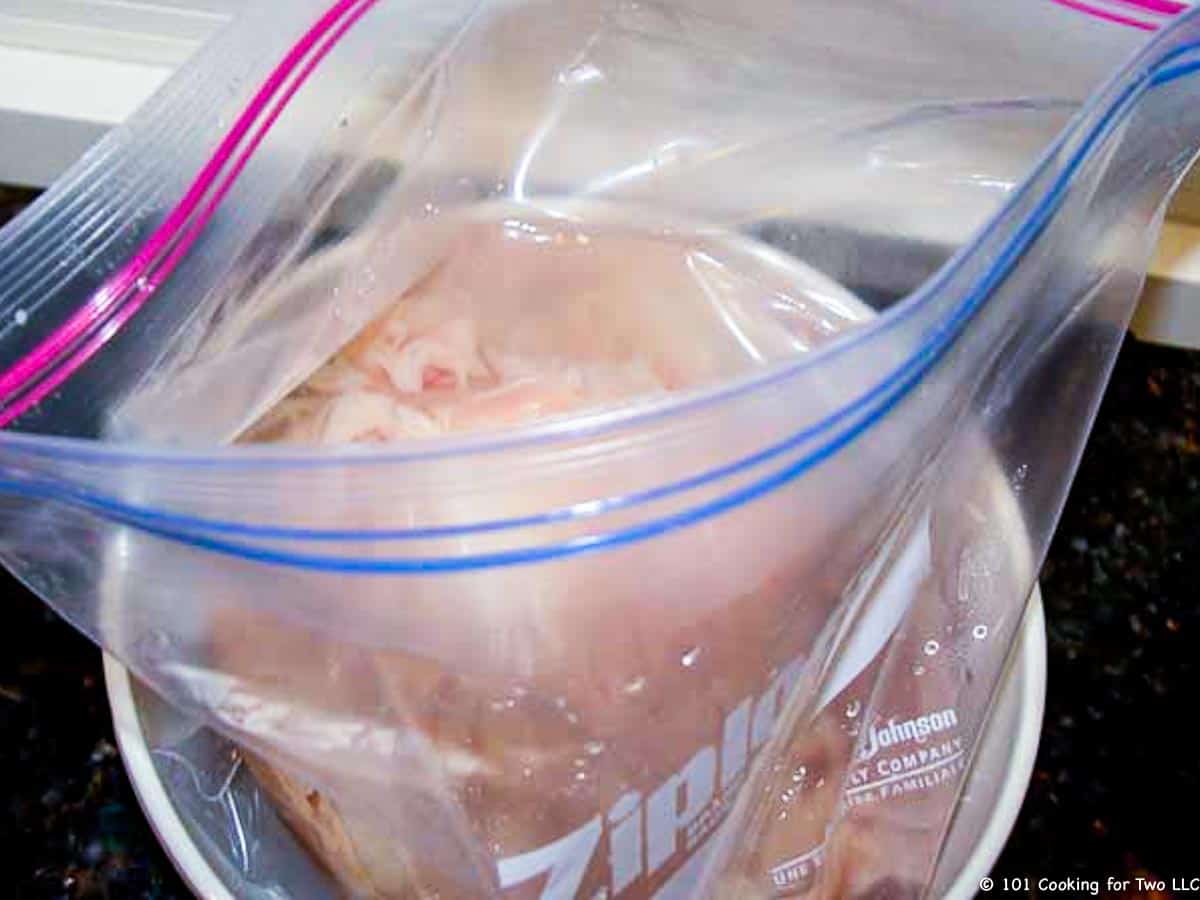
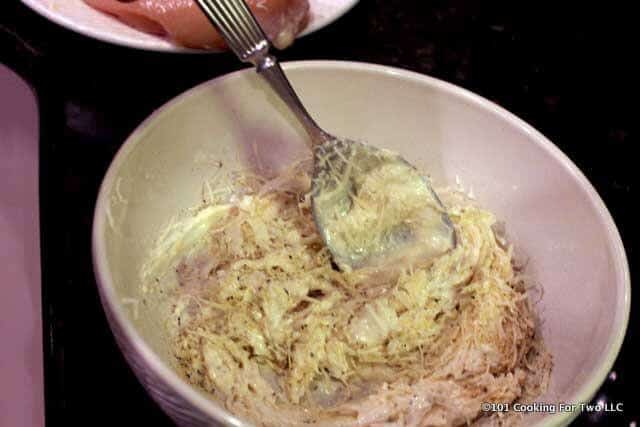
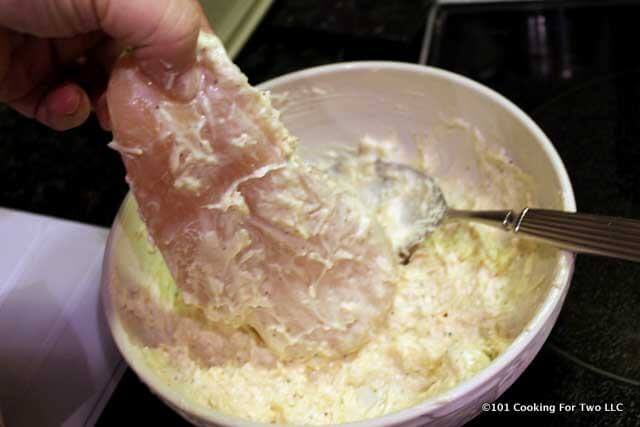
Mix brine of 3 cups water,1 1/2 tablespoons table salt, 1 1/2 tablespoons brown sugar, and 1/2 to 1 teaspoon cayenne pepper (optional). Add chicken and submerge and refrigerate for 30 minutes (no more than 1 hour).
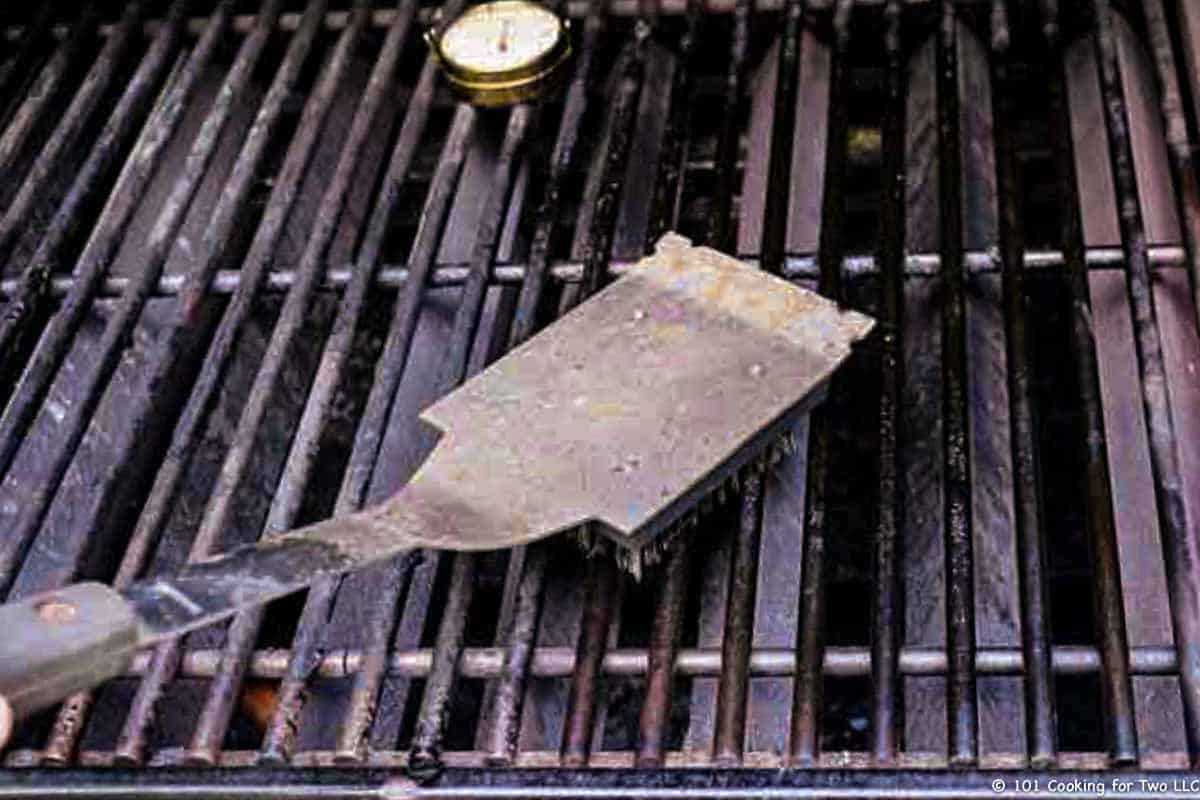
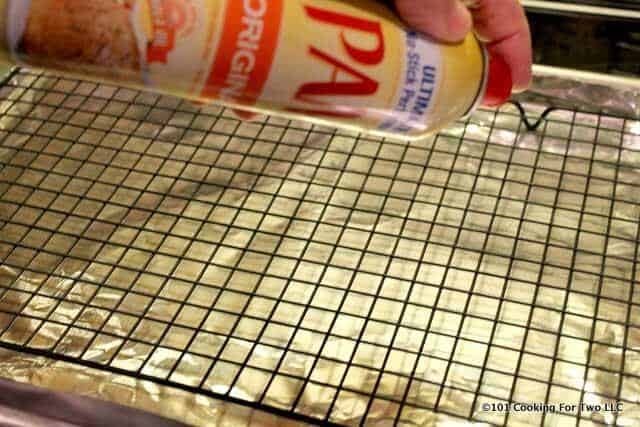
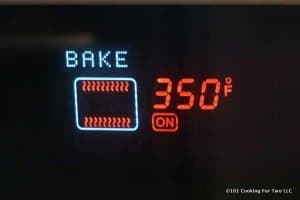
Clean and oil grill grates and preheat to a surface temperature of 450°-500°, which is about medium-high on most grills. I recommend a surface thermometer to be able to control your grill well.
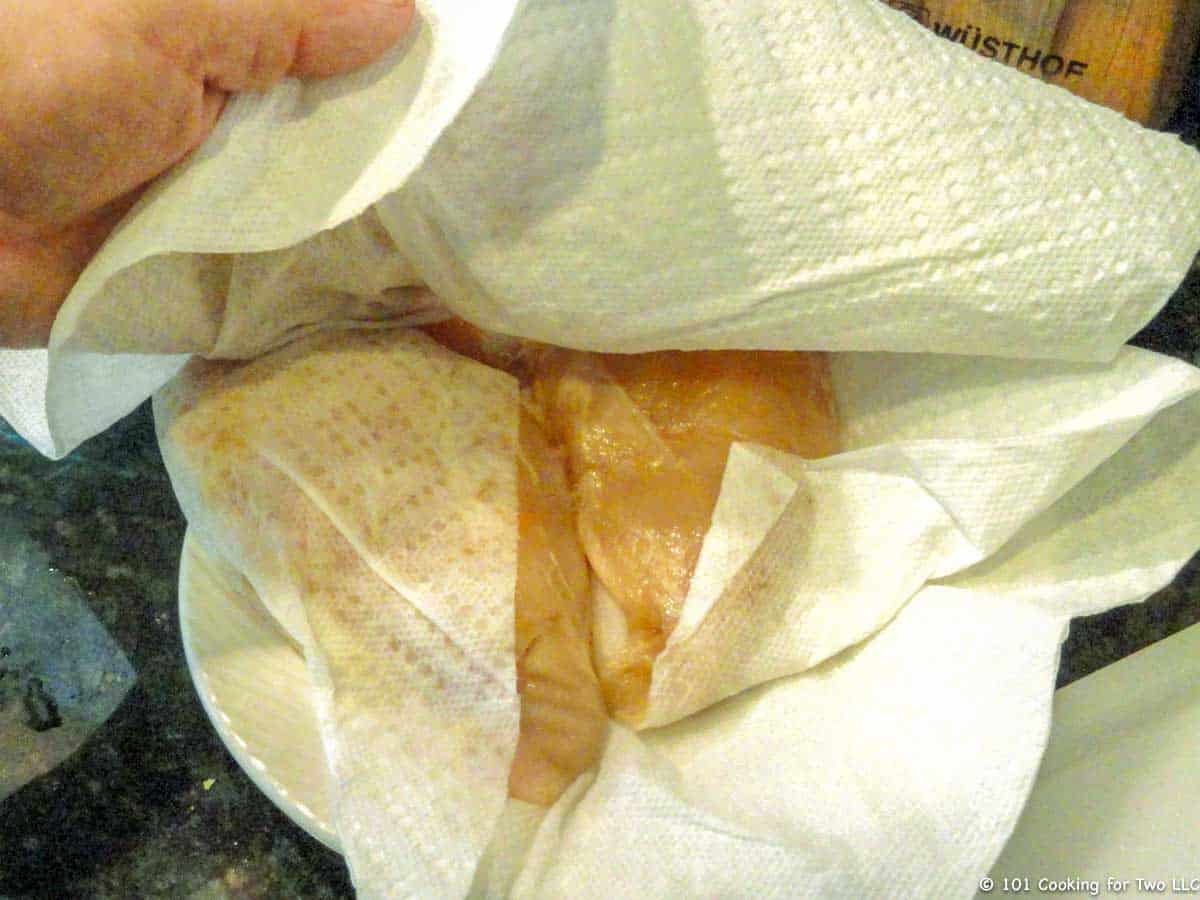
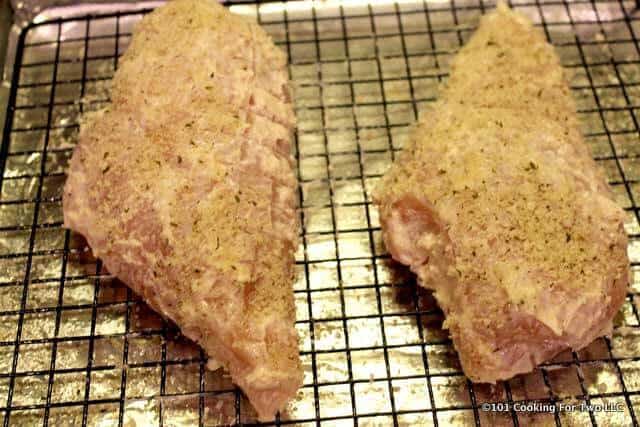
Remove chicken from brine and rinse lightly under running water. Pat dry. Please be careful and wash up the surrounding area and your hands.
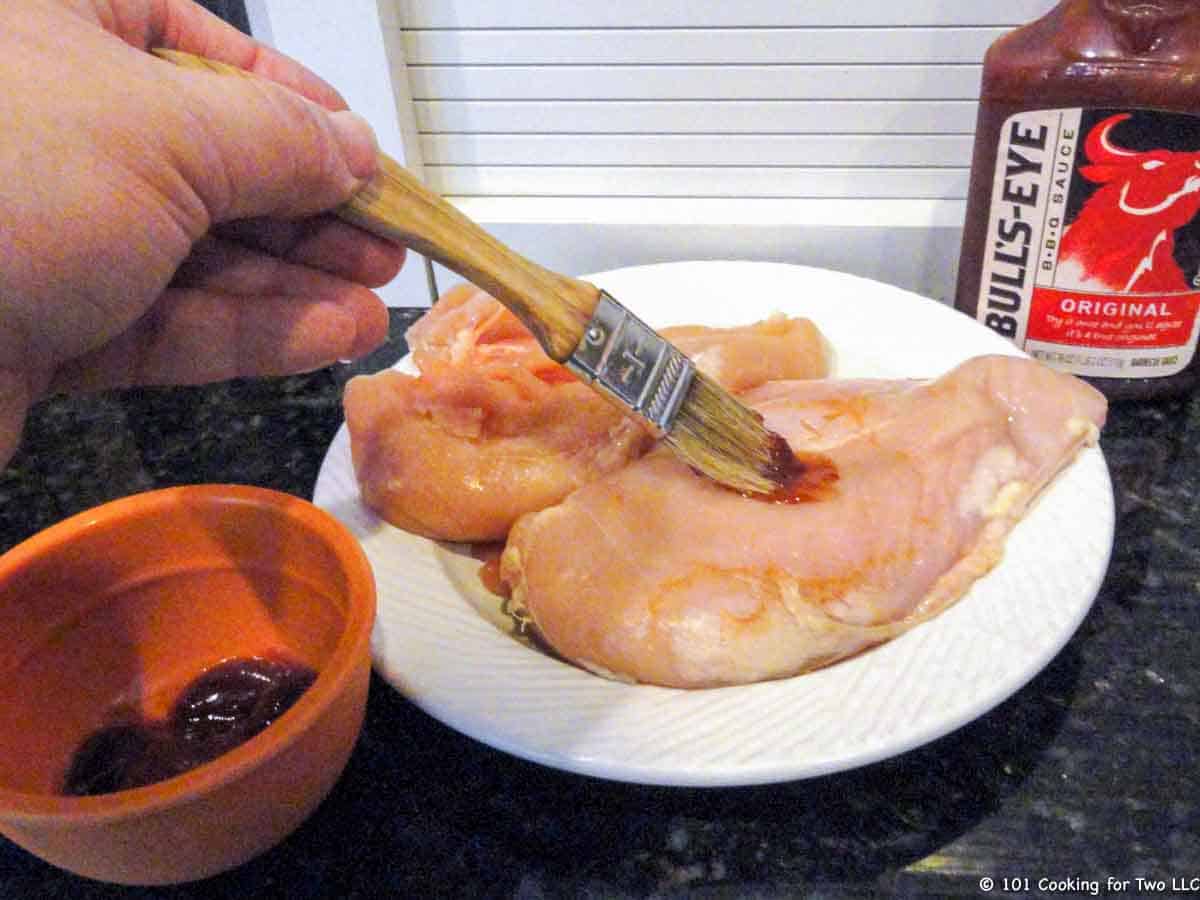
Brush lightly with BBQ sauce of your choice.

Place over direct heat.
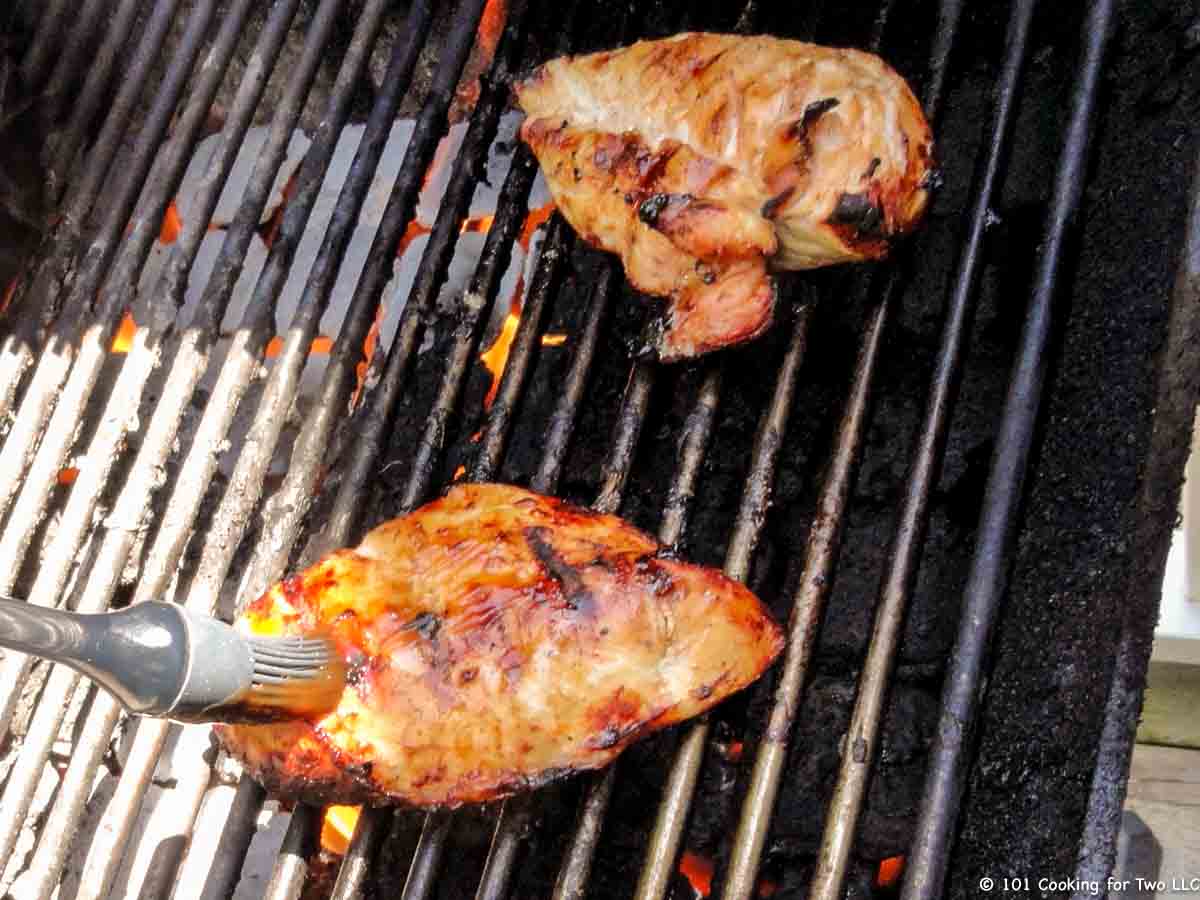
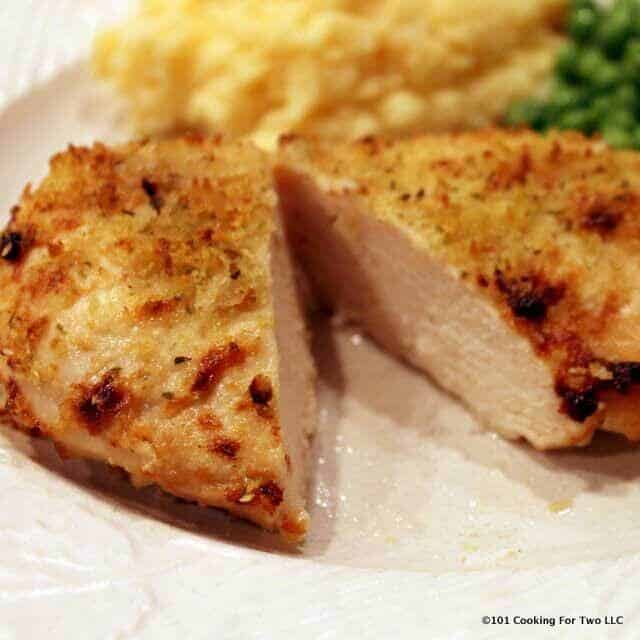
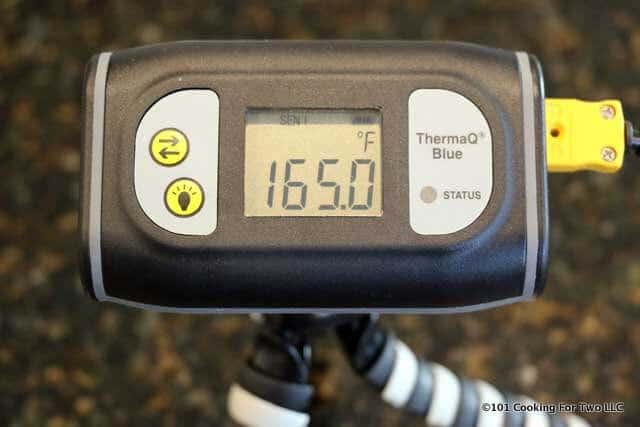
Flip about every 5 minutes. About 3-4 minutes before done, brush both sides with sauce. Remove from the grill at an internal temperature of 165°—about 30 minutes of total grill time. But total time will vary by the exact grill temperature and thickness of the breasts. The thinner breast may be in the 25-minute range, and those huge thick ones may take 35 minutes.
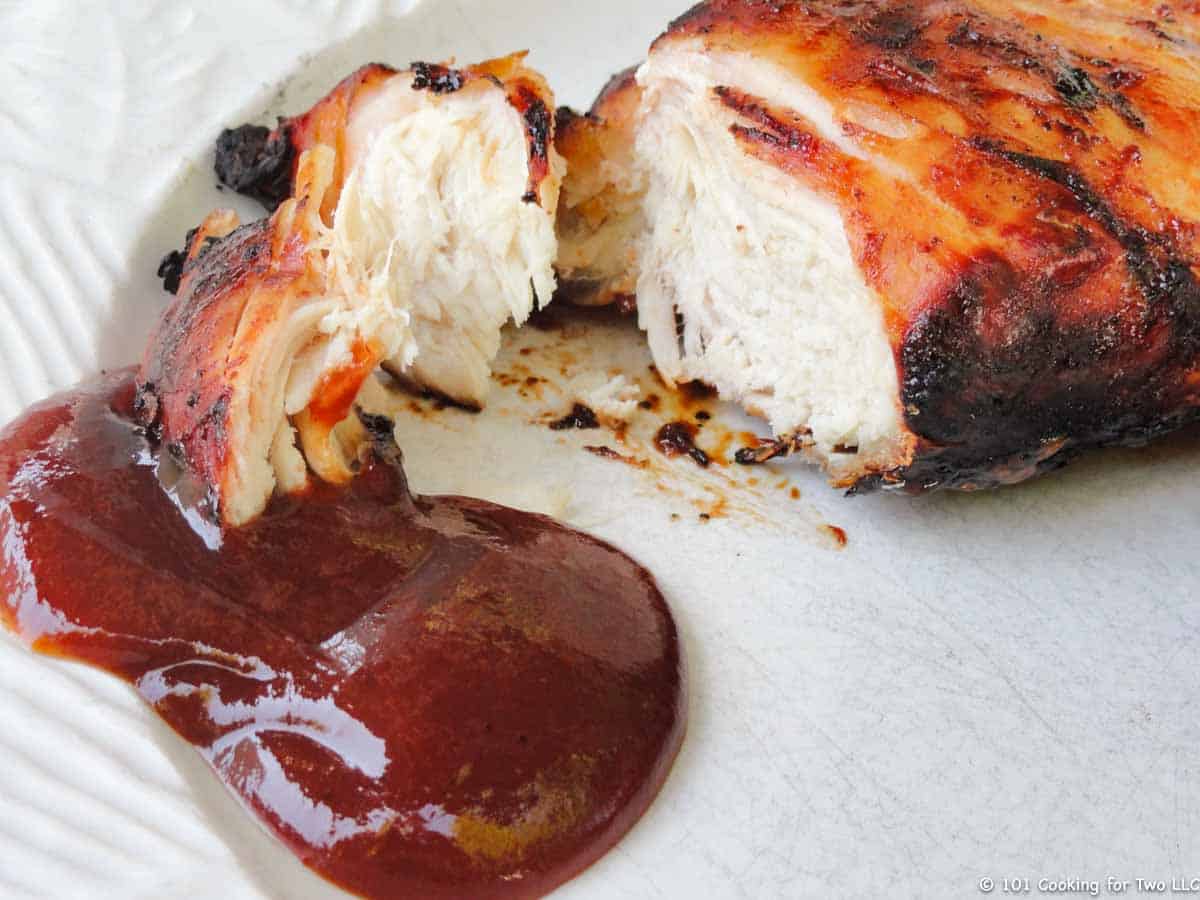
Allow to rest for about 5 minutes before serving.
![]()
![]()
Do you want more recipes from 101 Cooking for Two? Sign up for the newsletter and get all posts delivered straight to your inbox!
![]()
📖 Recipe
BBQ Skinless Boneless Chicken Breast on a Gas Grill
A great tasting, moist, and tender grilled BBQ skinless boneless chicken breast. A simple short brine gets you the moist chicken breast you want. A light coat of BBQ sauce then grill carefully. Umm, chicken heaven.
Prep Time10 mins
Cook Time30 mins
Brine30 mins
Total Time1 hr 10 mins
Servings/Adjust Amount: 2 servings
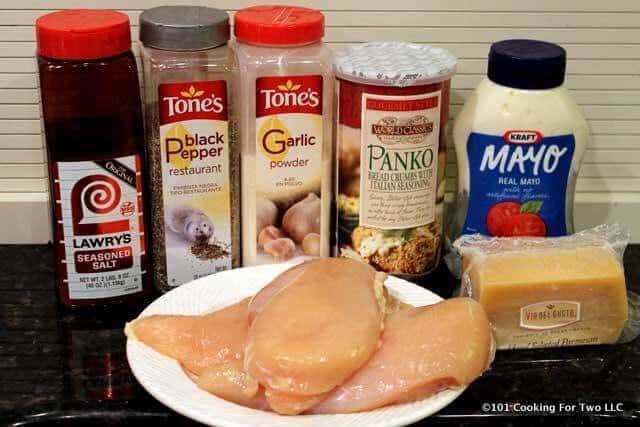
Ingredients
- 2 skinless boneless chicken breasts
- 2 tablespoon BBQ sauce of choice
Brine (optional)
- 3 cups water – cold
- 1 1/2 tablespoons table salt
- 1 1/2 tablespoons brown sugar
- 1/2 to 1 teaspoon cayenne pepper – optional
Instructions
-
Trim skinless boneless chicken breast of any trim-able fat. Try to use chicken breasts of about the same size. And if you get some that are very plump, flatten them down a little with a meat mallet or bottom of a pan to about 3/4 inch thick.
-
Optional Brine: Mix brine of 3 cups water,1 1/2 tablespoons table salt, 1 1/2 tablespoons brown sugar and 1/2 to 1 teaspoon cayenne pepper (optional.) Add chicken and submerge and refrigerate for 30 minutes (no more than 1 hour)
-
Clean and oil grill grates and preheat to a surface temperature of 450°-500° which is about medium-high on most grills. I recommend a surface thermometer to be able to control your grill well.
-
Remove chicken from brine and rinse lightly under running water. Pat dry. Please be careful and wash up the surrounding area and your hands.
-
Brush lightly with BBQ sauce of your choice.
-
Place over direct heat.
-
Flip about every 5 minutes. About 3-4 minutes before done, brush both sides with sauce. Remove from the grill at an internal temperature of 165°. About 30 minutes of total grill time. But total time will vary by the exact grill temperature and thickness of the breasts. The thinner breast may be in the 25-minute range, and those huge thick ones may take 35 minutes.
-
Allow to rest for about 5 minutes before serving.
Recipe Notes
- This brine is relatively heavy in salt so a maximum time of 1 hour please. Rinse to remove extra salt. The brine is optional but recommended.
- Total grilling time will vary by the exact grill temperature and thickness of the breasts. Thinner breast may be in the 25-minute range, and those huge thick ones may take 35 minutes.
- If you have a breast that has a large variation in thickness, using a meat mallet to even things out a bit is a good idea. Try for about 3/4 inches thick.
- I like a very light coat of BBQ sauce at the start to create a base for later. It does not burn but omit if you which.
Check Out Other Great Recipes

ADJUST THE RECIPE SIZE:
You may adjust the number of servings in this recipe card under servings. This does the math for the ingredients for you. BUT it does NOT adjust the text of the instructions. So you need to do that yourself. ![]()
Nutrition
Nutrition Facts
BBQ Skinless Boneless Chicken Breast on a Gas Grill
Amount Per Serving
Calories 159 Calories from Fat 27
% Daily Value*
Fat 3g5%
Saturated Fat 1g5%
Cholesterol 72mg24%
Sodium 678mg28%
Potassium 459mg13%
Carbohydrates 7g2%
Fiber 1g4%
Sugar 6g7%
Protein 24g48%
Vitamin A 73IU1%
Vitamin C 1mg1%
Calcium 23mg2%
Iron 1mg6%
* Percent Daily Values are based on a 2000 calorie diet.
Nutrition is generally for one serving. Number of servings is stated above and is my estimate of normal serving size for this recipe.
All nutritional information are estimates and may vary from your actual results. This is home cooking, and there are many variables. To taste ingredients such as salt will be my estimate of the average used.
Editors Note: Originally published August 1, 2011. It was in need of a rewrite, some better photo editing and some clarification of technique.
This Recipe Featured in These Recipe Roundups
Independence Day Recipe Recommendations
Happy Labor Day and End of Summer Recipe Recommendations